Before I started added fluids to my Jeep I decided that rebuilding the rear differential limited slip clutch packs would be a good idea. I jumped on the internet machine and ordered up a set. I was originally going to just replace it with a standard clutch pack, until I came across the Ford Racing carbon fiber clutch pack. Cost was almost the same and from the reading I did, it is said to “hook up” better and I’m not planning on doing lockers until next winter. So here is a mostly simple install over view.
When working under any vehicle make sure to secure the vehicle in place with chock blocks and always use jack stands to support the weight of the vehicle never just a jack. (Unless of course you are lucky enough to have a lift)
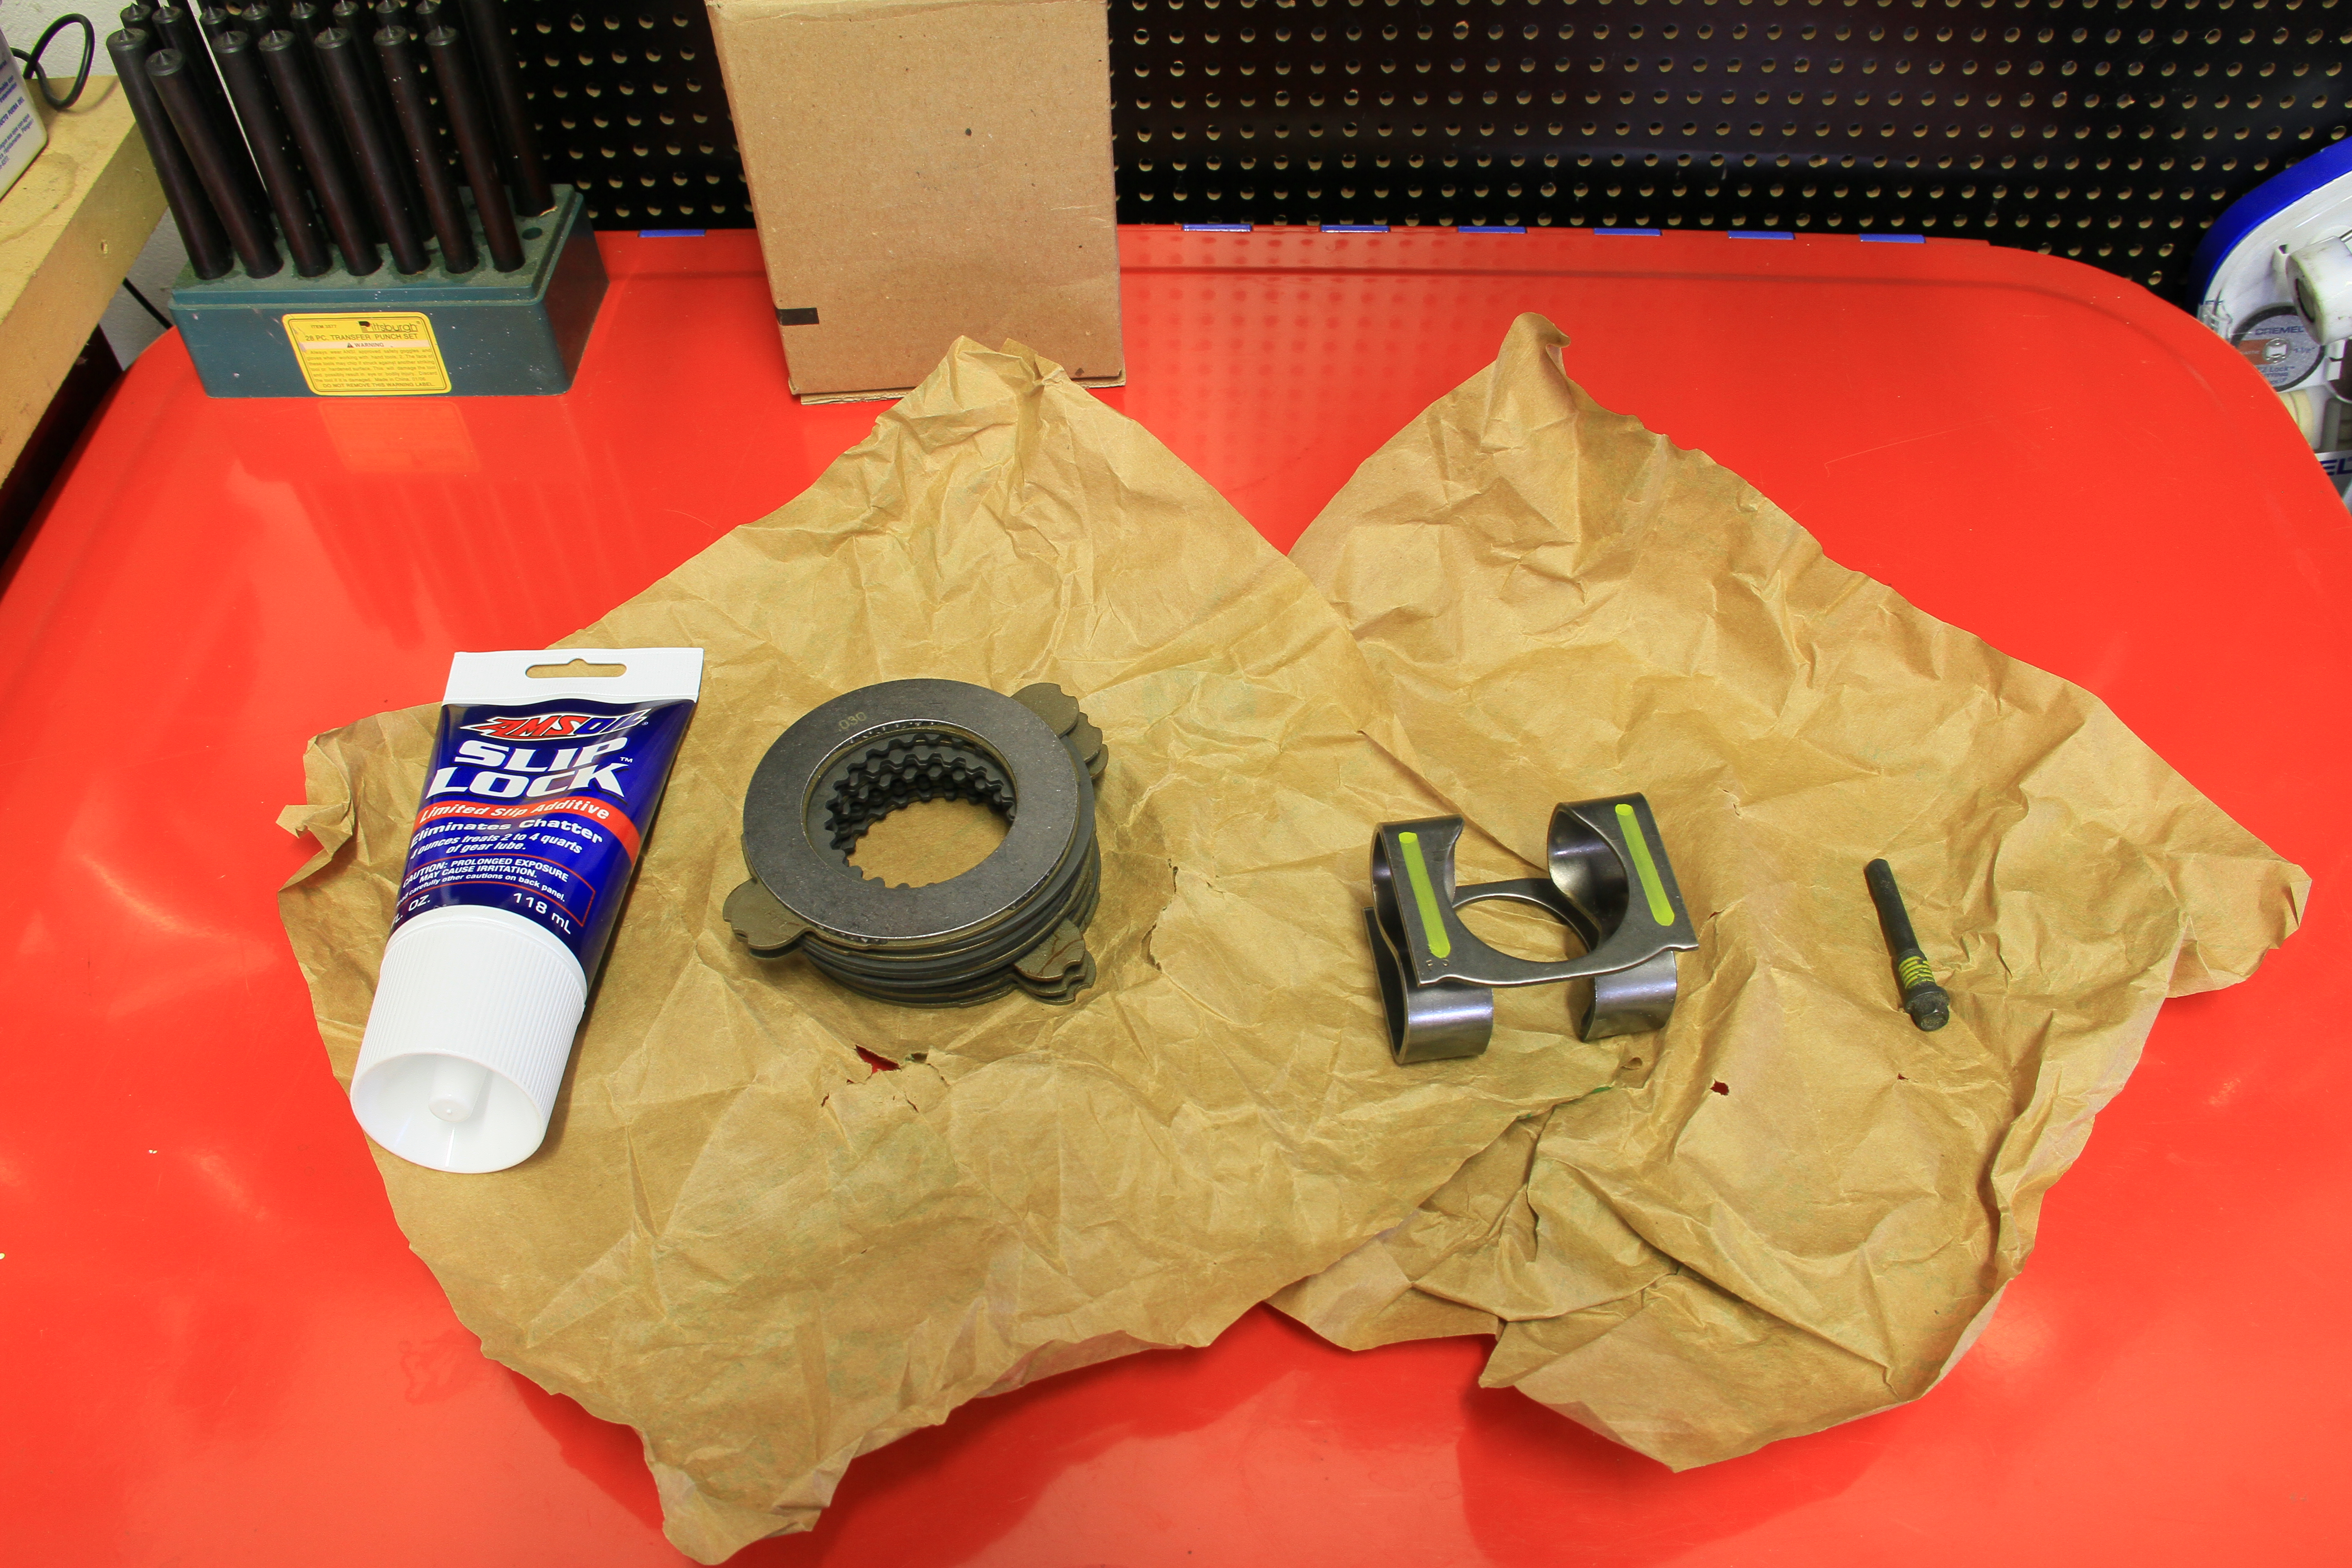
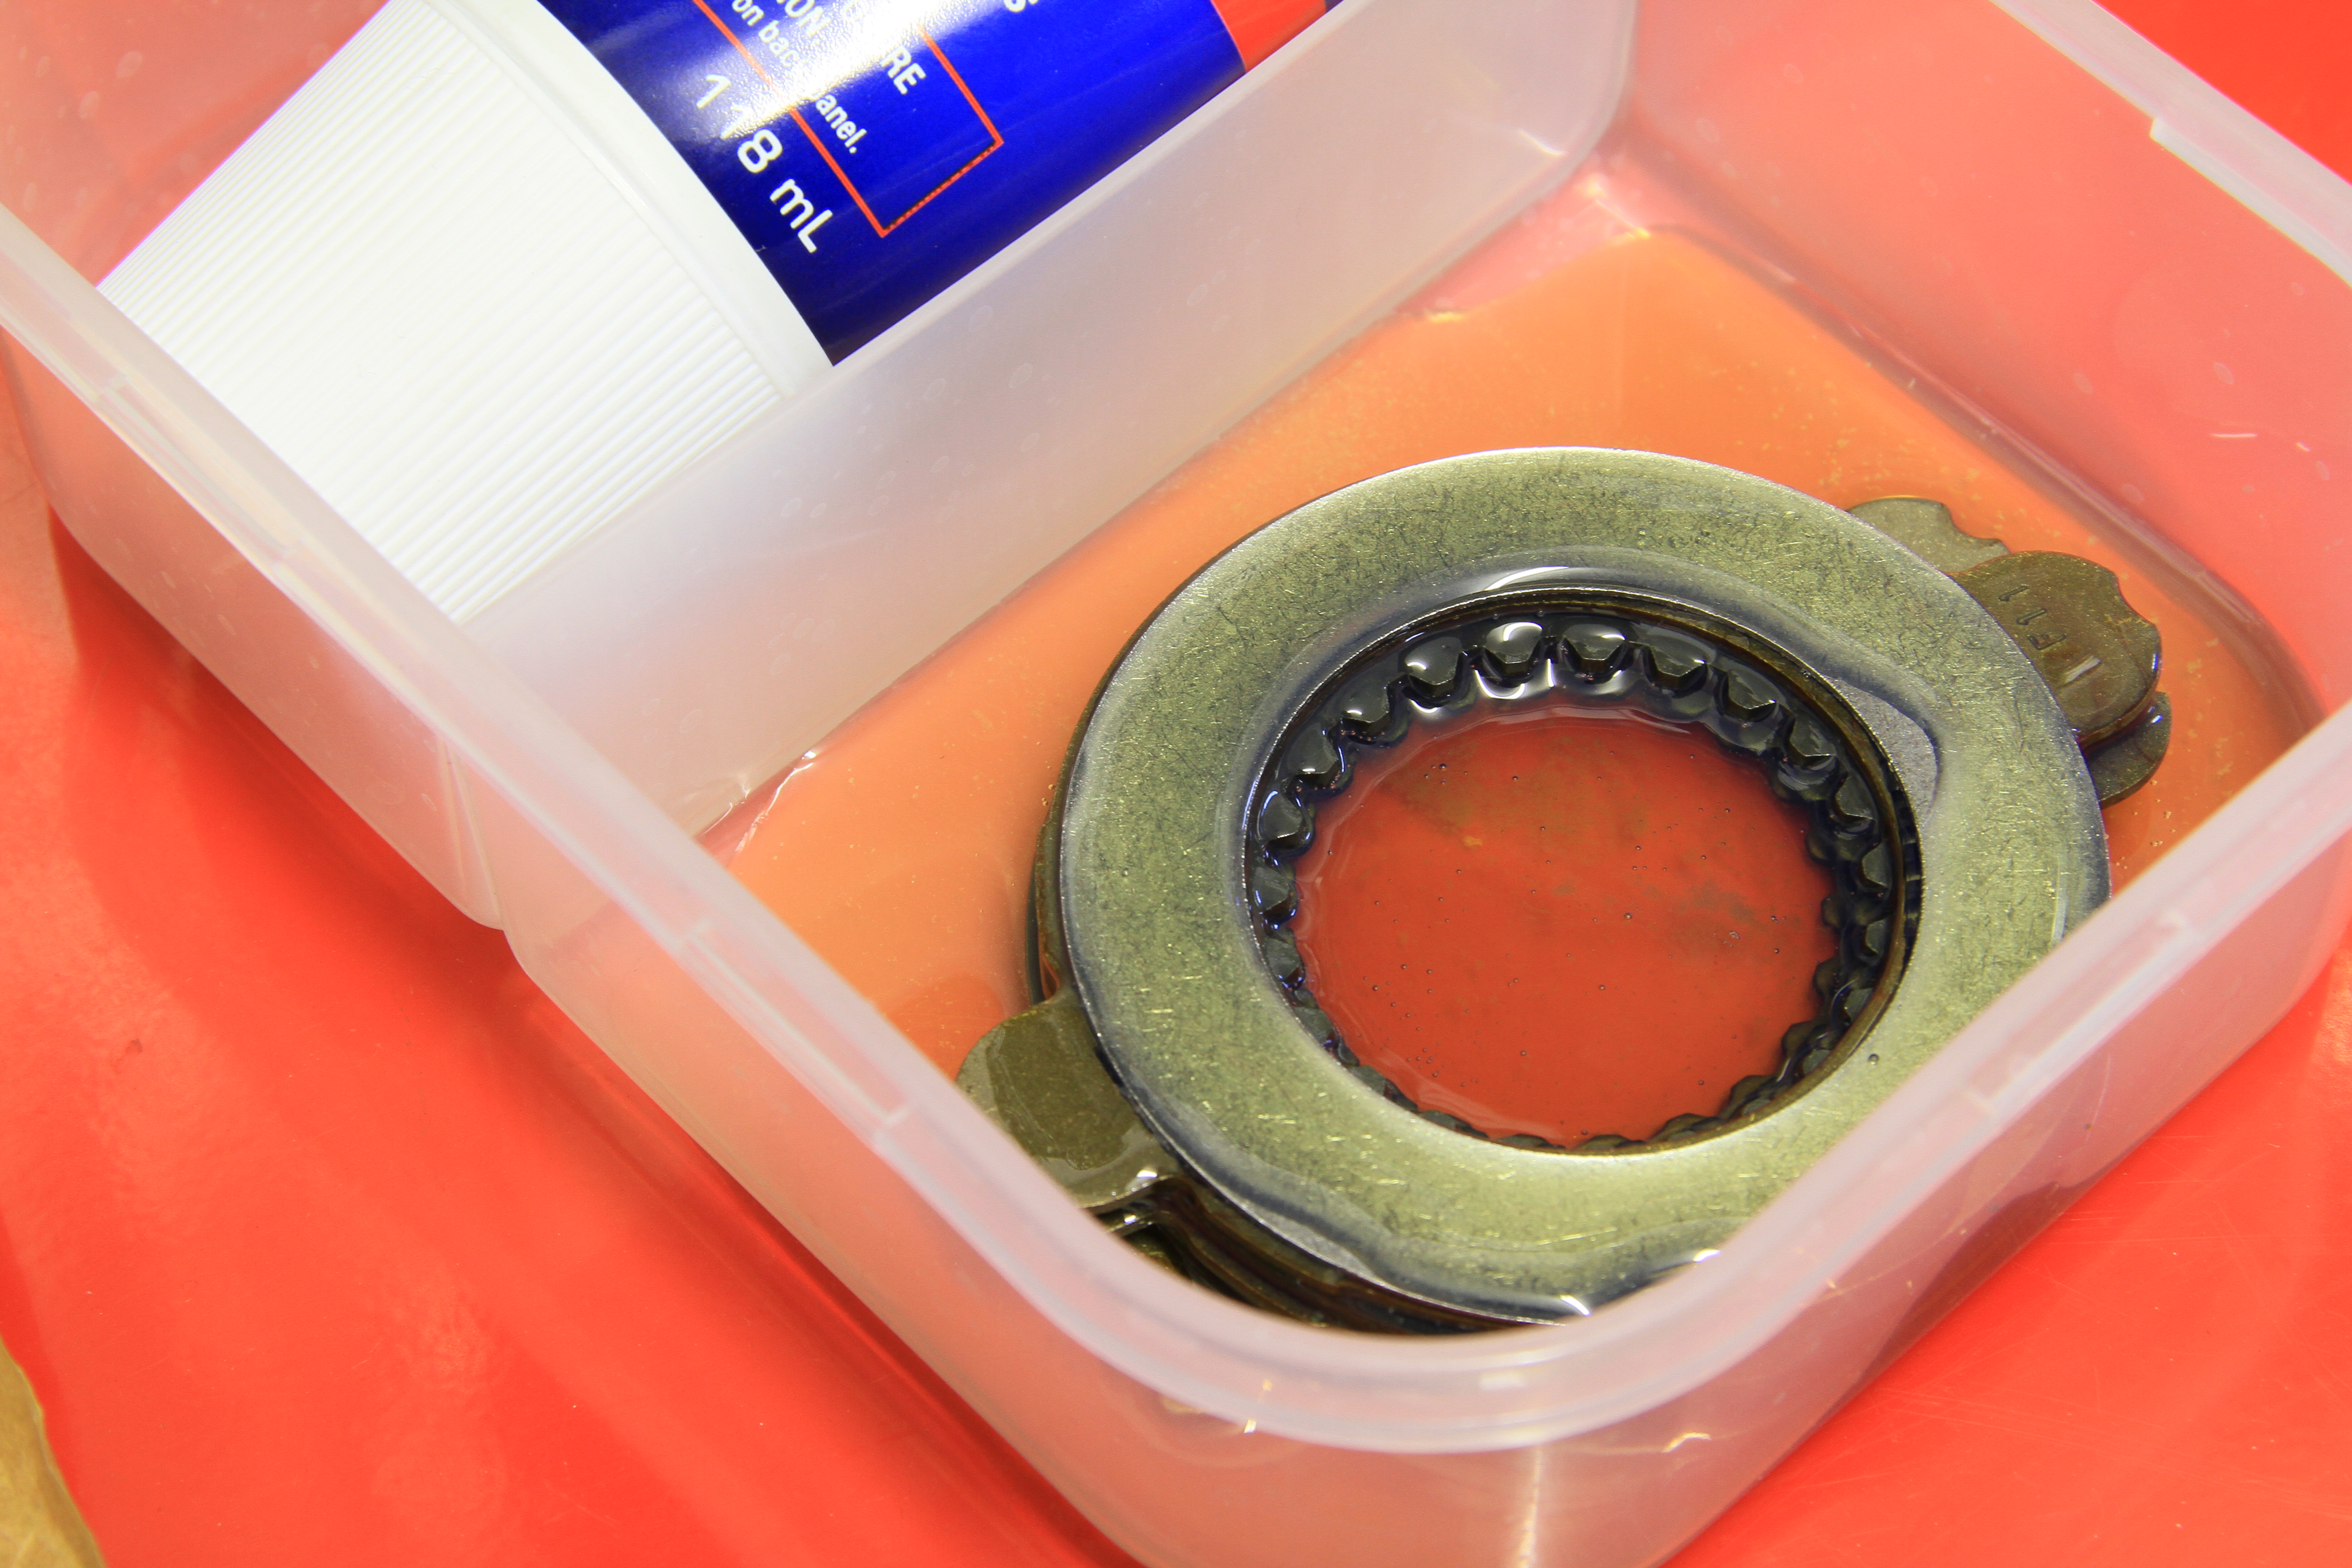
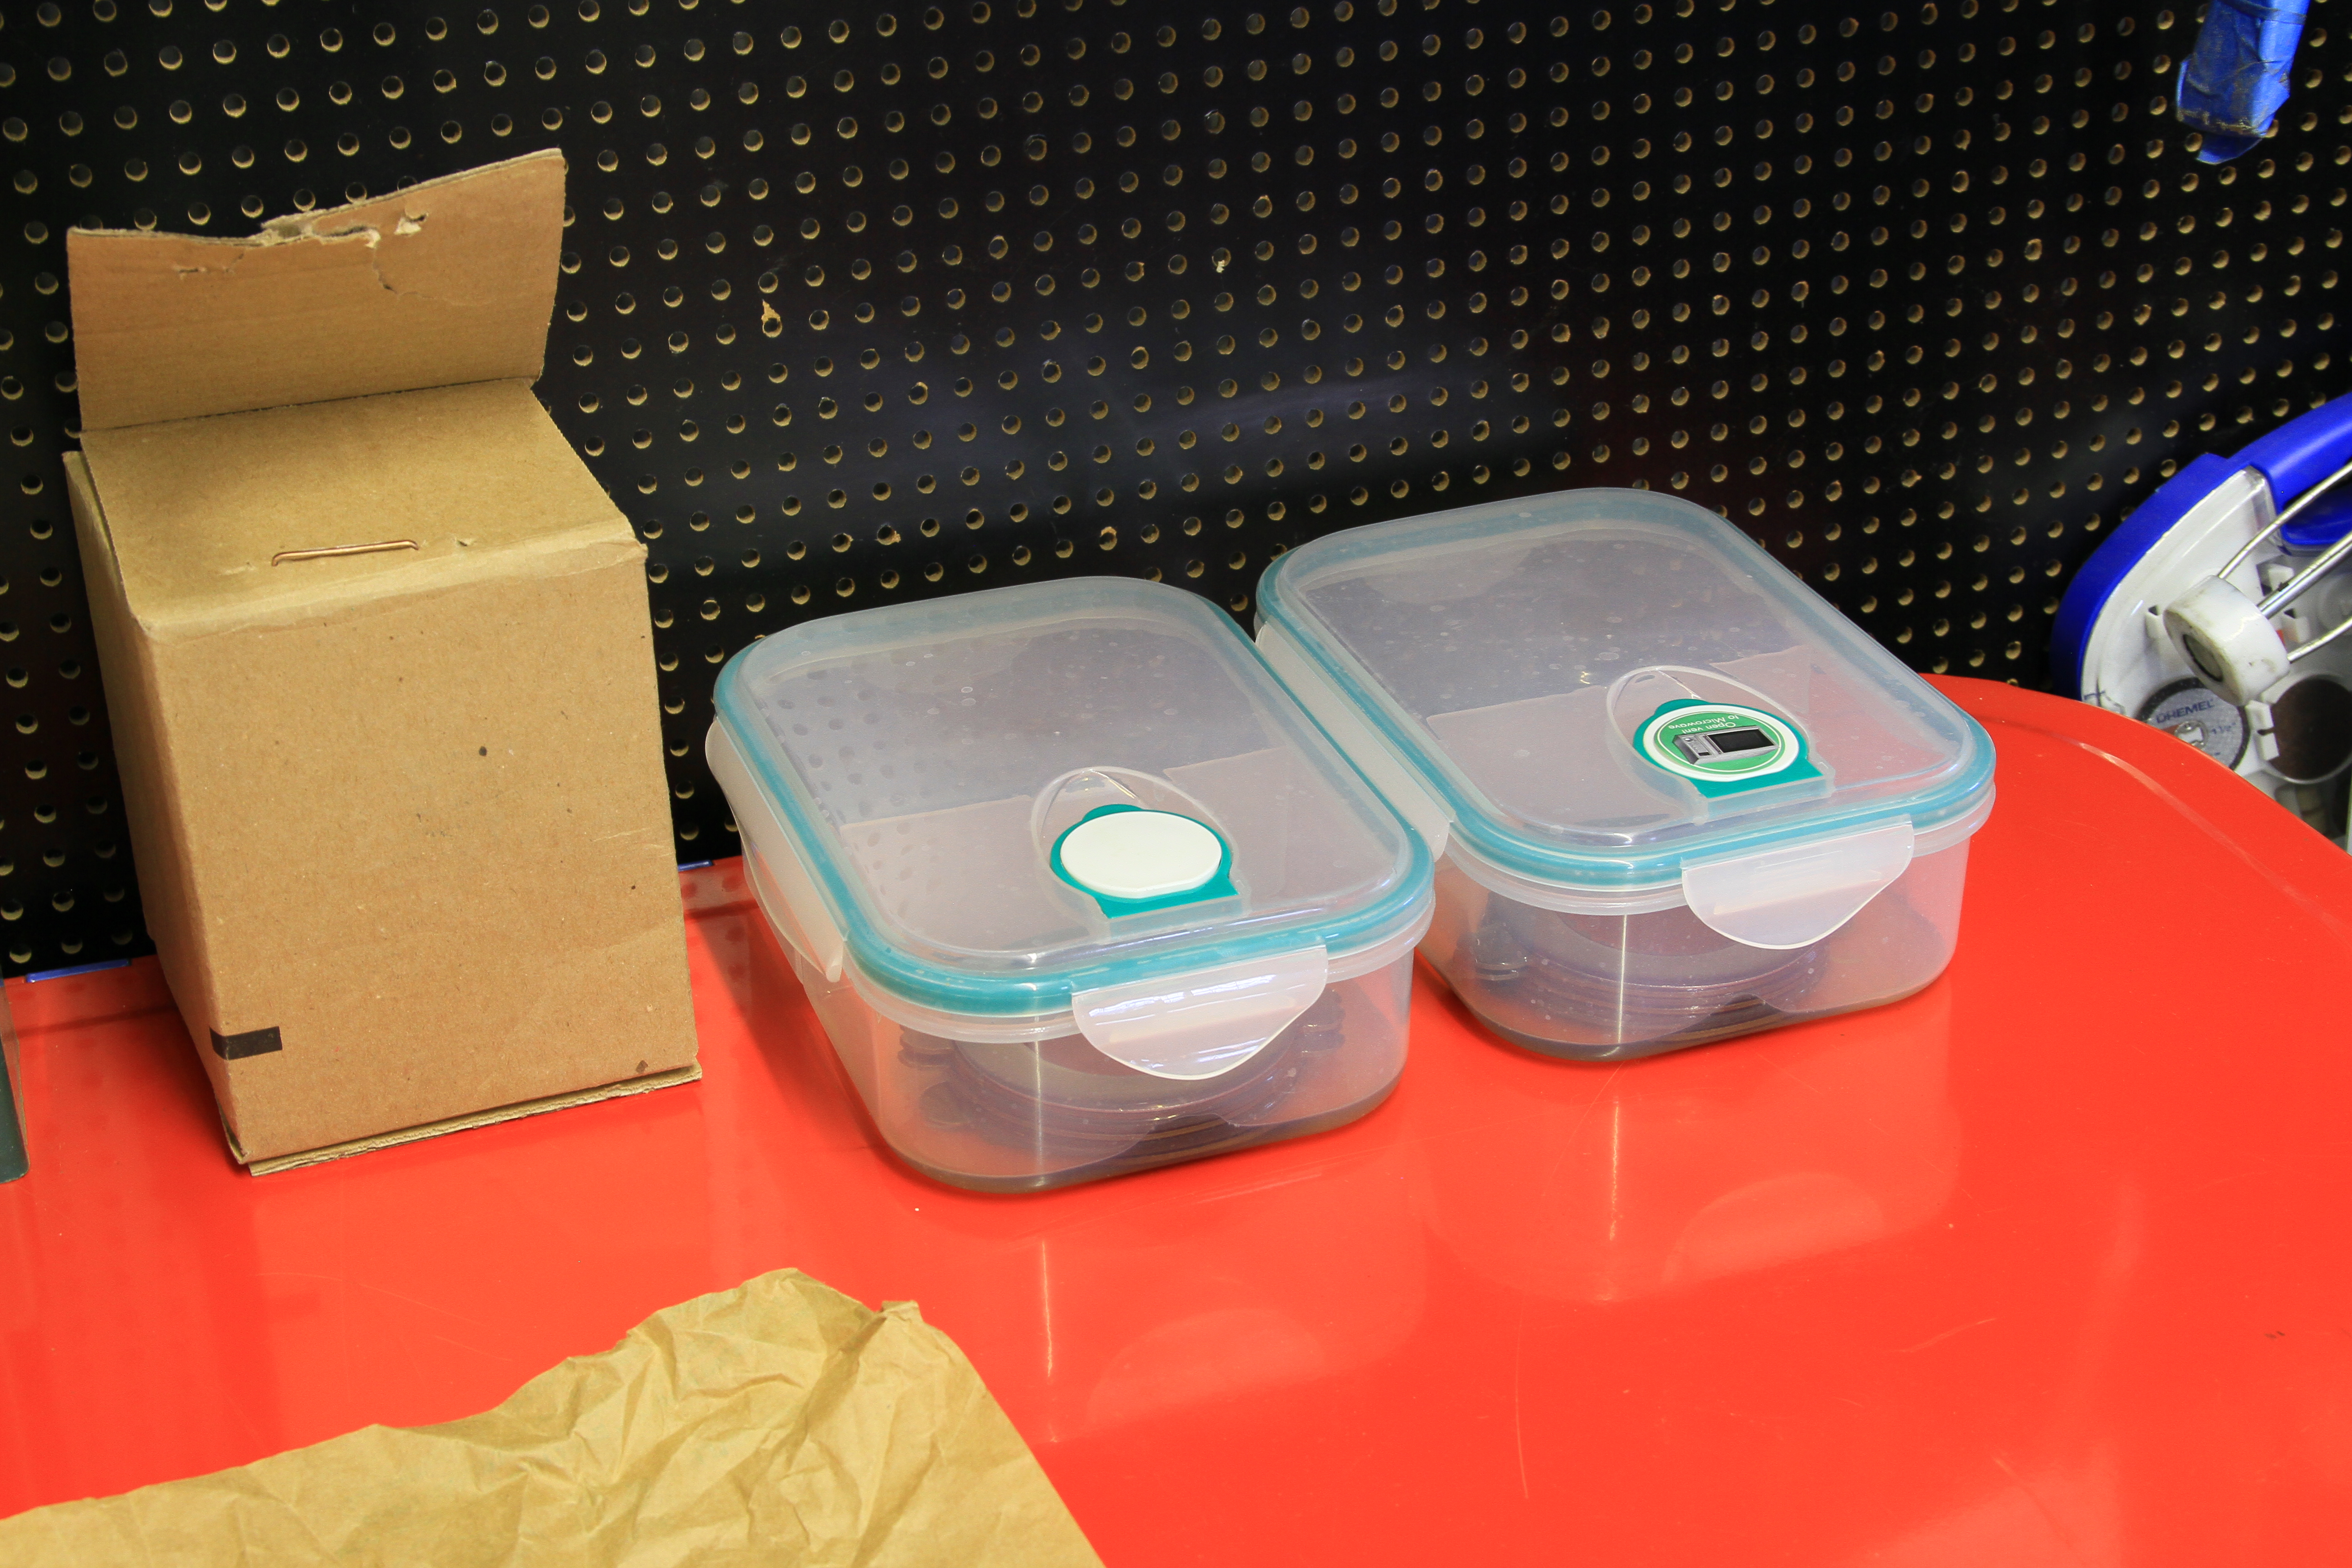
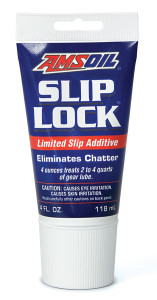
Before you even begin removing the wheels, first and for most remove the contents of your new Traction-Lok clutch pack from the box, ensure everything is accounted for(shims, clutches, new s-spring and pinion shaft lock bolt) be mindful to keep the shims and clutches in their respective order (they come properly stacked from the factory). These clutches need to soak in friction modifier for a minimum of 15 minutes, realistically the longer the better. I let mine sit overnight in AMSOIL Slip Lock additive. To Keep dust off of them cover them up.
Another thing, I remove the carrier in this How-To simply for ease of installation, and for photographs, but this can be done with the carrier still installed in the housing, how you attack it is up to you.
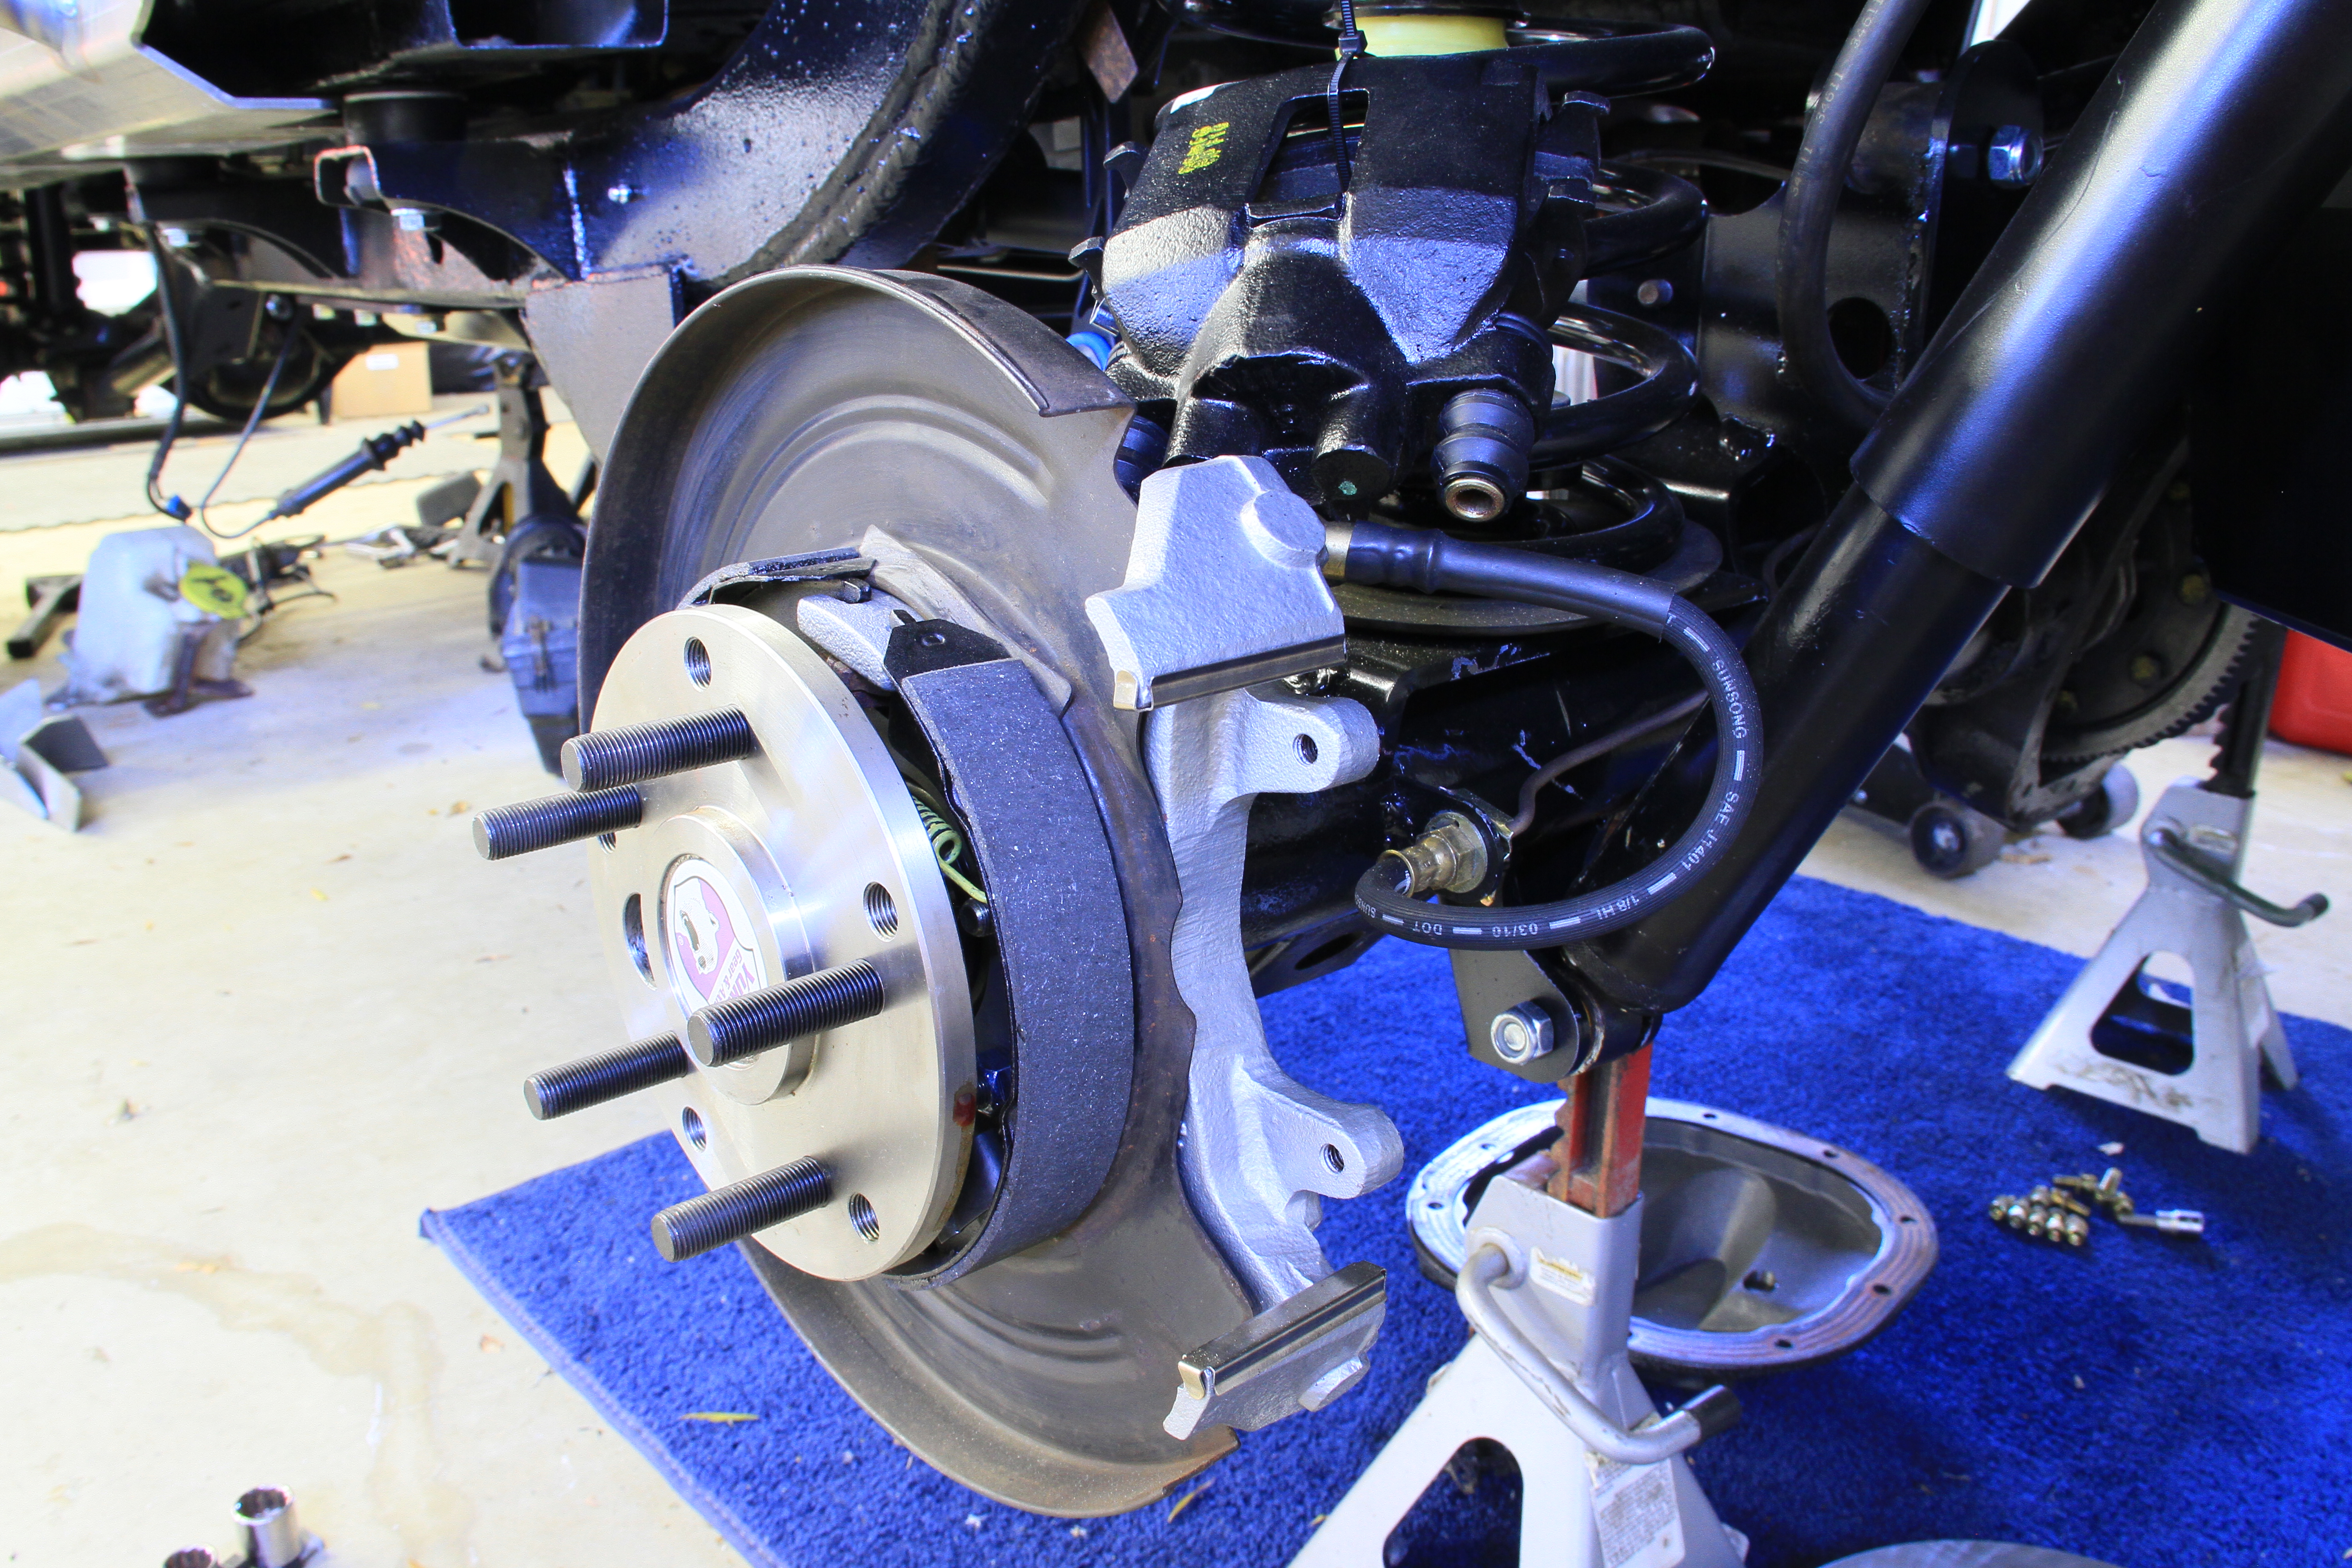
With the transmission in neutral, the Jeep raised and secured. Remove the rear wheels.
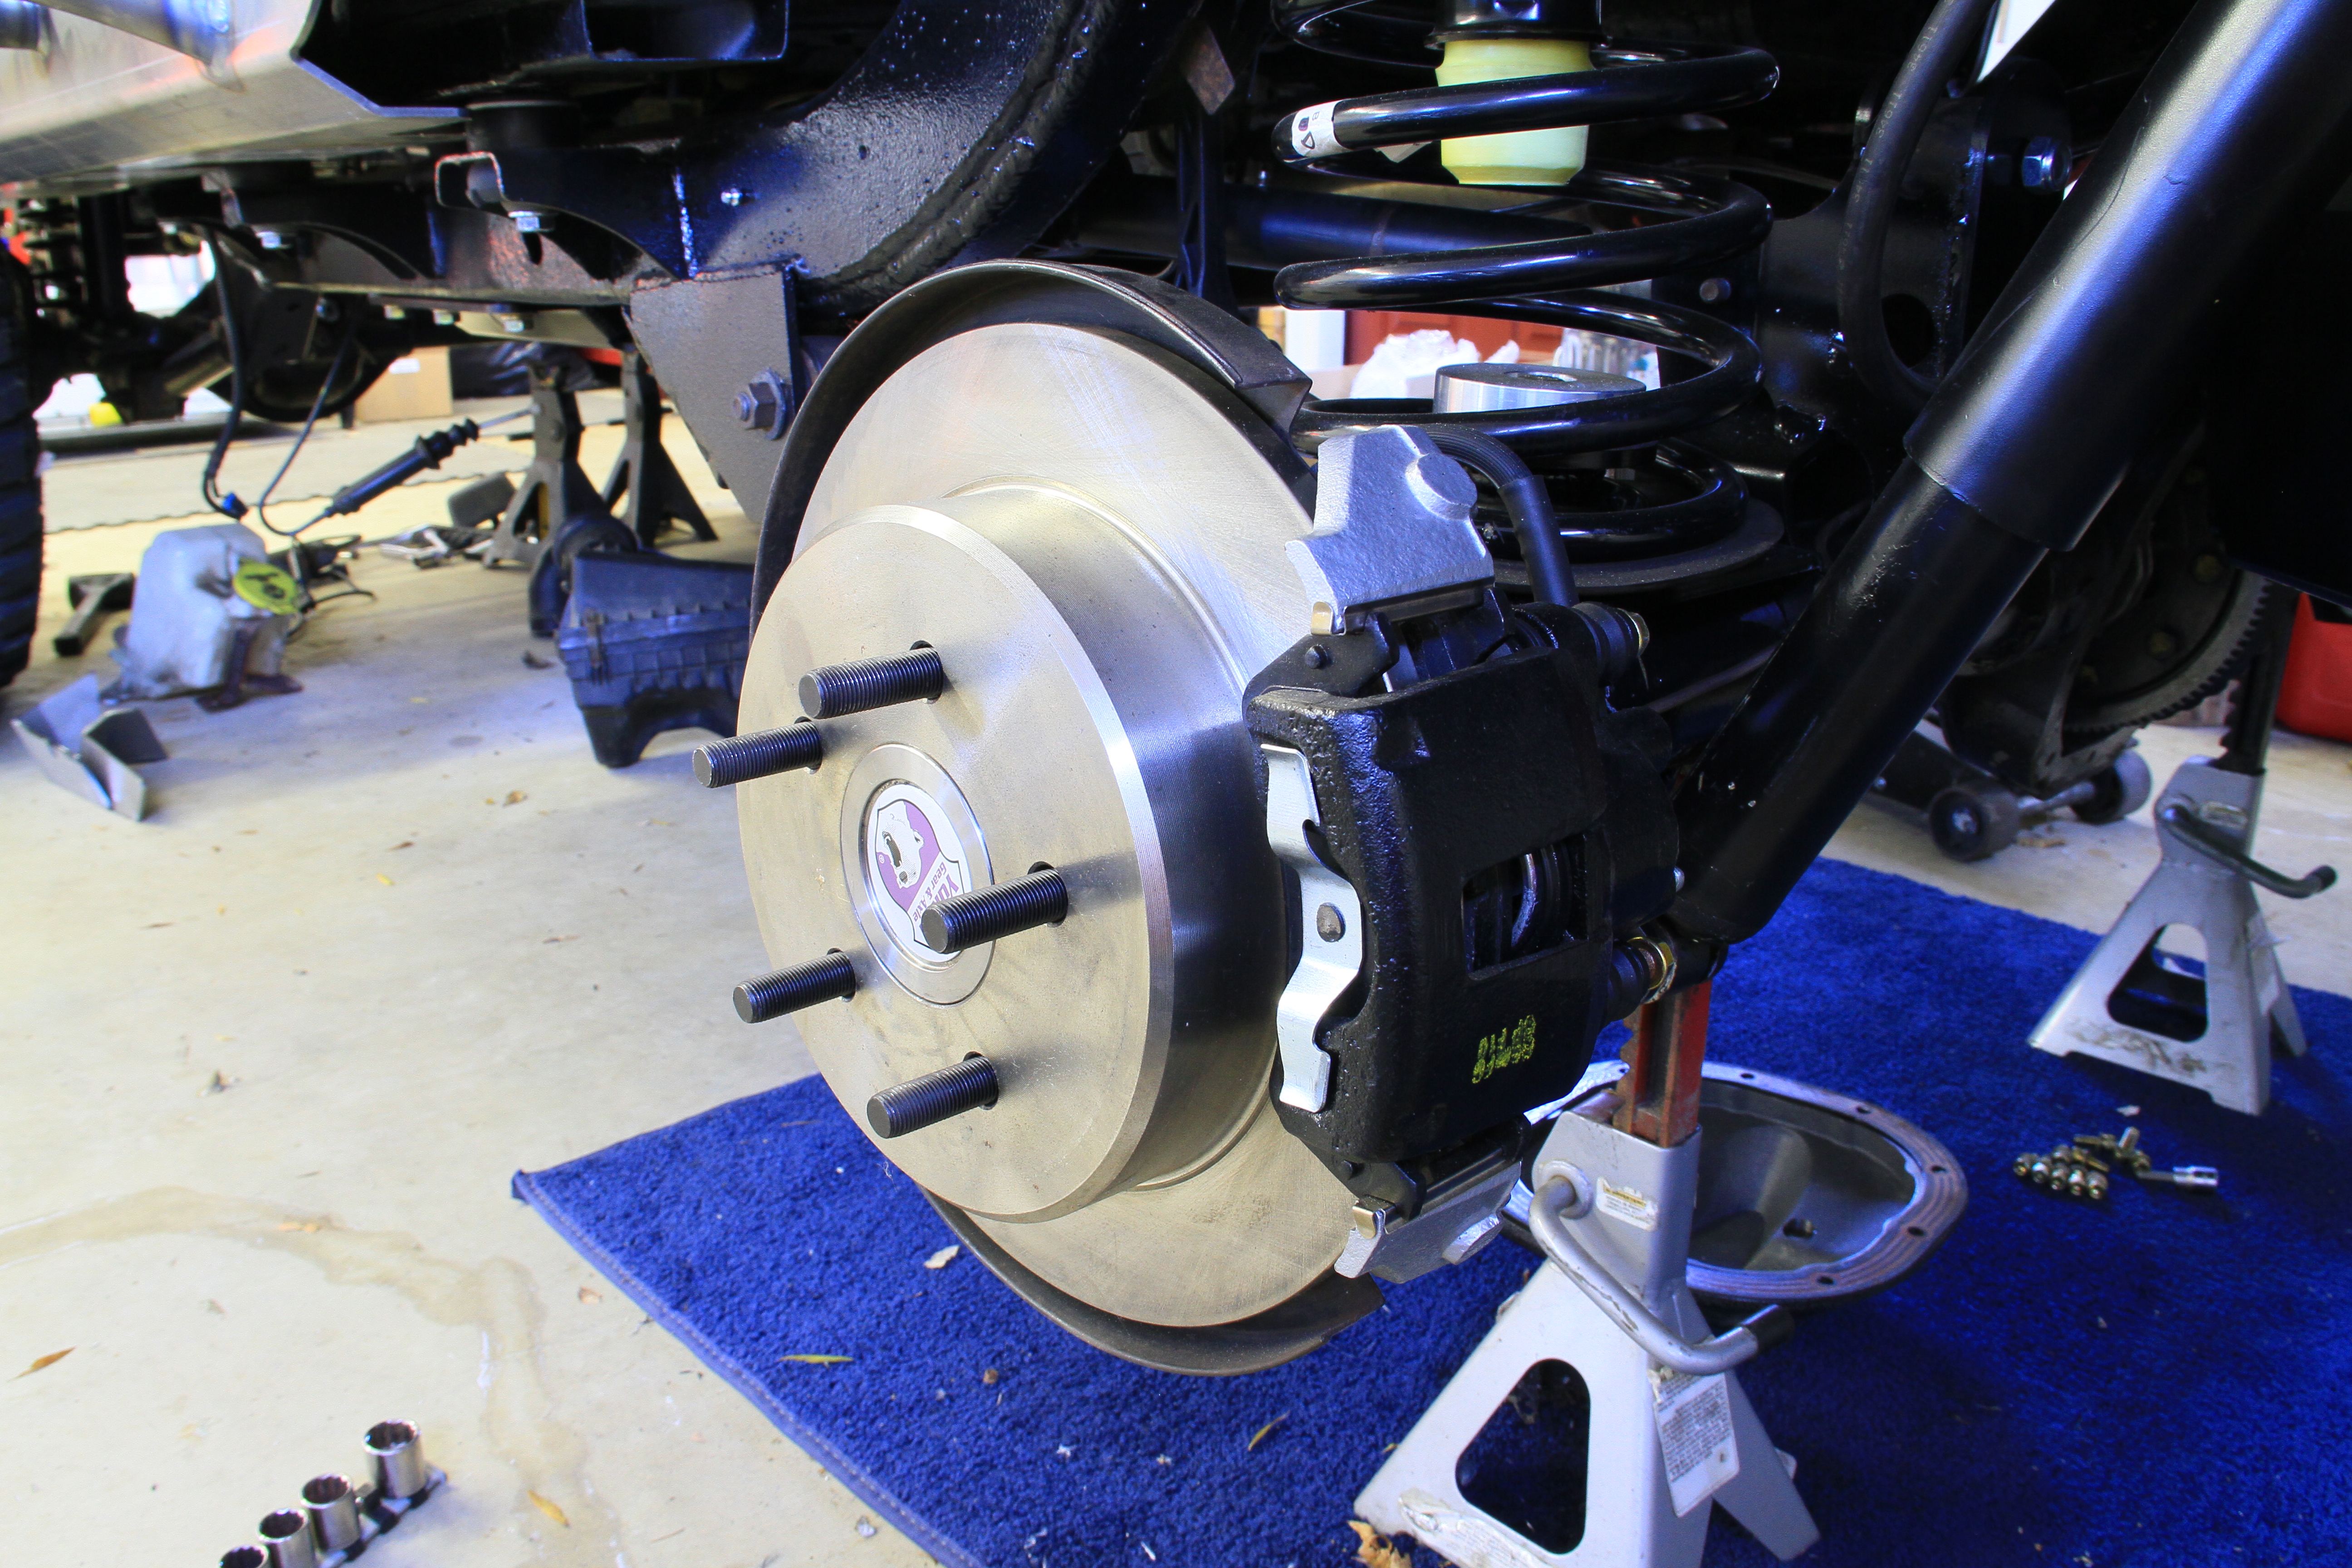
Remove the brake drums or rotors, calipers and brake sensors.
Remove the cover and drain the lubricant. Discard the drained lubricant.
Remove the rear axle shafts. In most cases the Ford 8.8, came with c-clip’s, in my case I have changed out the rear axles shafts to eliminate the c-clip’s and add strength with the Yukon Ultimate 88 Alloy axle Kit which the install can be seen here.
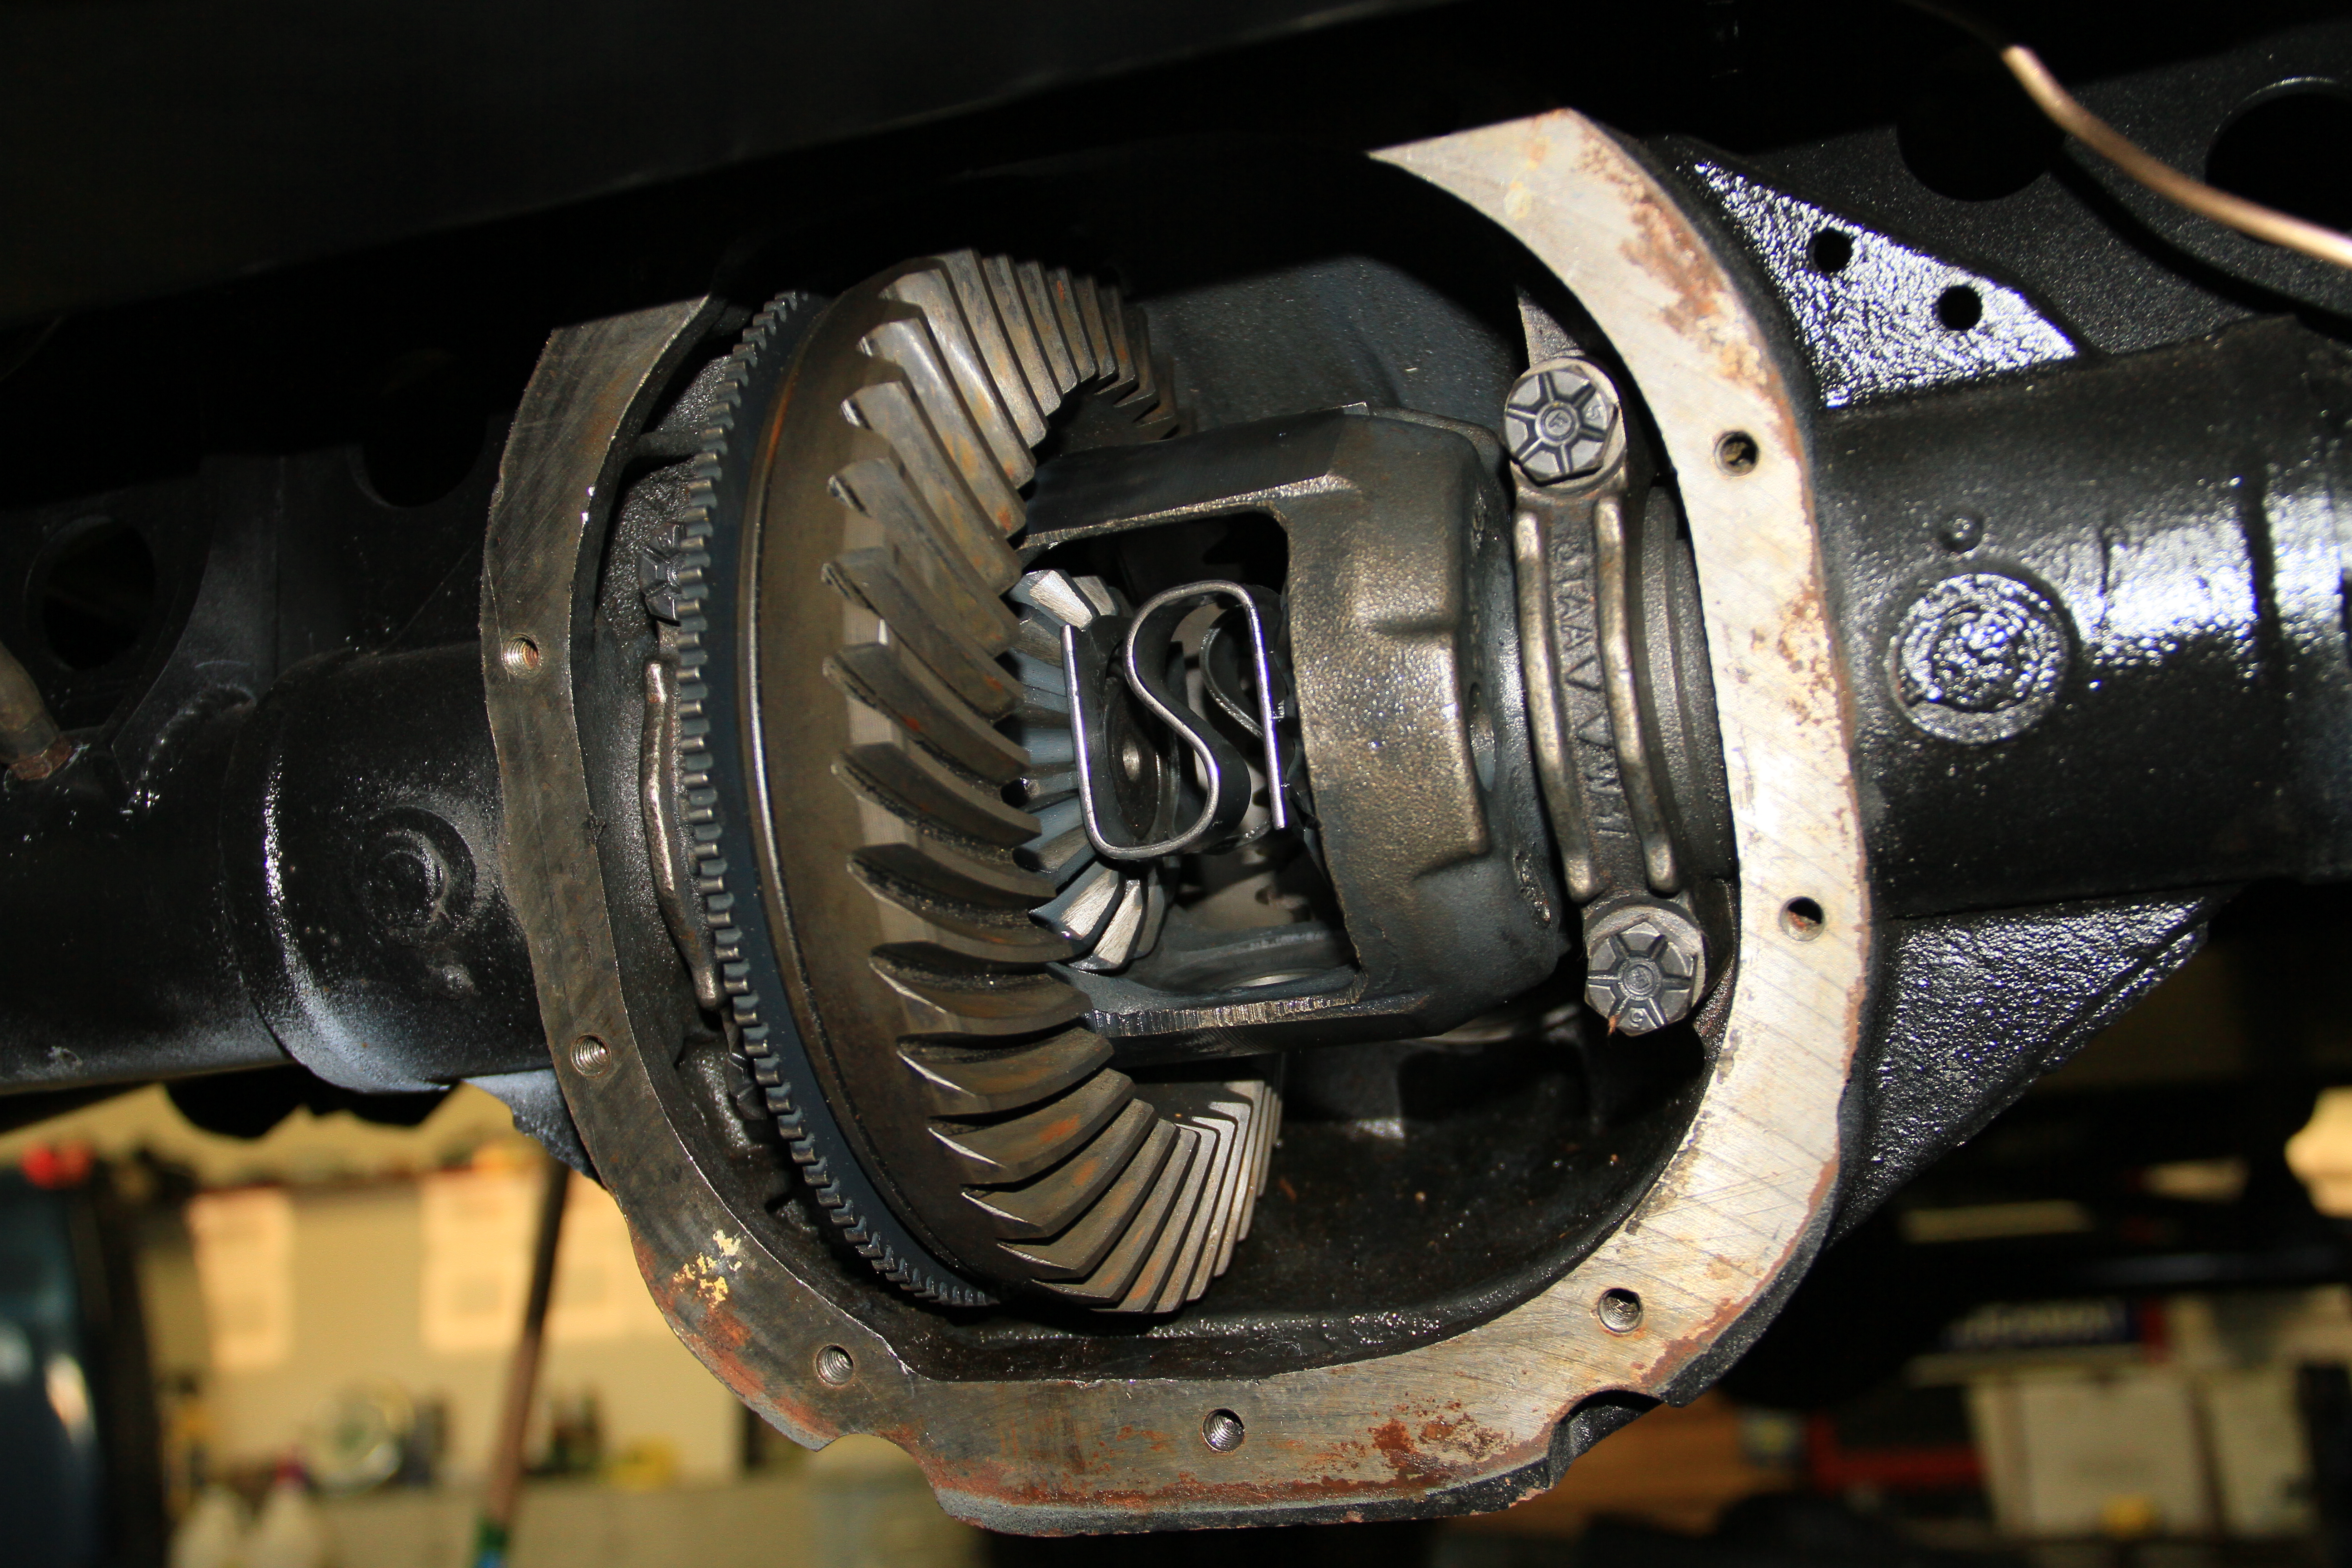
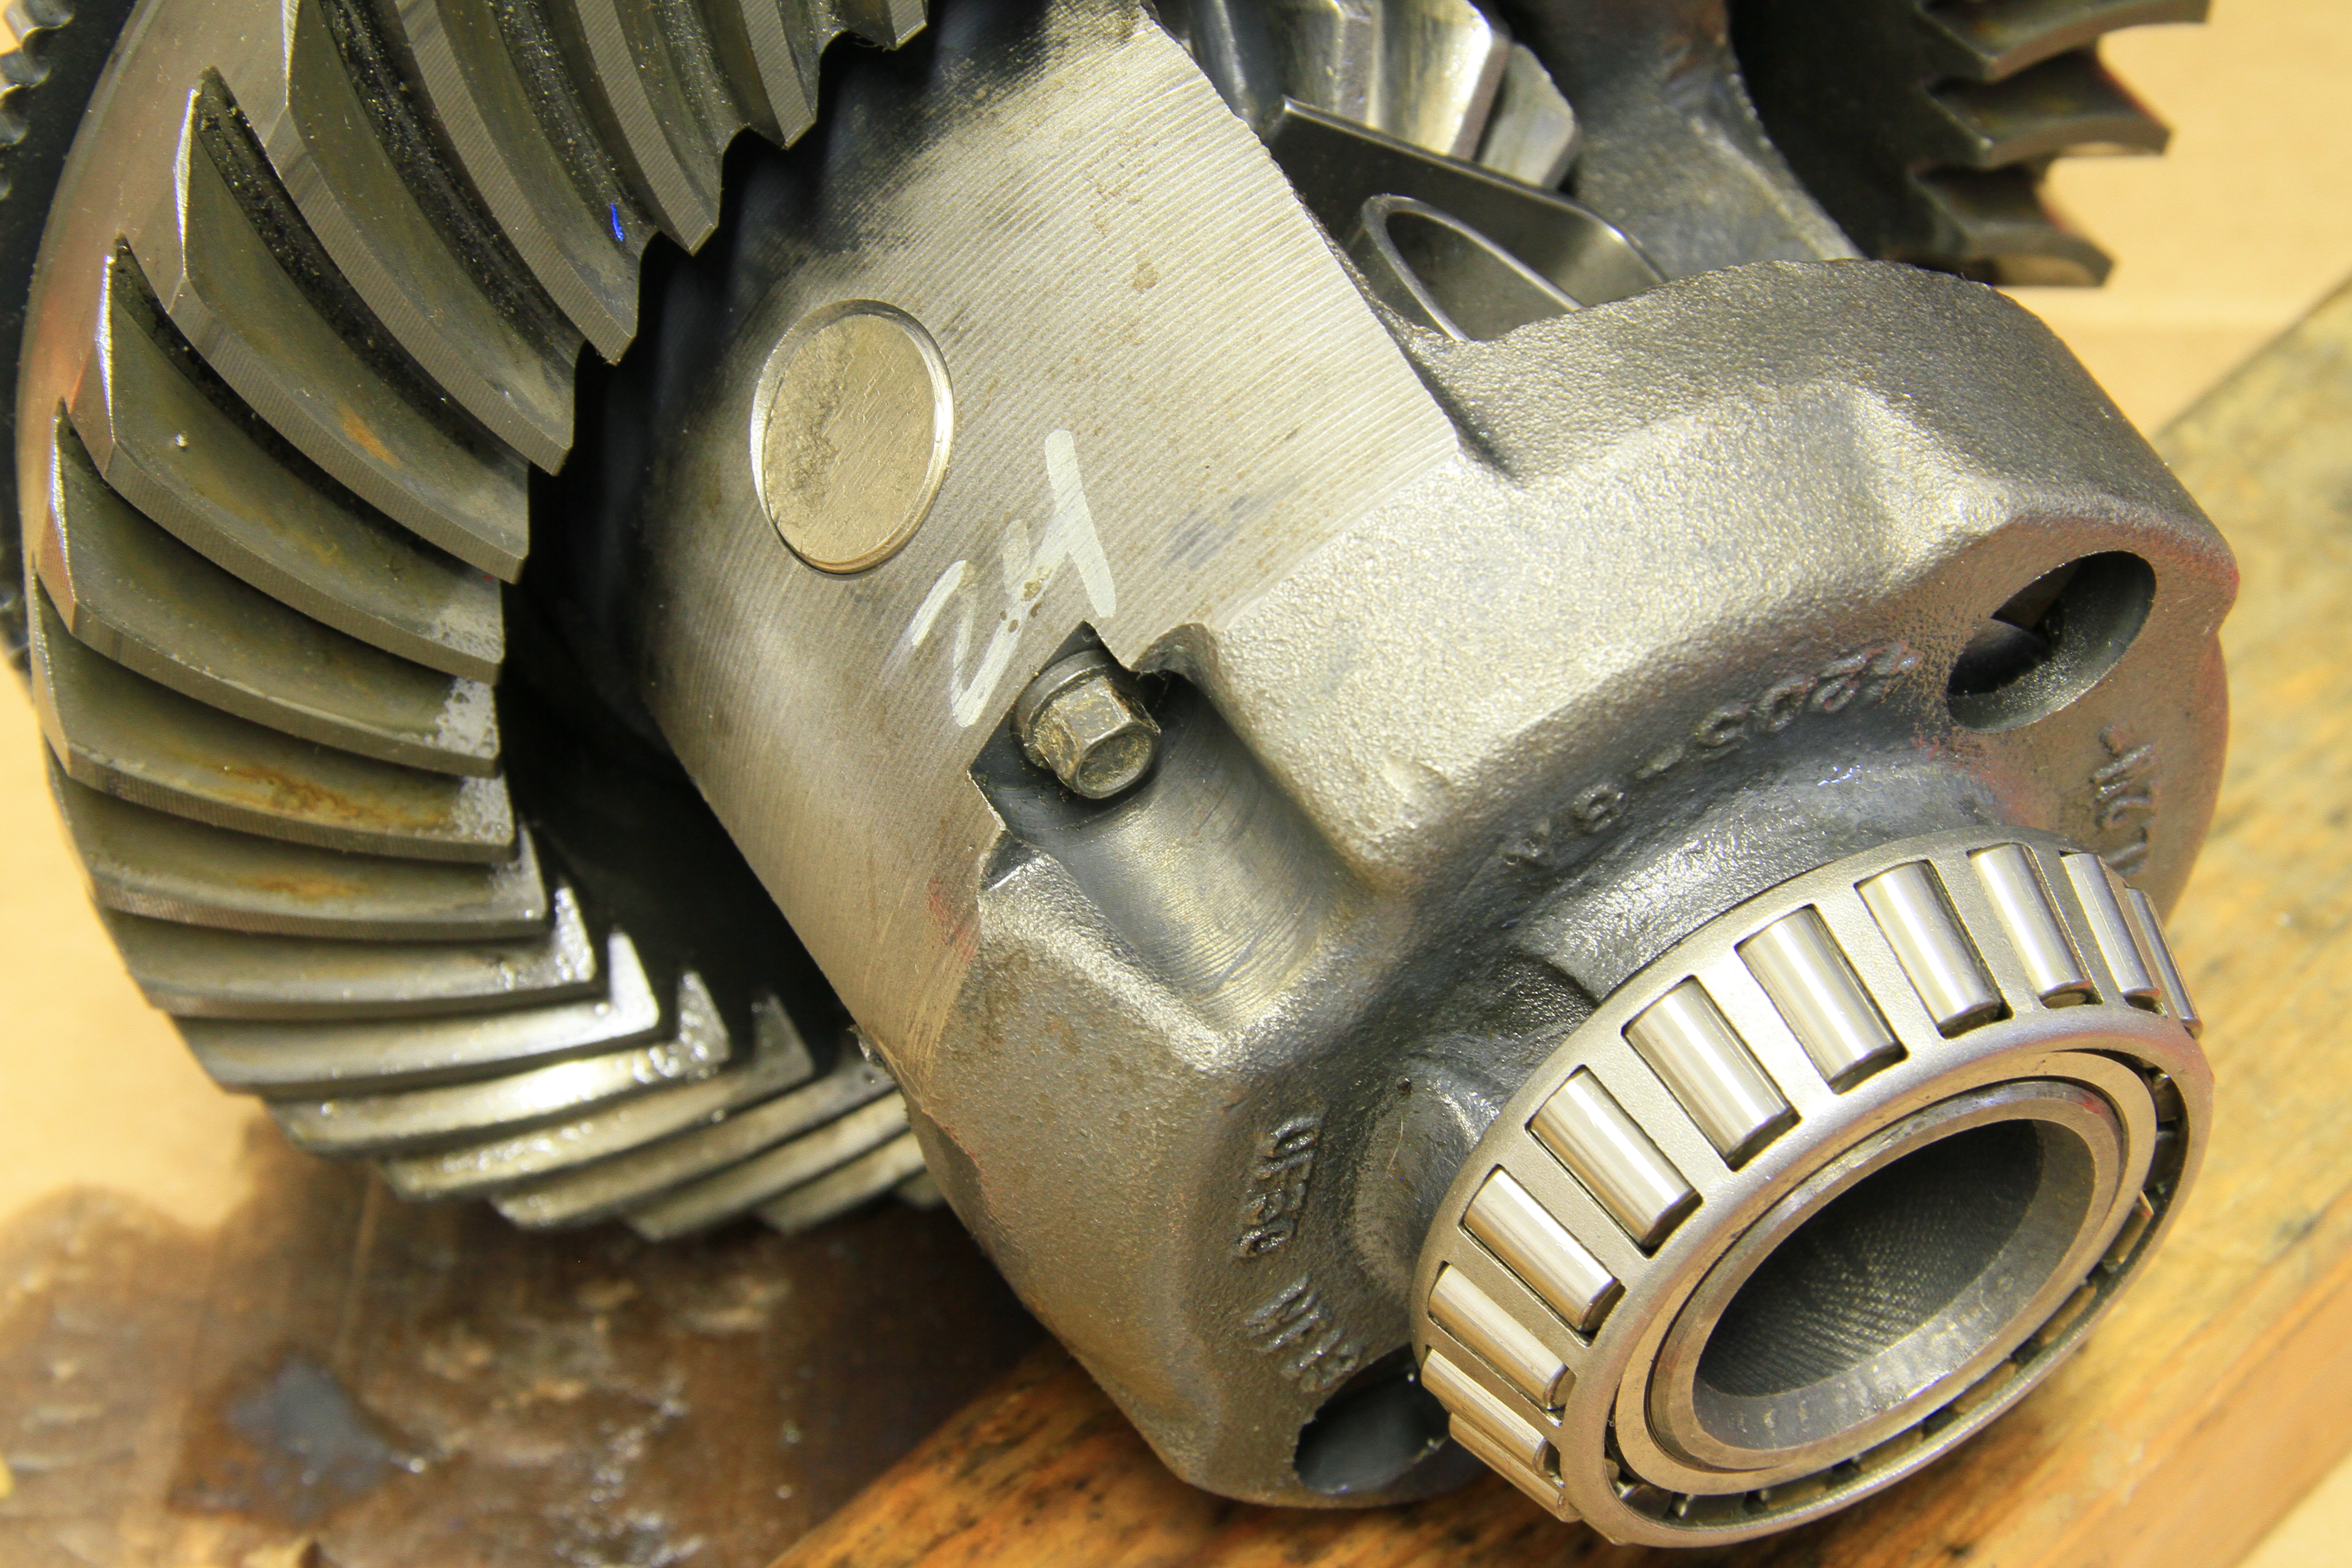
Mark the bearing caps, bearing shims and bearing (side for side) to facilitate re-assembly and to ensure that they go back in their respective locations.
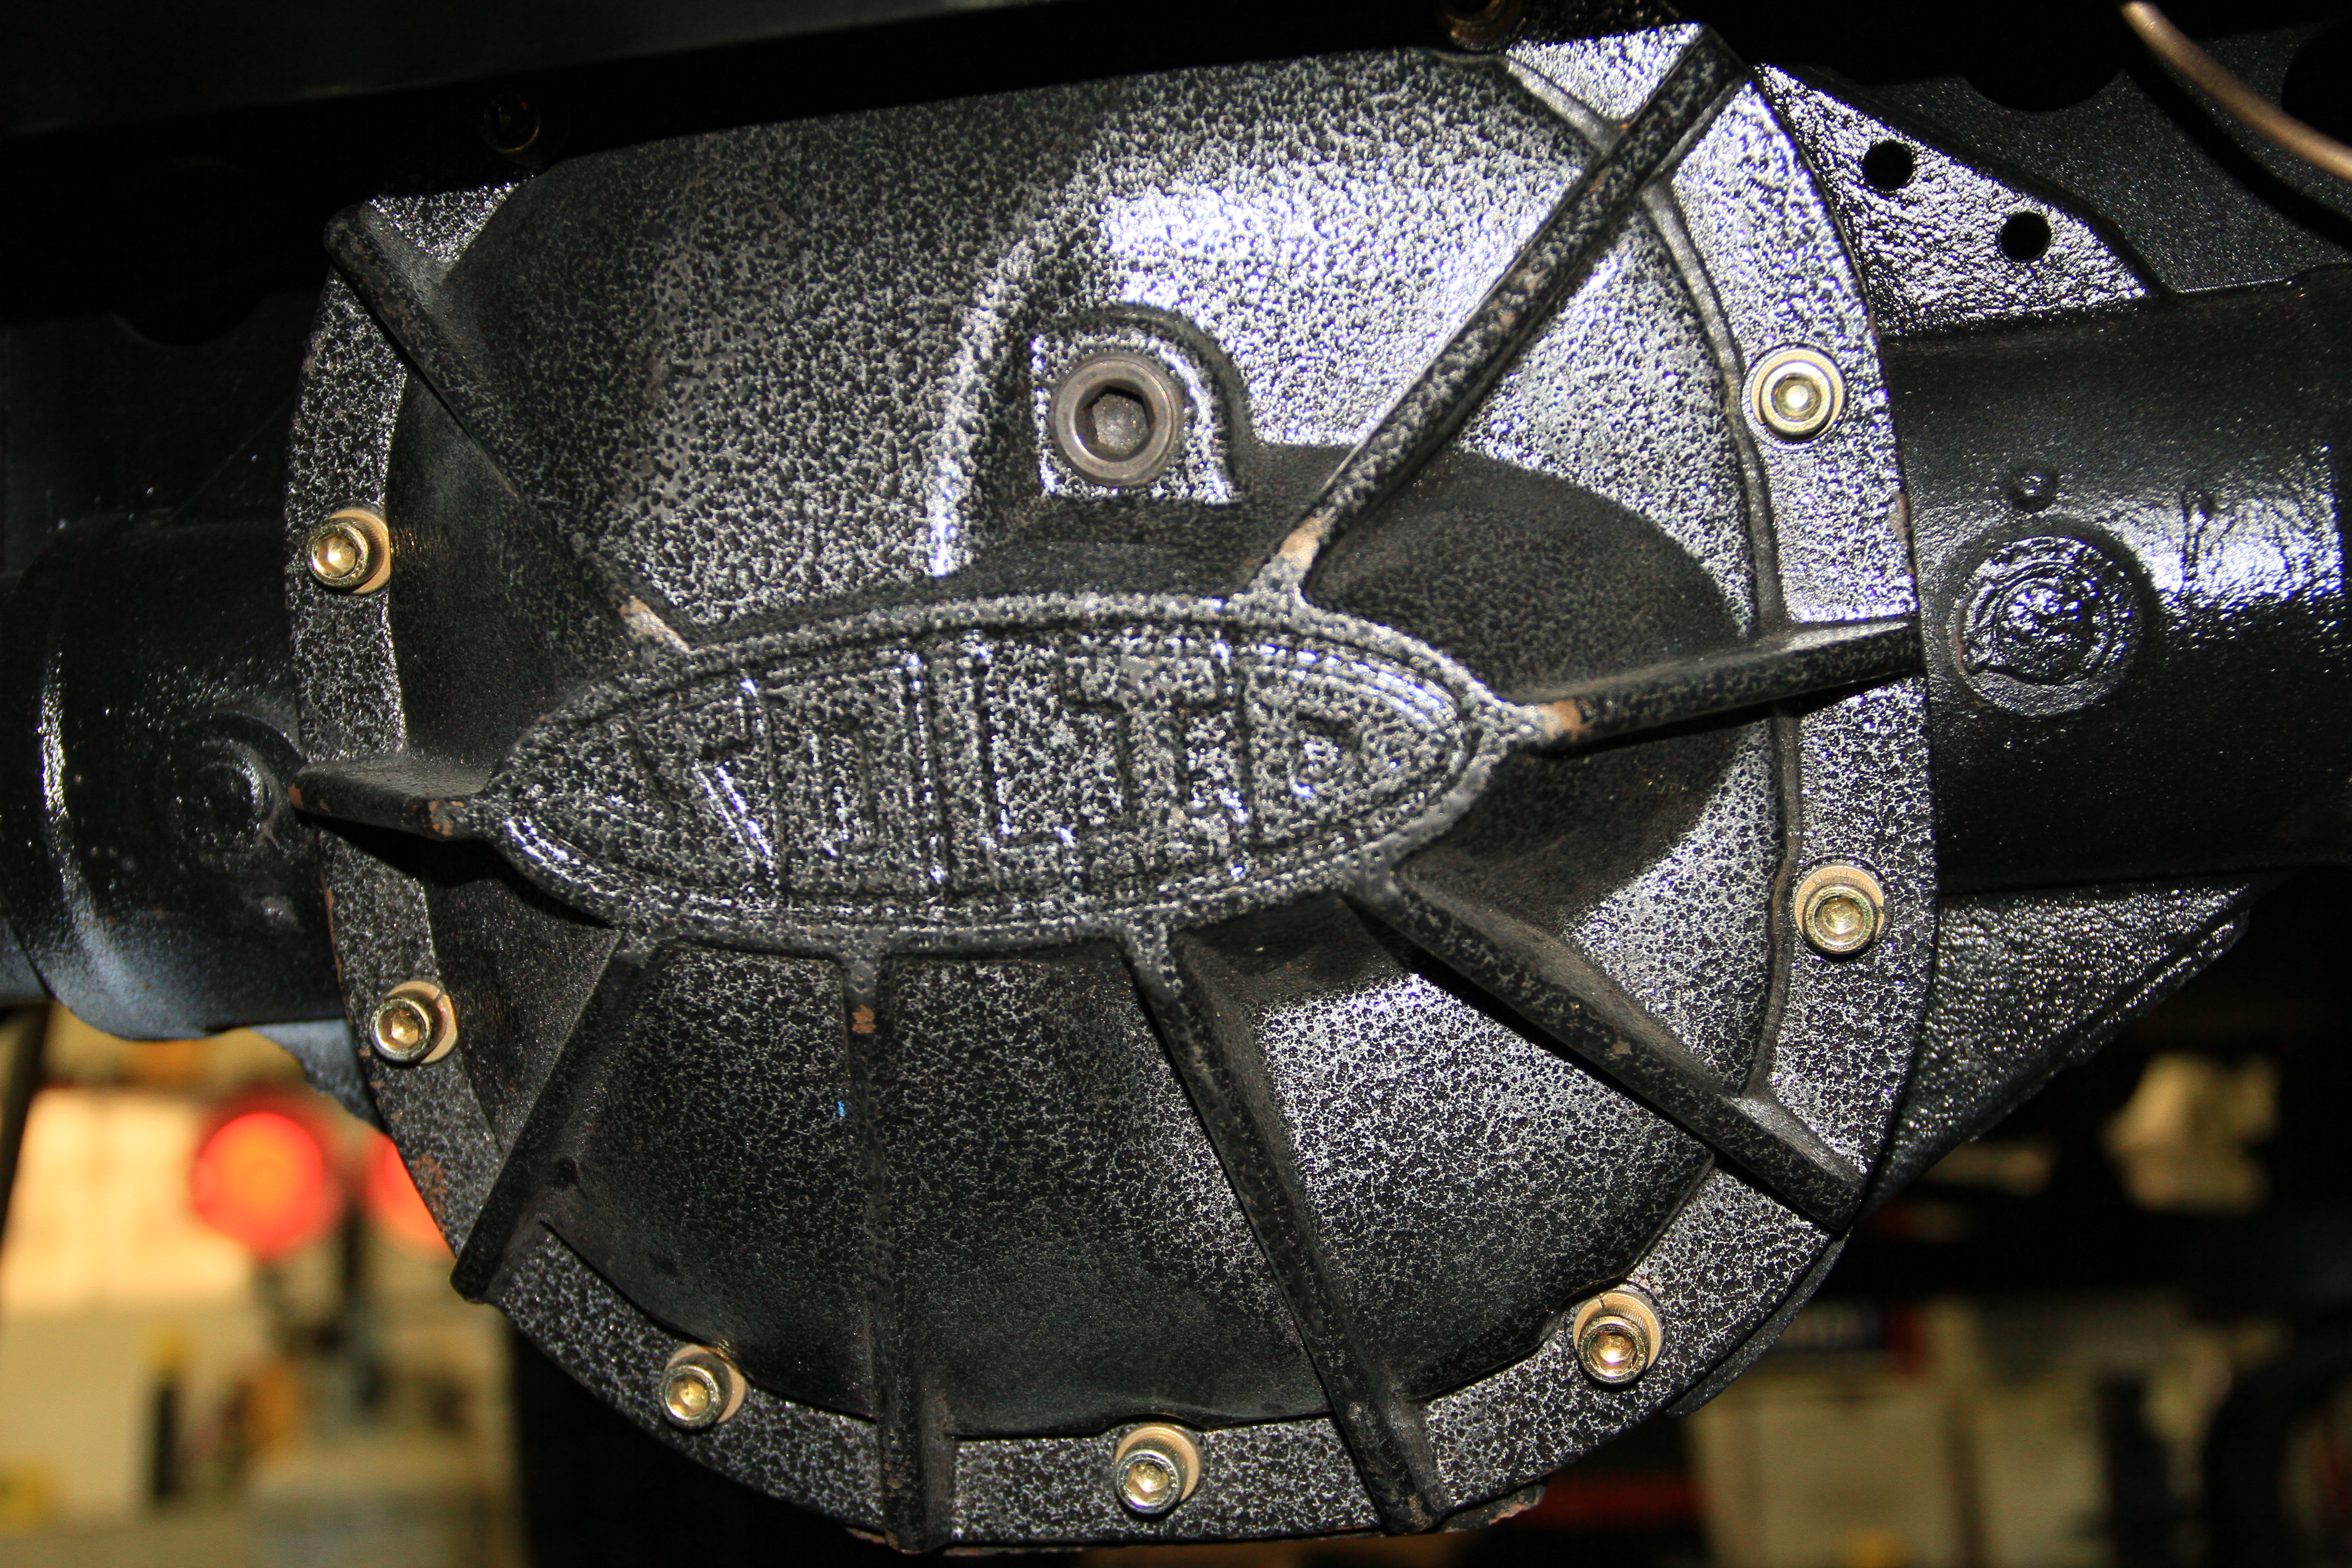
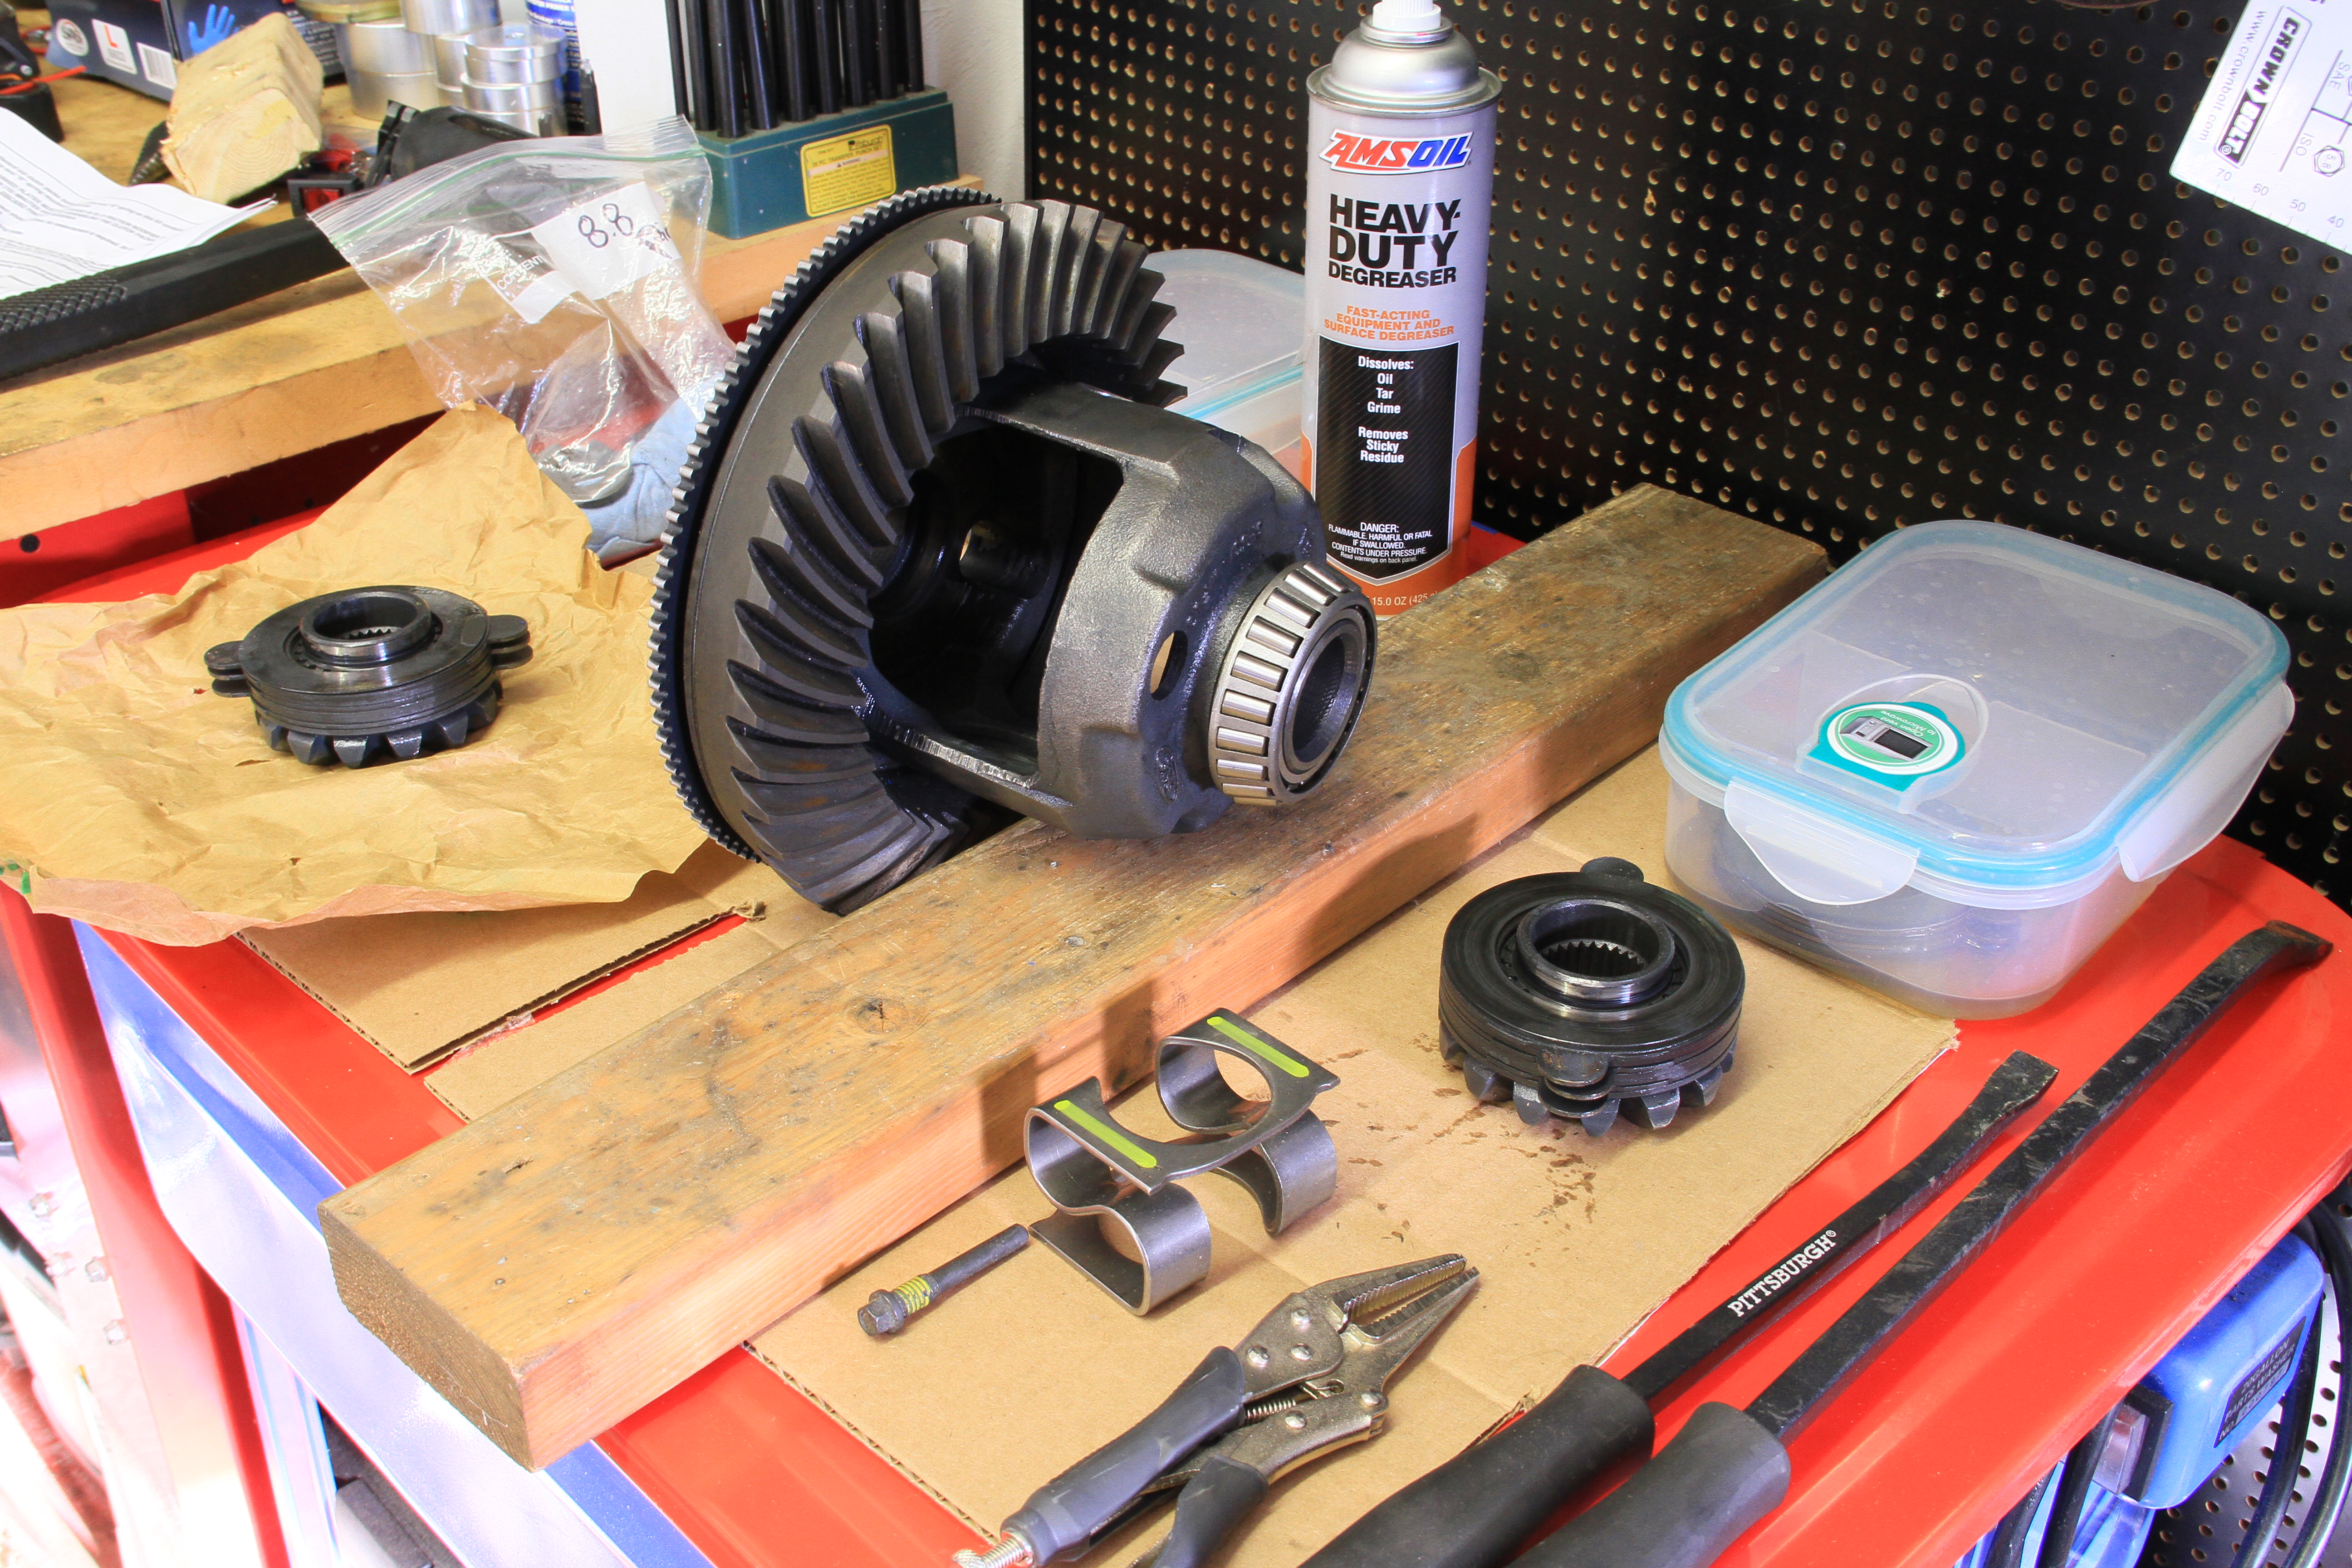
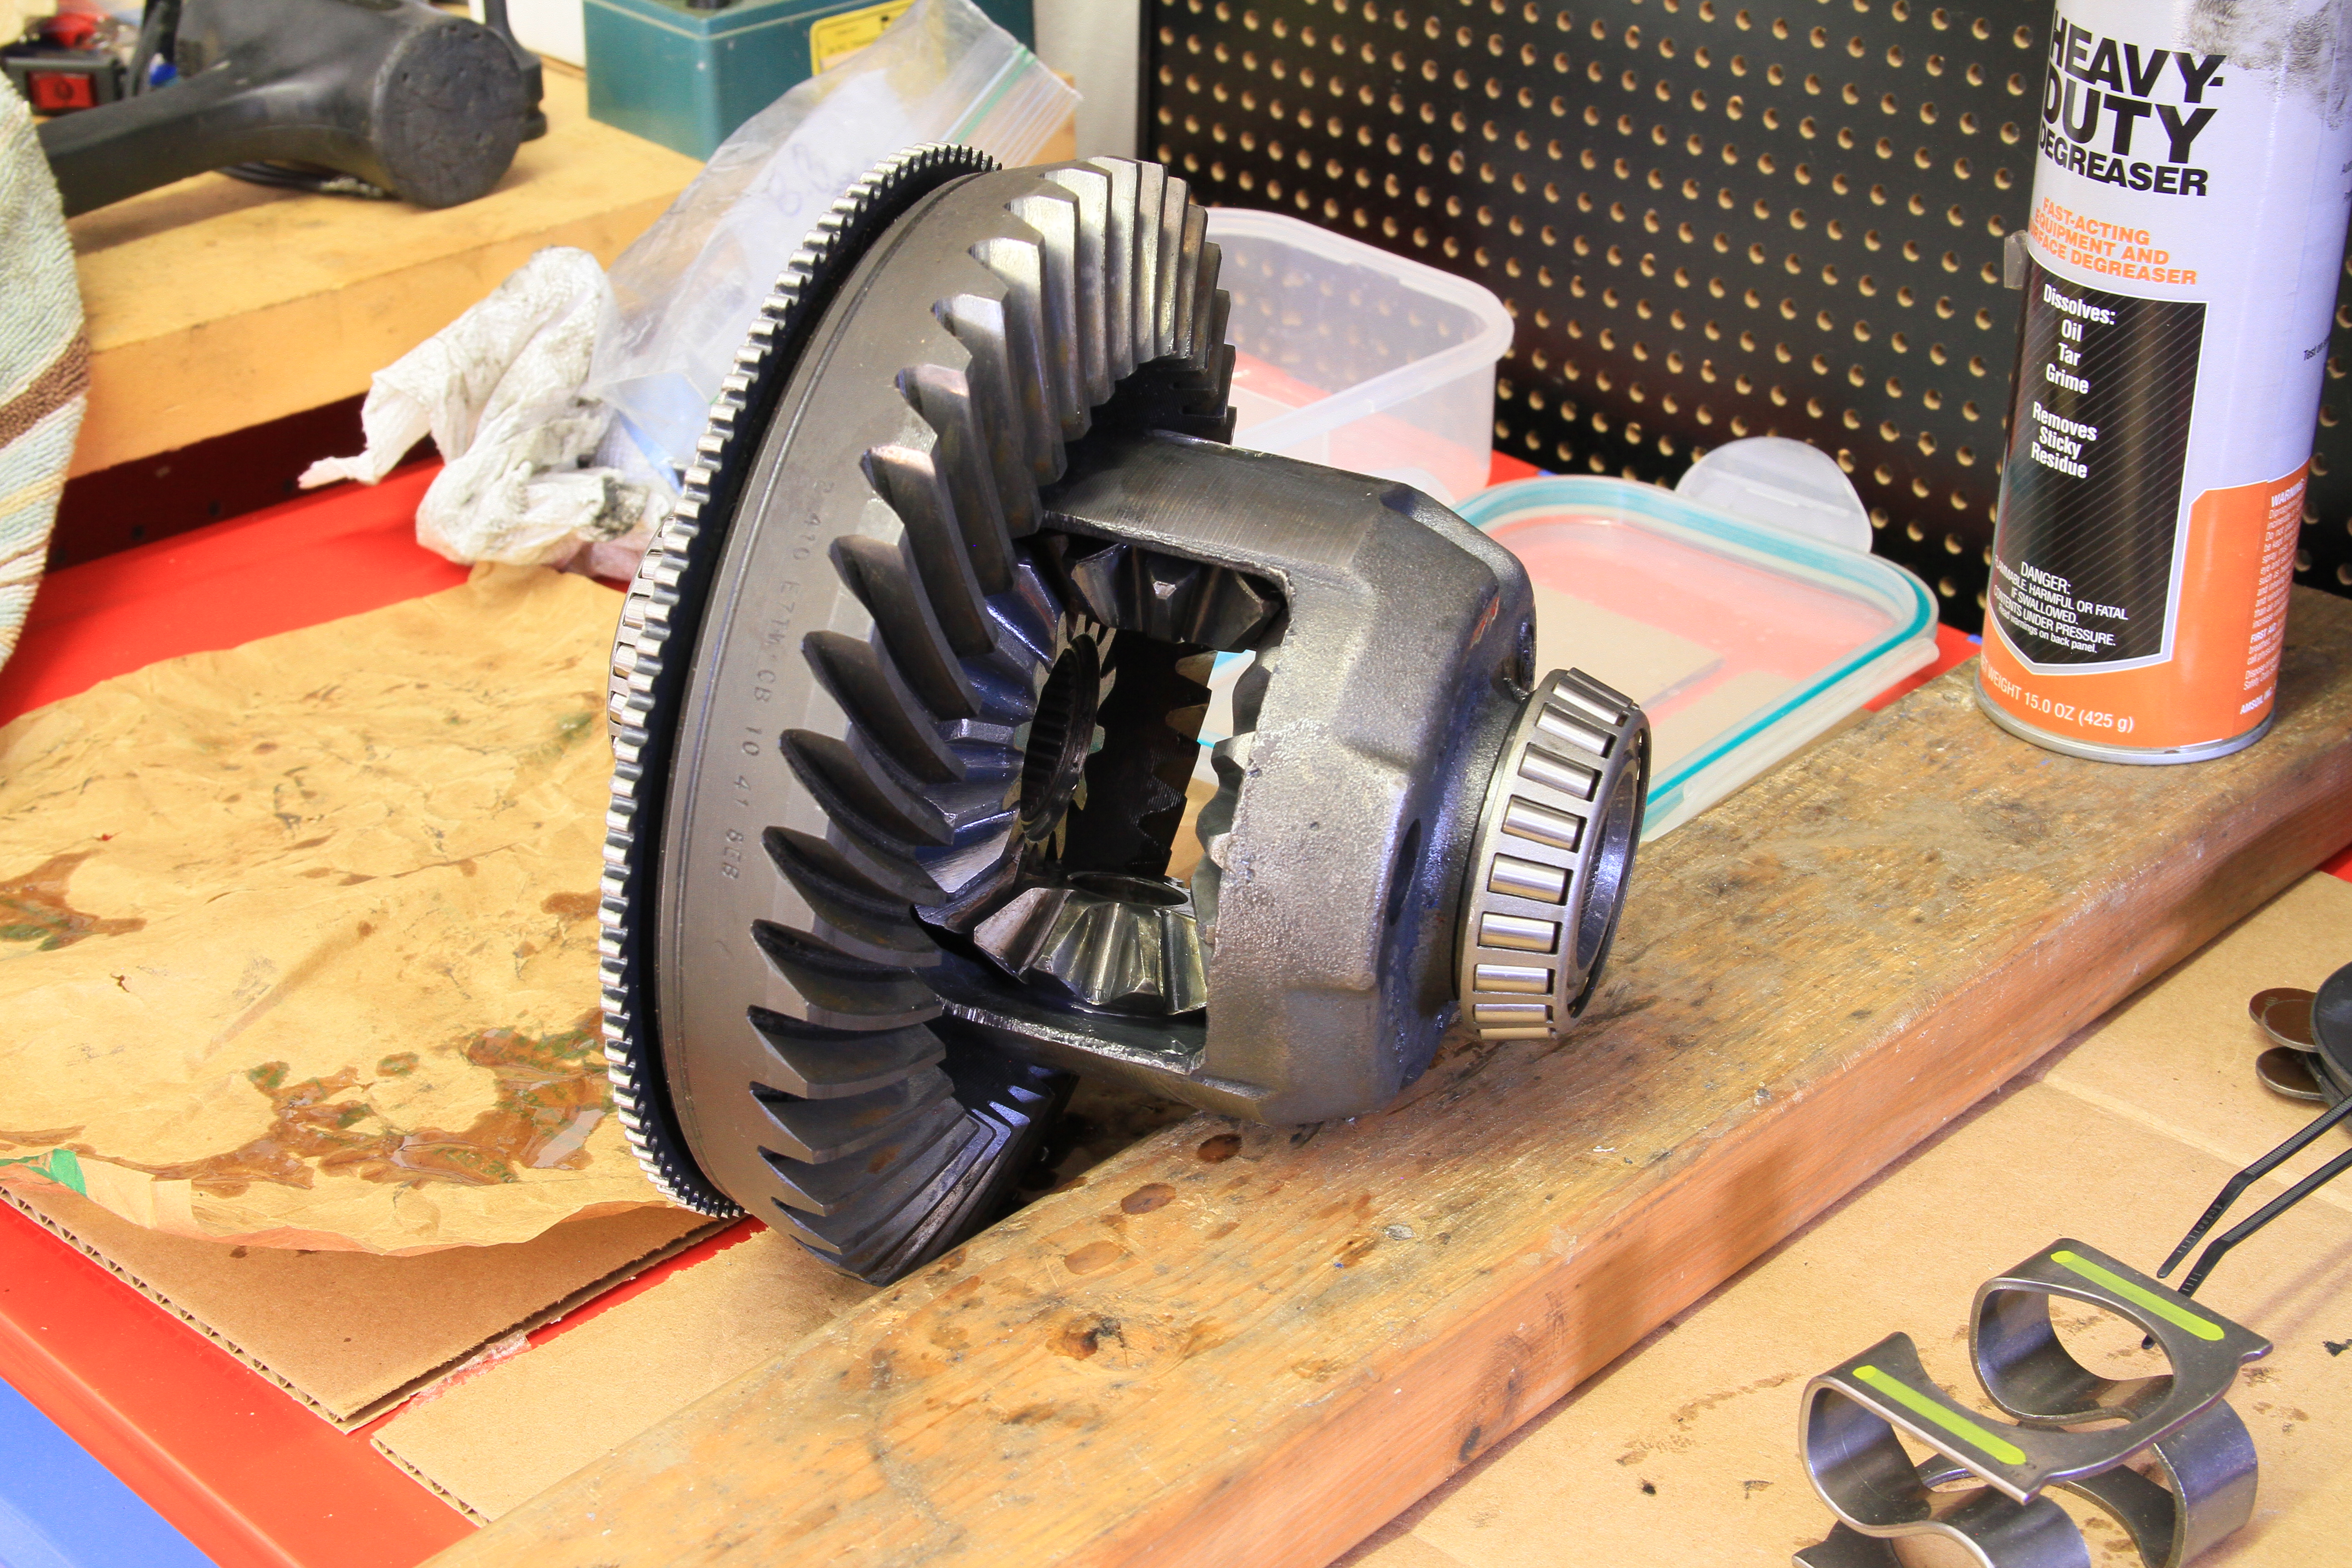
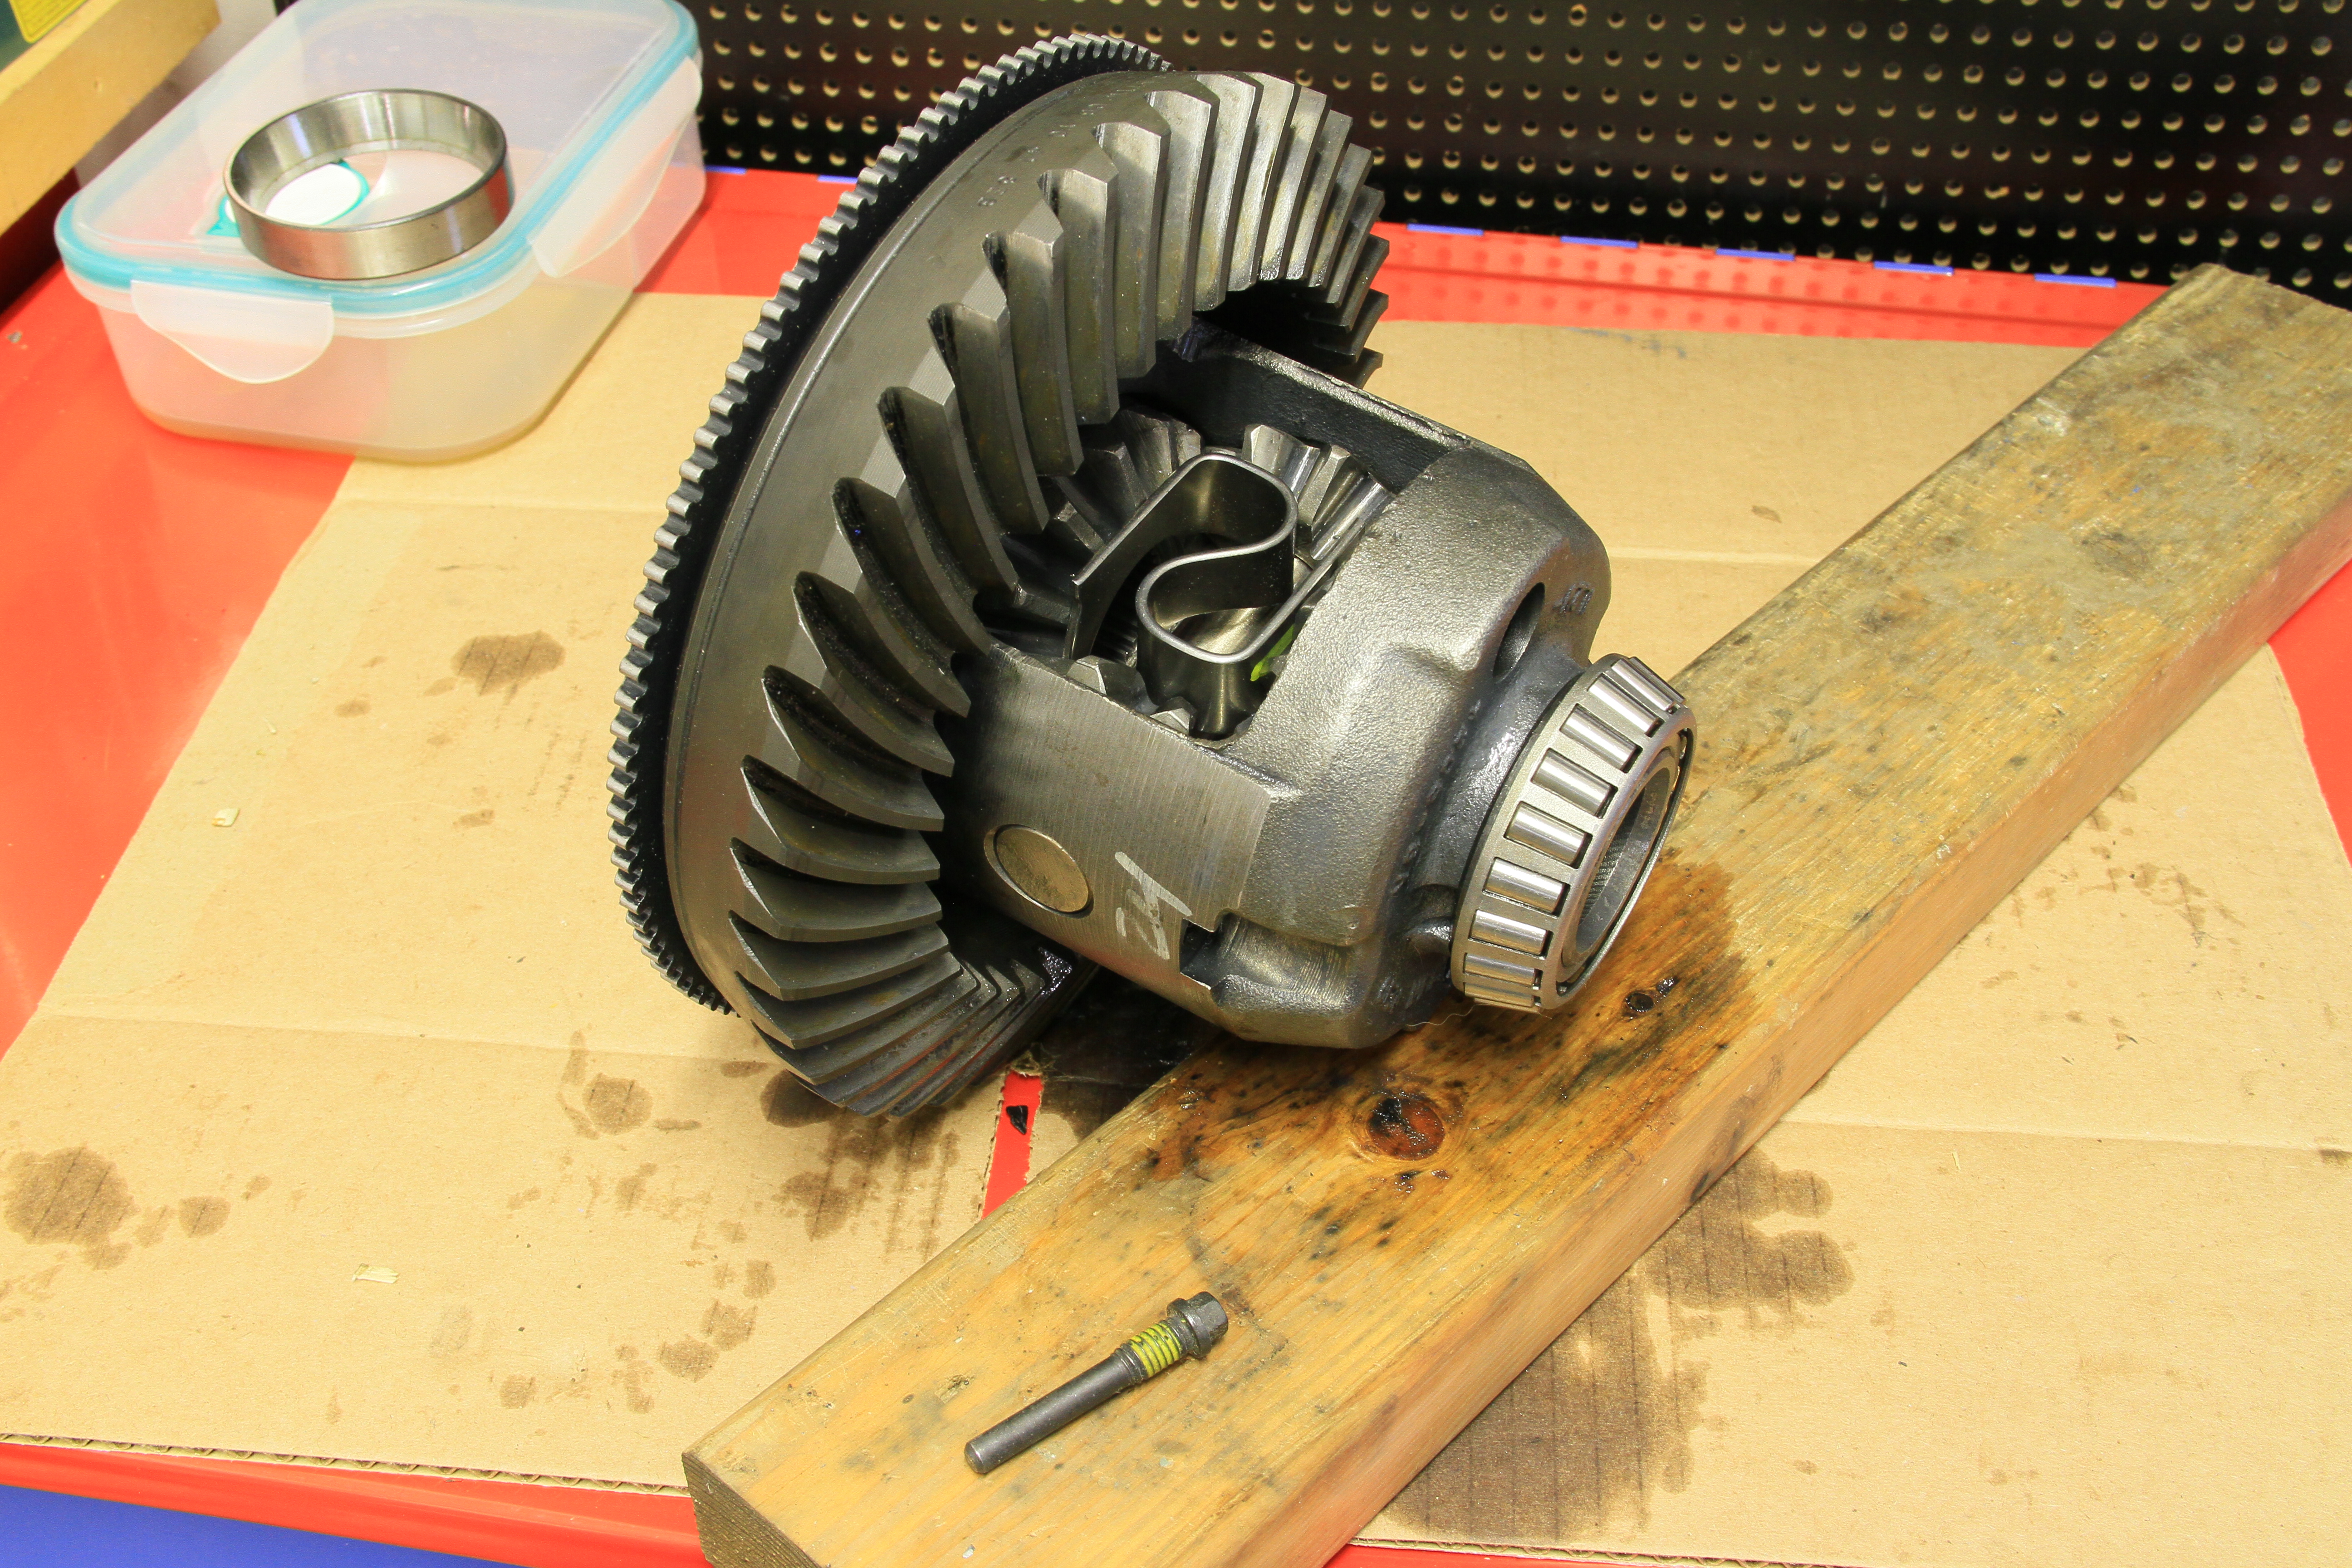
Remove the carrier from the differential housing and disassemble.
Using some AMSOIL heavy duty degreaser I fully cleaned the spider gears and inspected them for any damage.
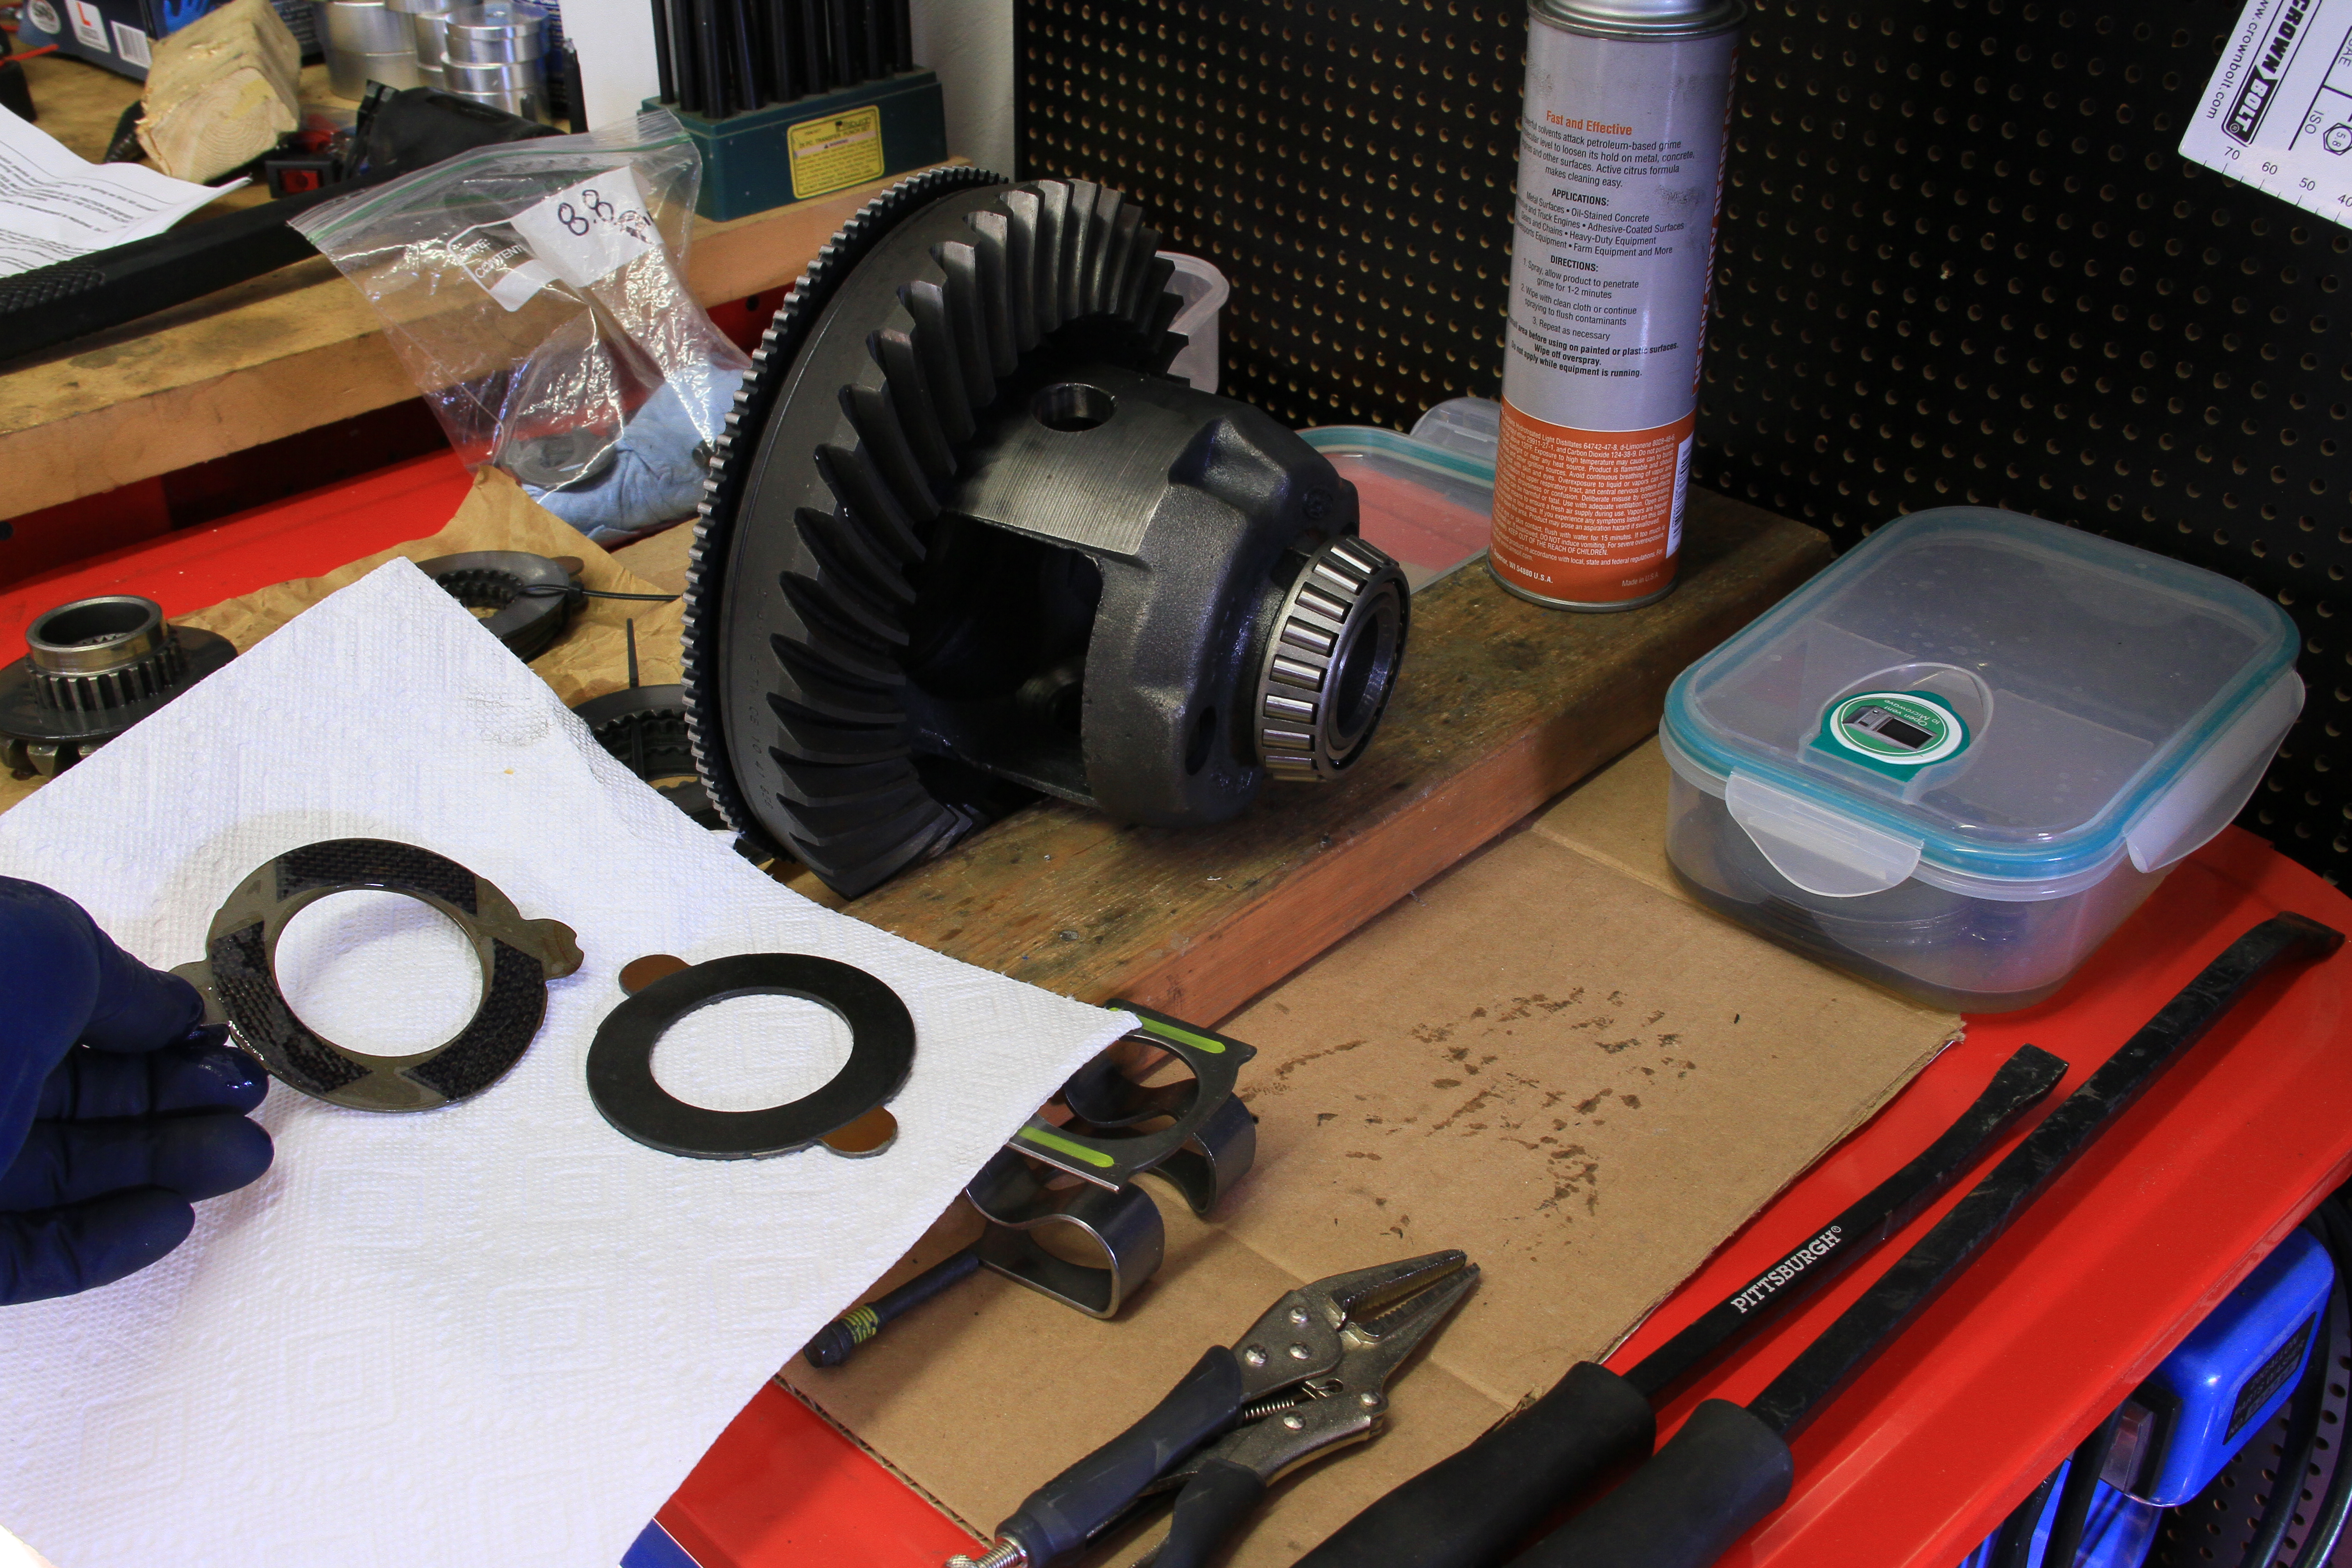
Here is the difference between the two clutch plates, new carbon fiber clutches on left, old standard clutch on the right.
Next is stacking the clutches and shims on the spider gears, the stacking order is as follows.
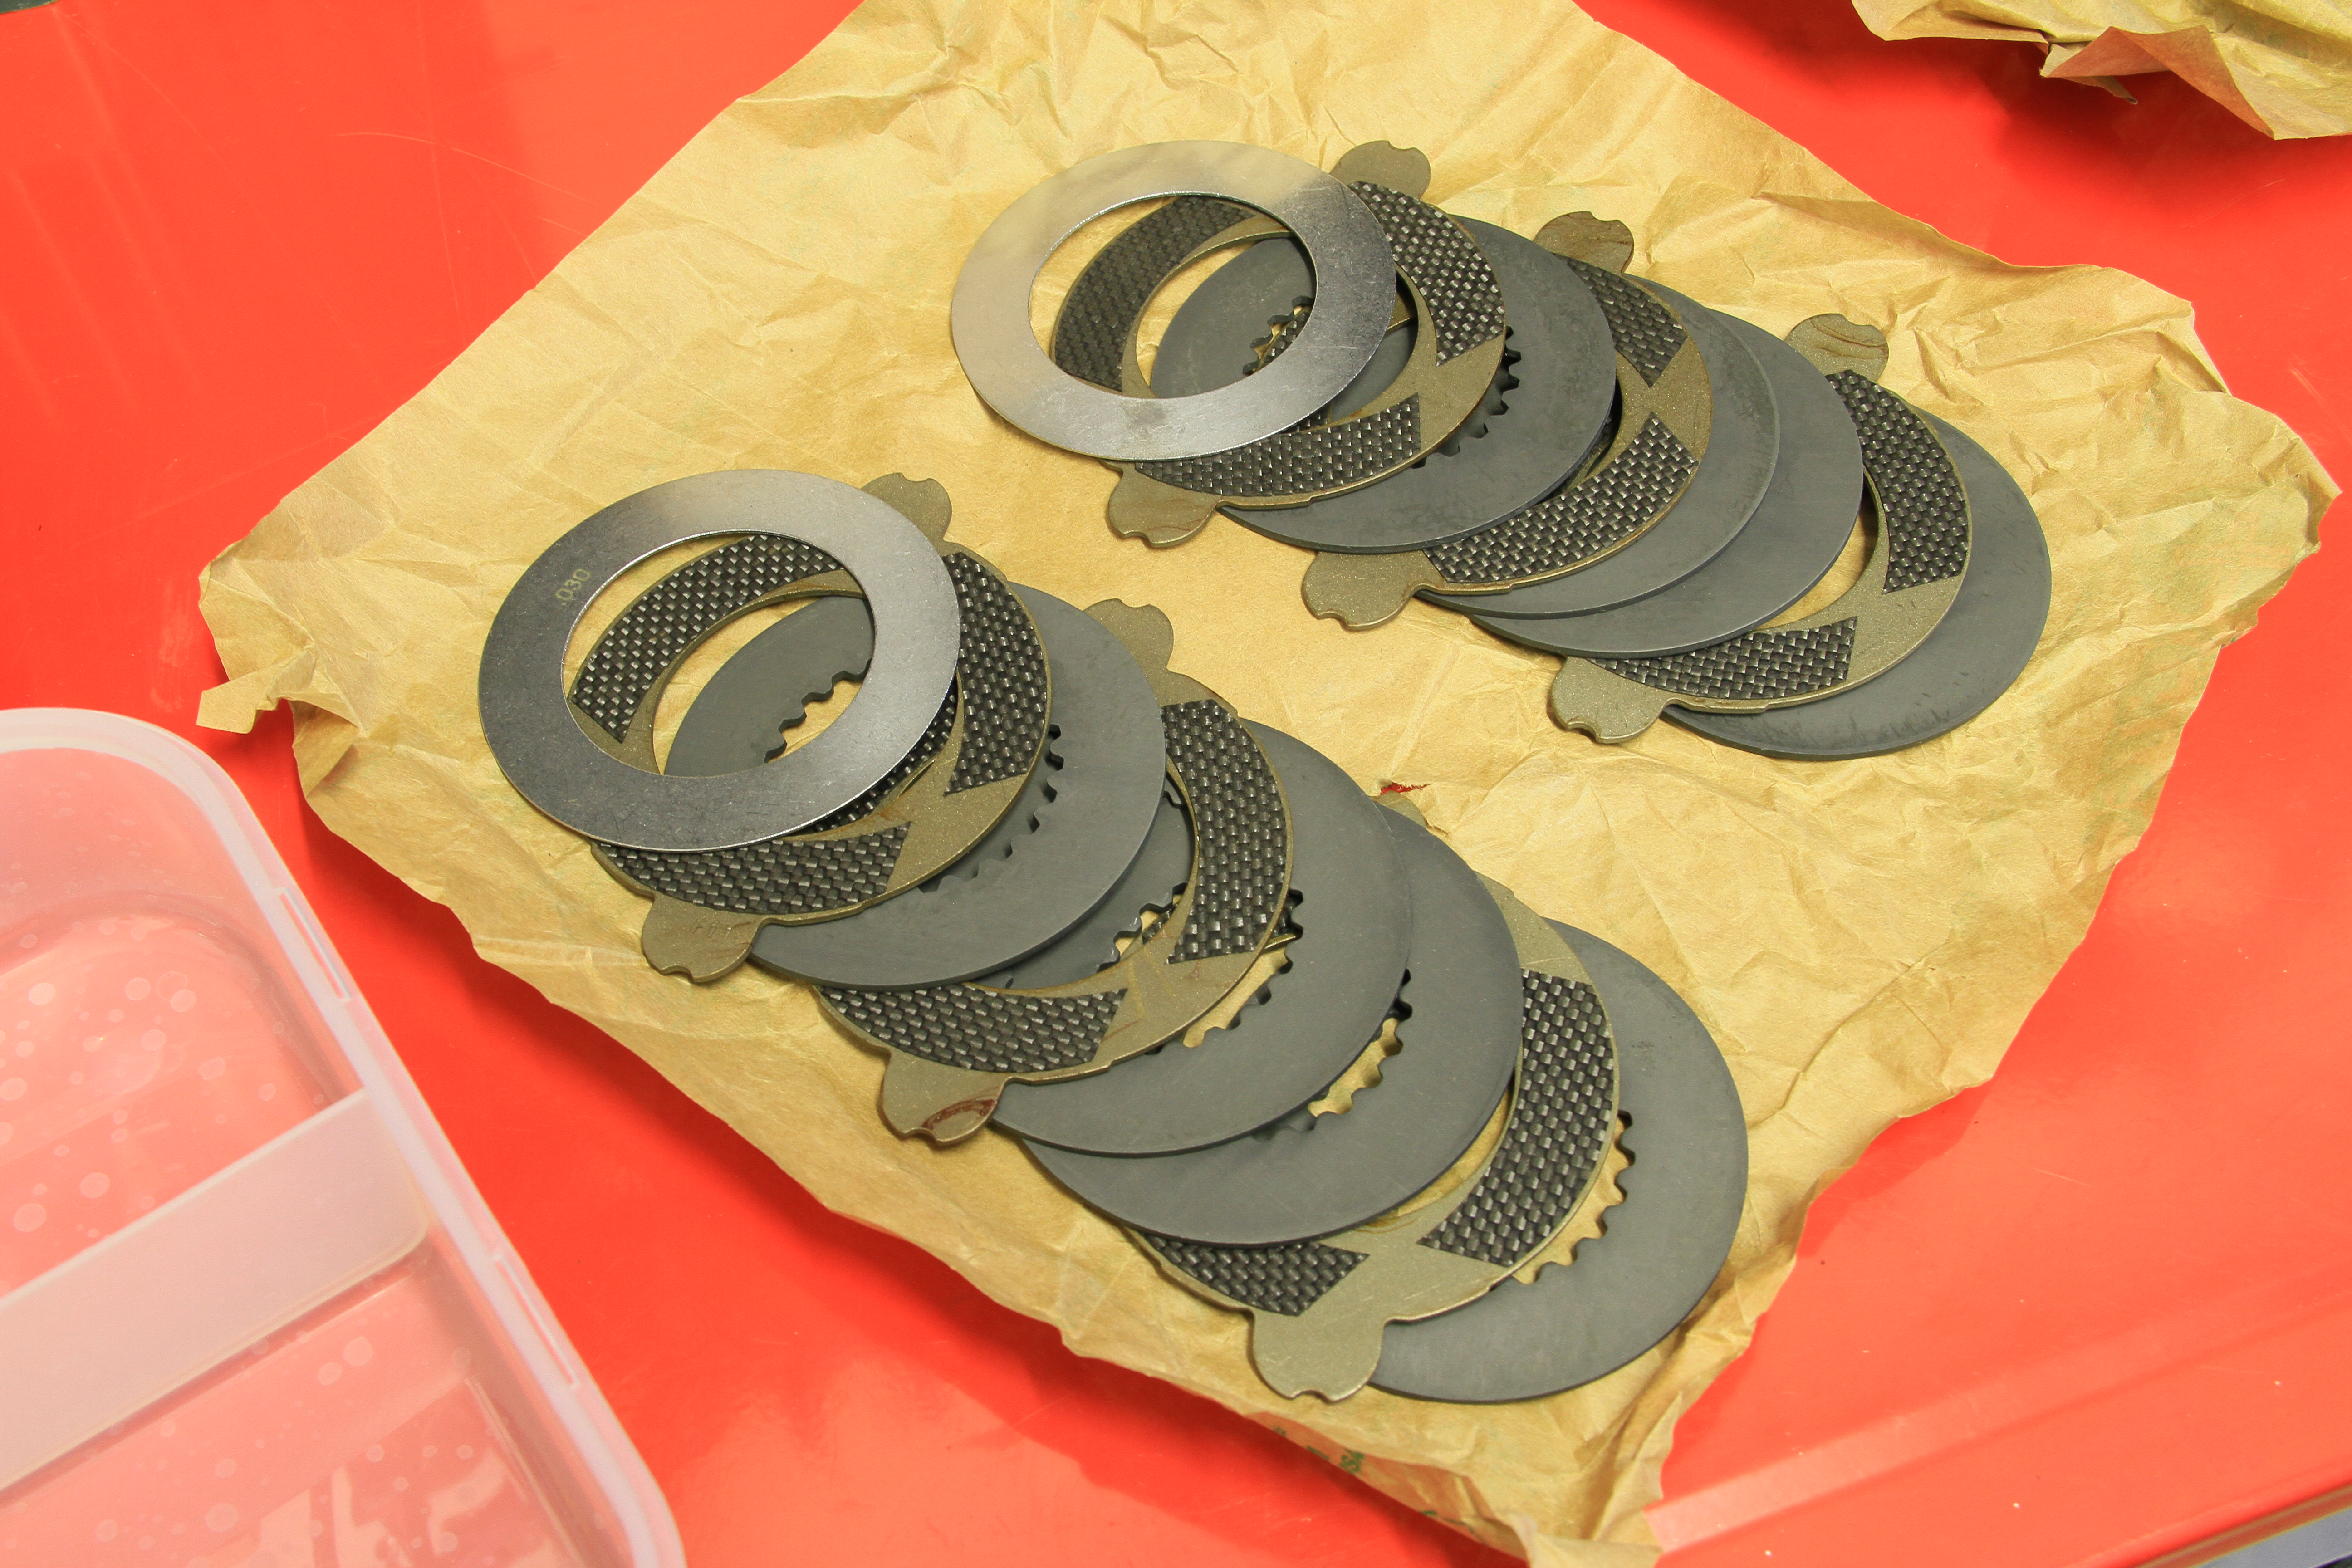
Spider Gear-Shim-Clutch-Shim-Shim-Clutch-Shim-Clutch-Steel
(Click above picture for animated stacking)

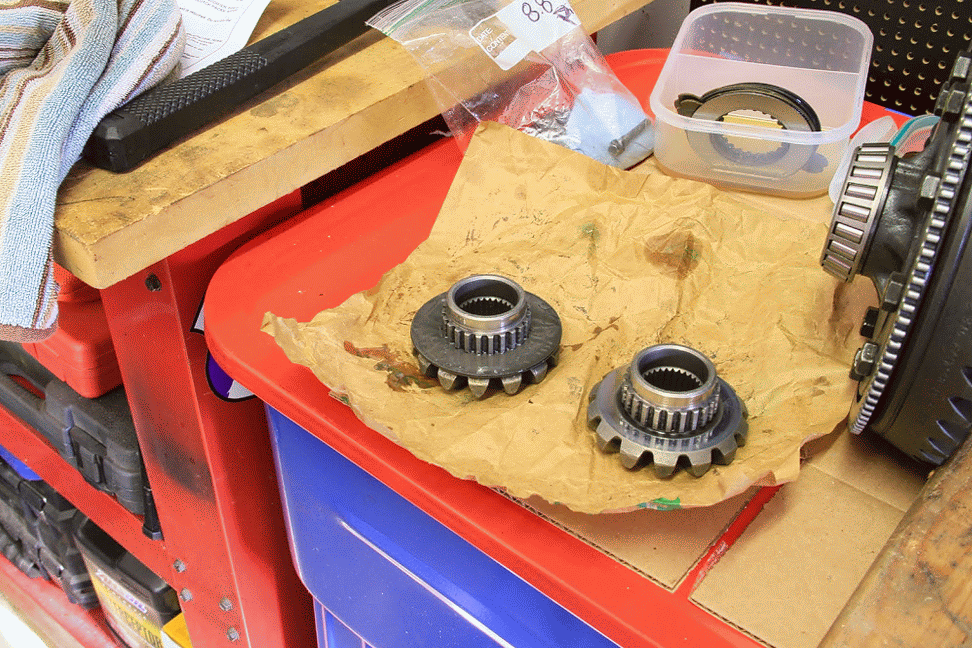
Install the clutch packed spider gears first, start with the gear on the same side as the carrier ring gear, then the opposite side, next turn the top and bottom spider gears with the trust washers into place making sure they are installed evenly because the cross shaft needs to go thought them.
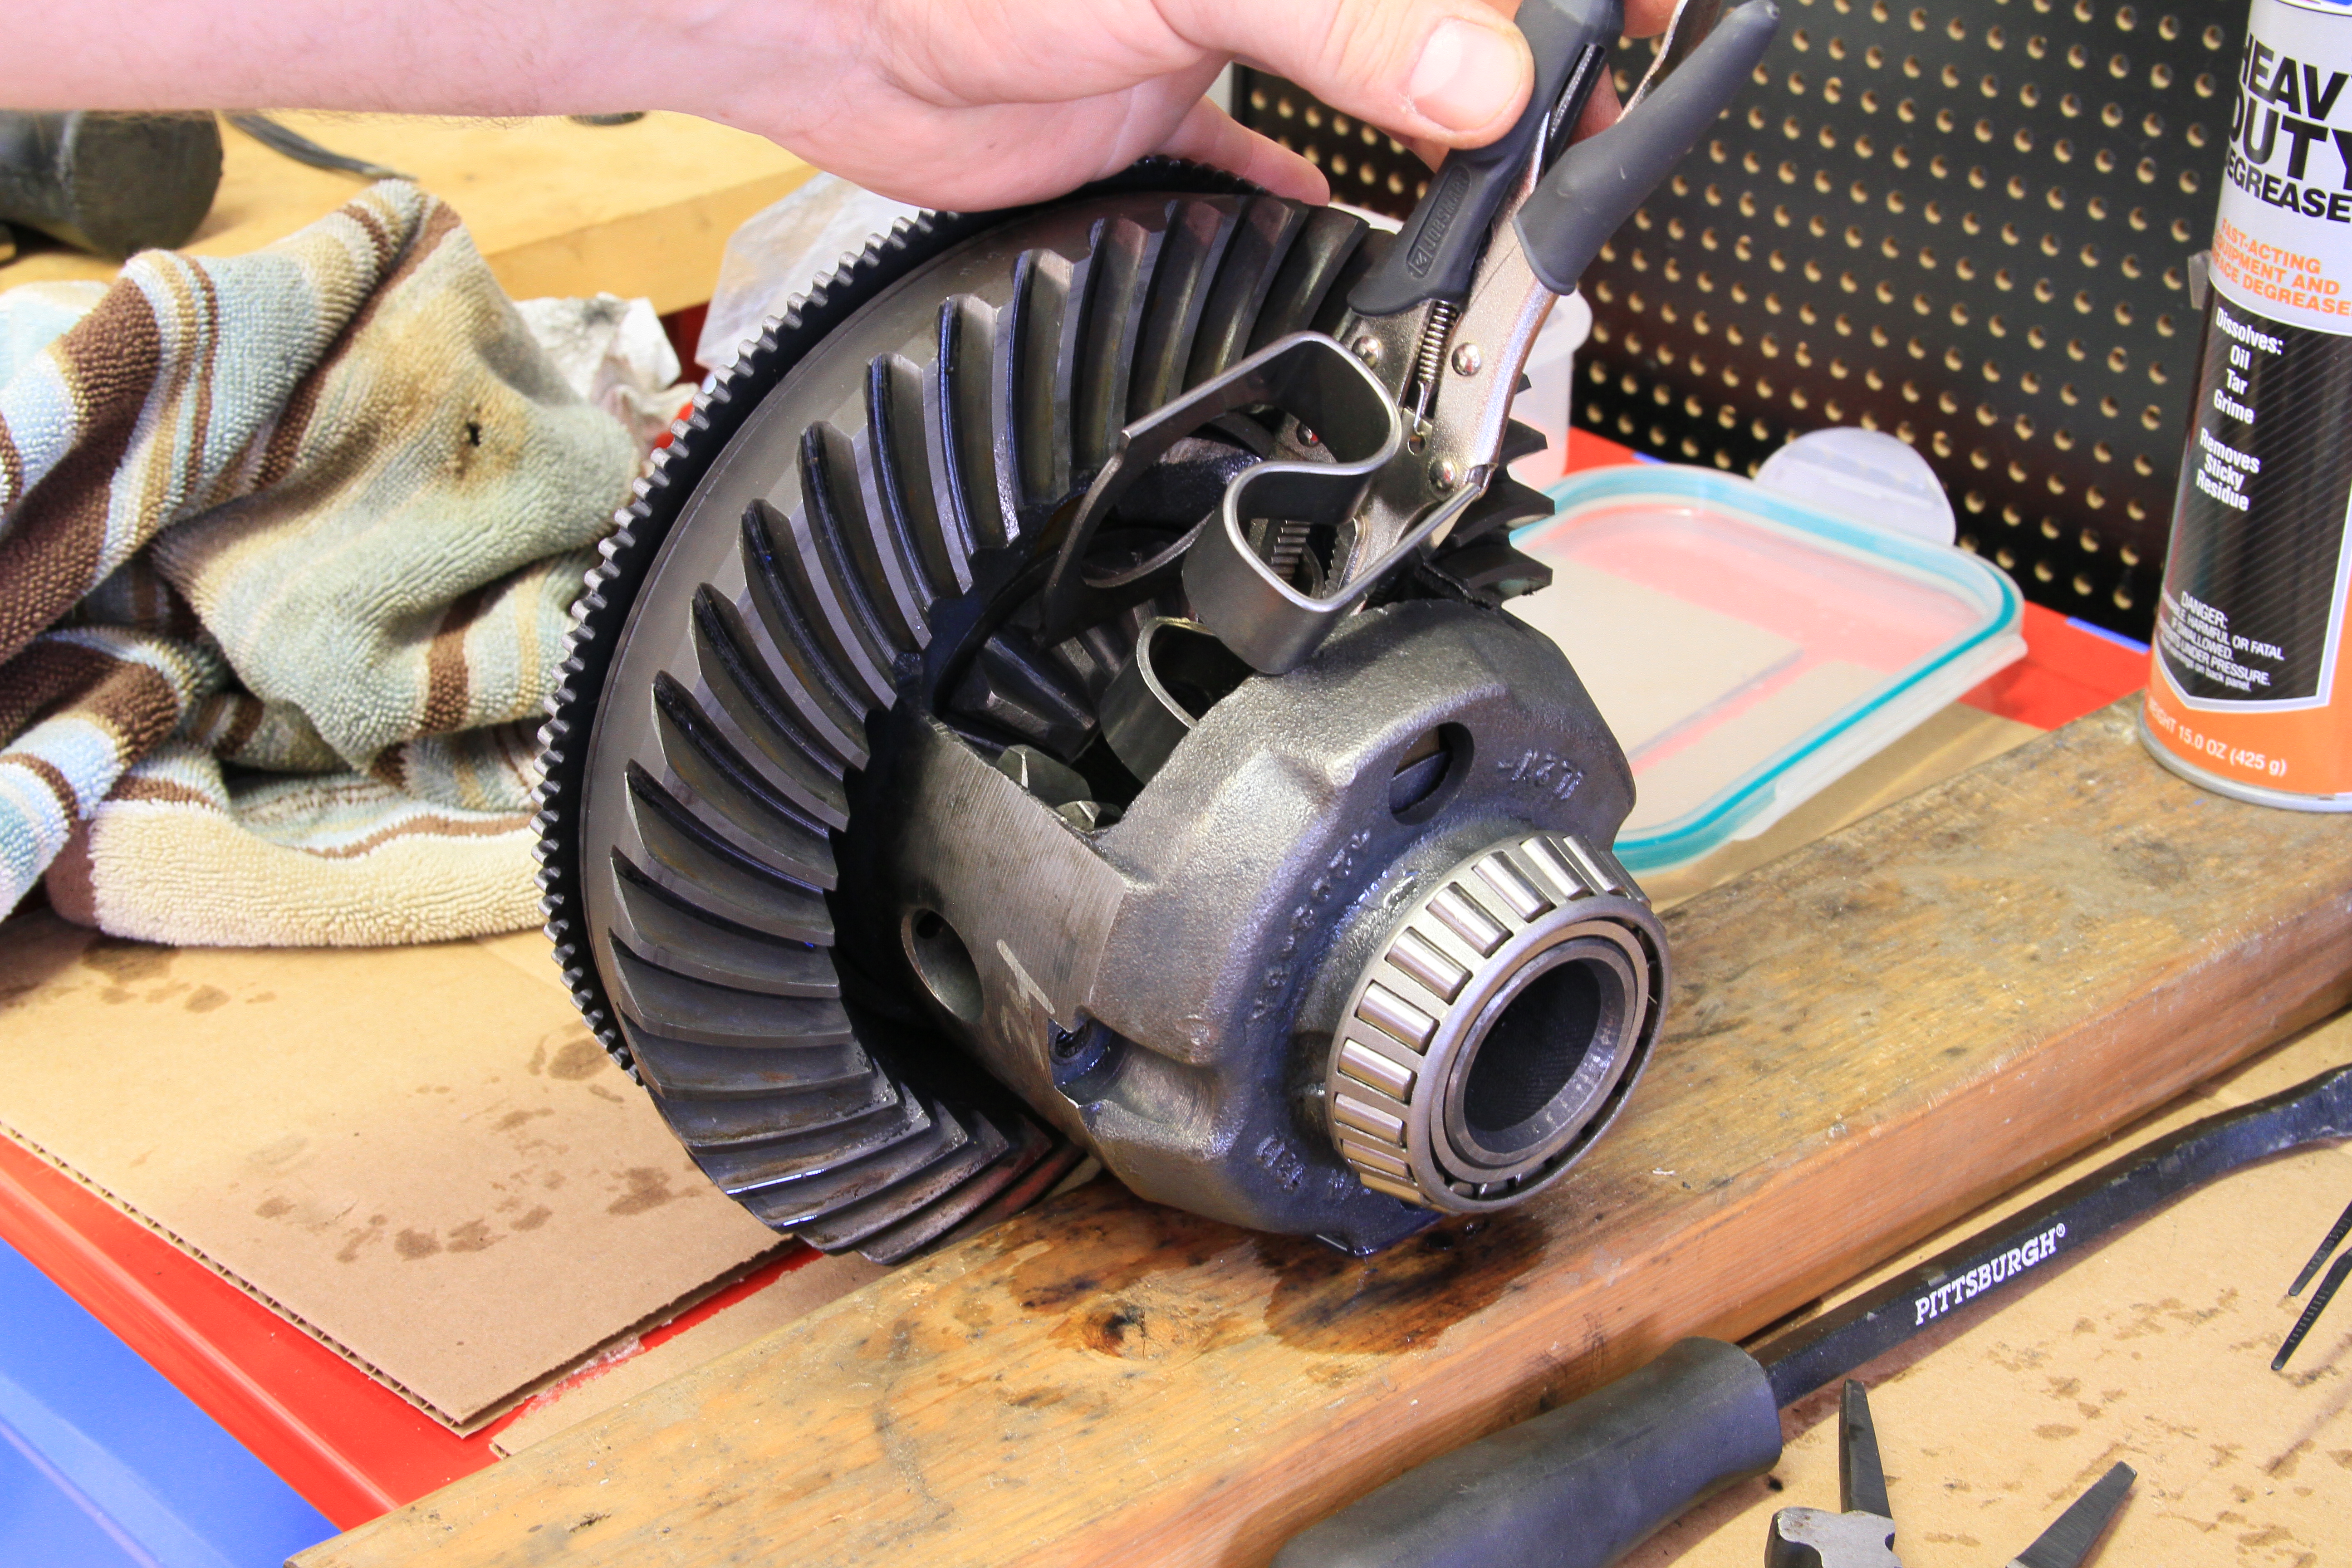
This is the difficult part, installing your new s-spring. Place the spring in a vice and clamp it down until the metal touches itself as pictured here with a small pair of needle nose vice grips.
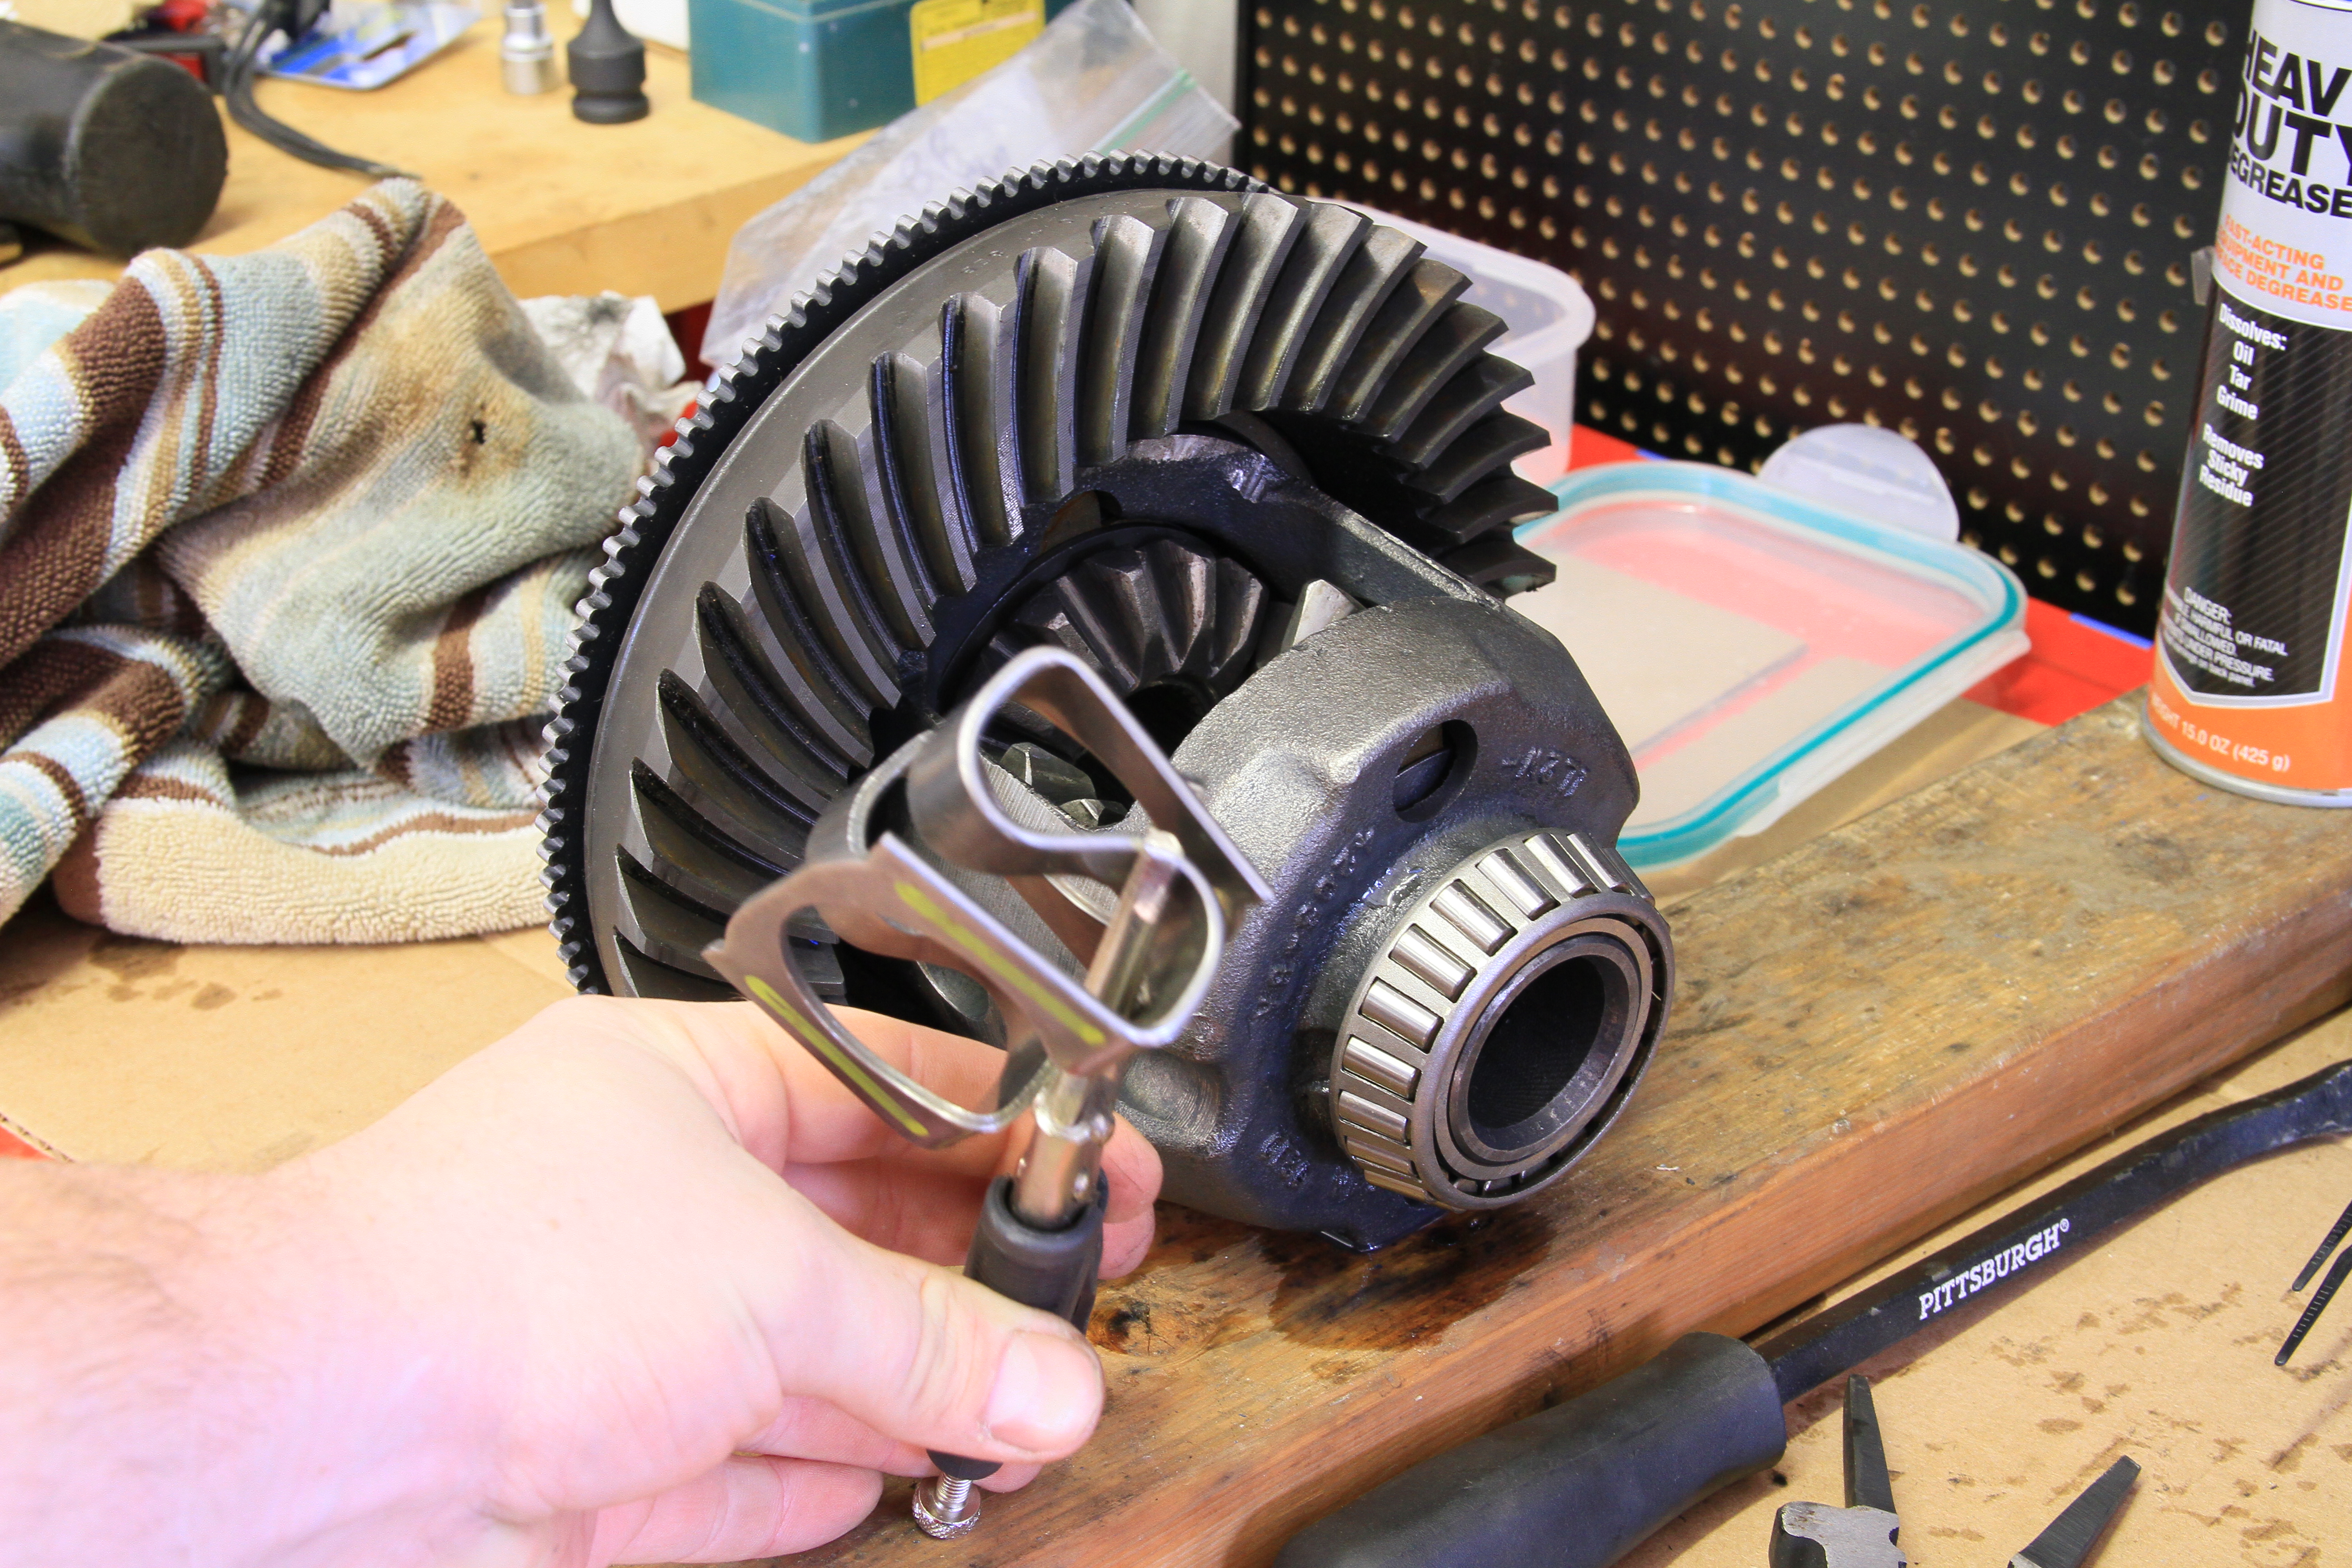
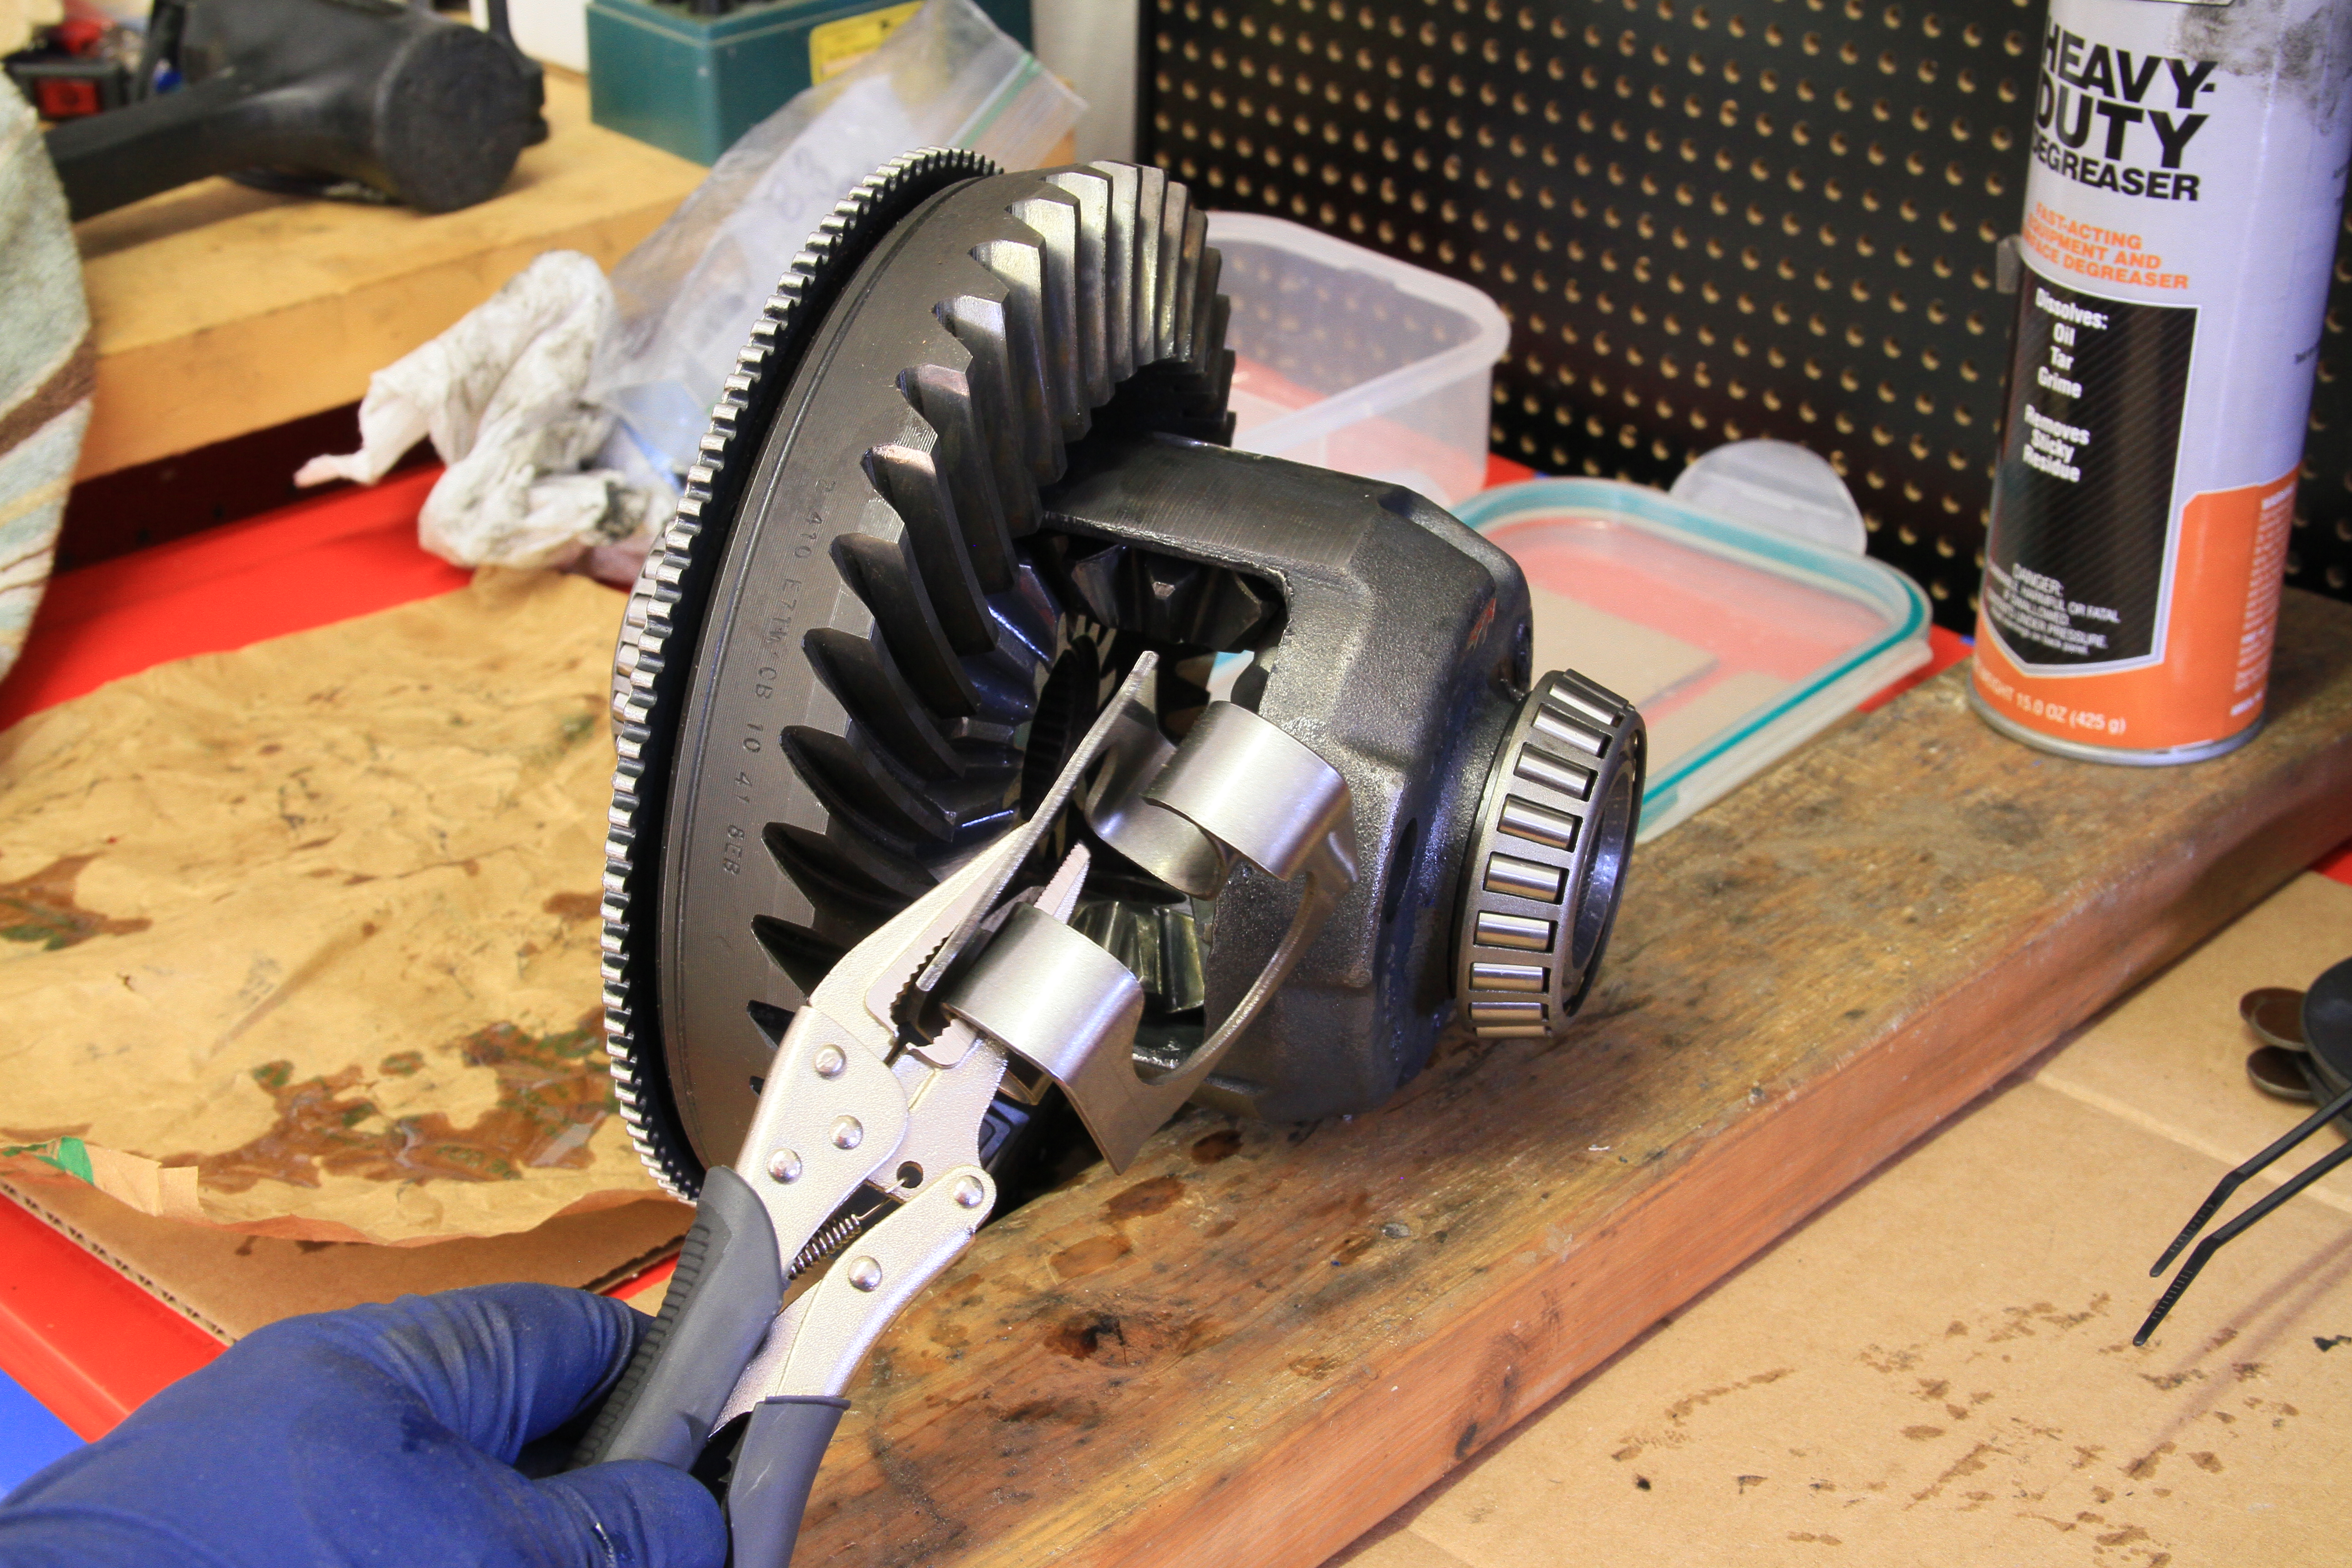
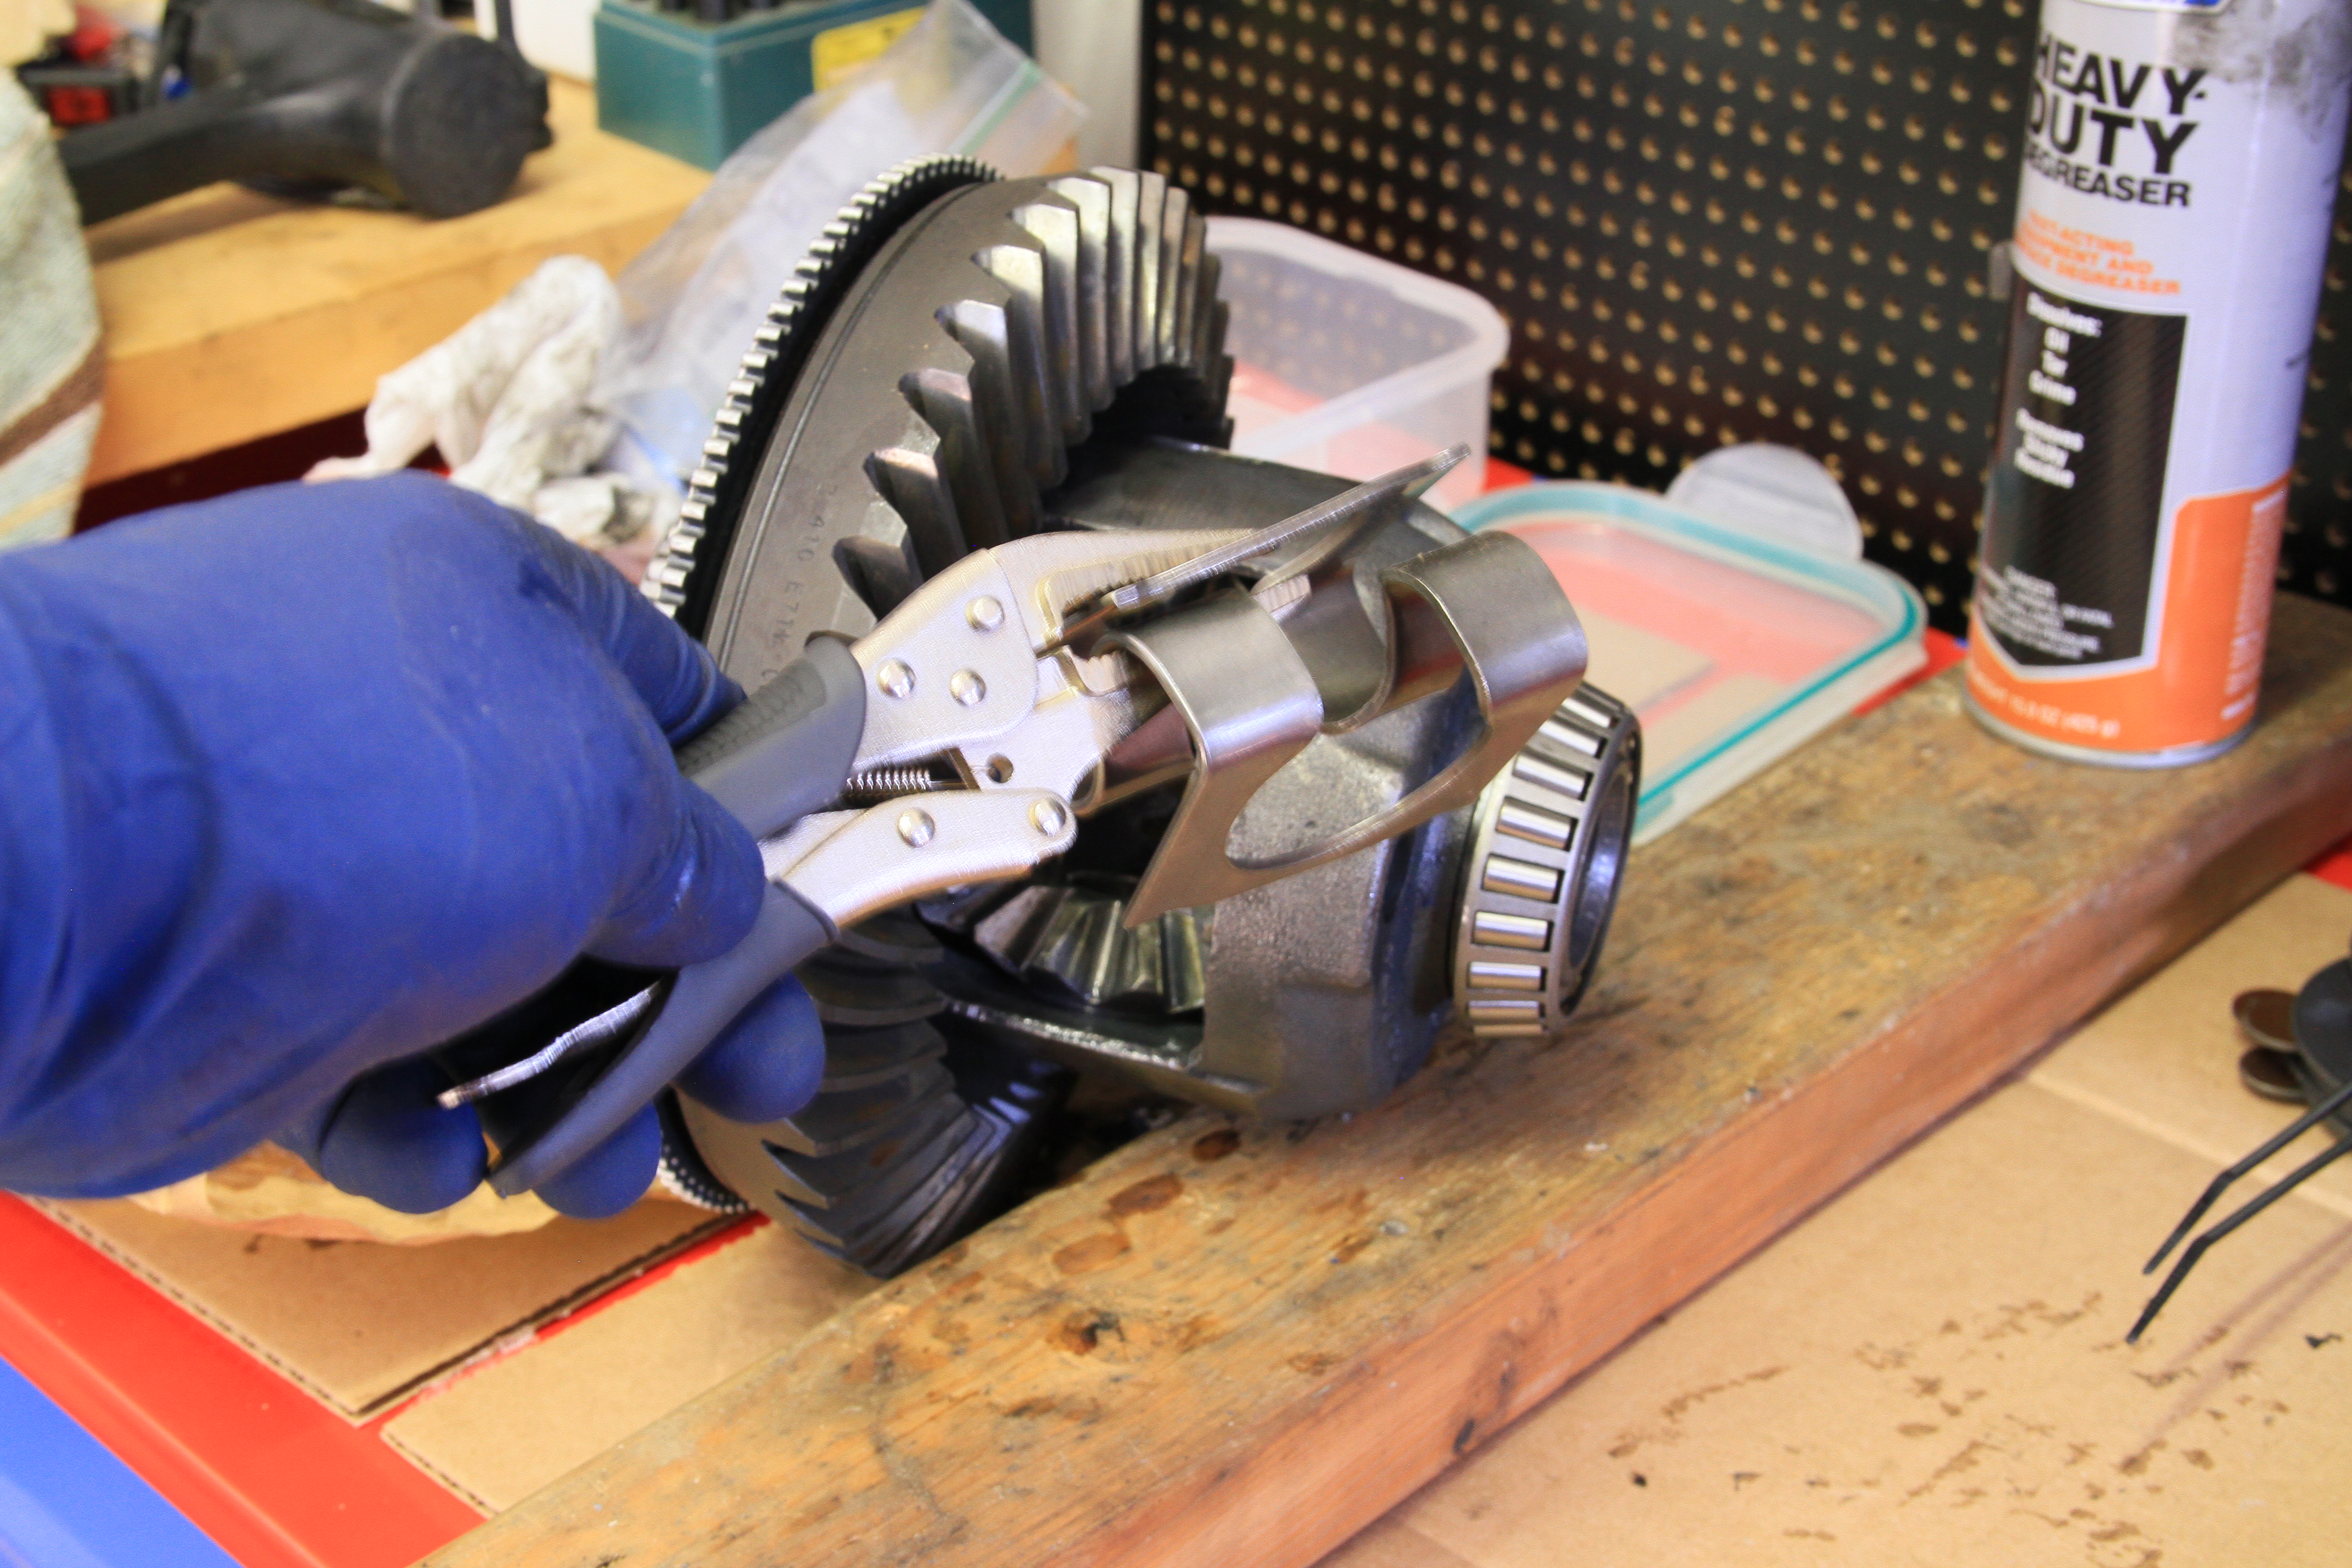
Place the spring in this position and give it a good wrap with a brass or dead blow hammer until it pops into the housing, then tap it down until it is in the correct position.
If you are looking for a video demonstration of the S-Spring install check this out, this is Ken from BadShoeProductions
(I was able to do the next step on the bench because of my non c-clip axles, if you have c-clip axles you will need to install the carrier first back into the differential, install the axle shafts and c-clip’s and then place the cross pin and lock bolt in place. Either way, make sure you check that everything is lined up before installing the carrier into the housing)
Next install the cross shaft (making sure the hole for the lock bolt is on the correct side and lined up) and cross shaft lock bolt. Tighten to (20-41 N*m) 15-30lb/ft.
Now simply reverse order for installation.
When installing the carrier, the side shims and bearings can be a little tricky to hold all together. If you can get a helper for this part it will make things much easier. If you don’t have a helper, try using some white lithium grease to help hold all the pieces in place.
Tighten the bearing caps back down.
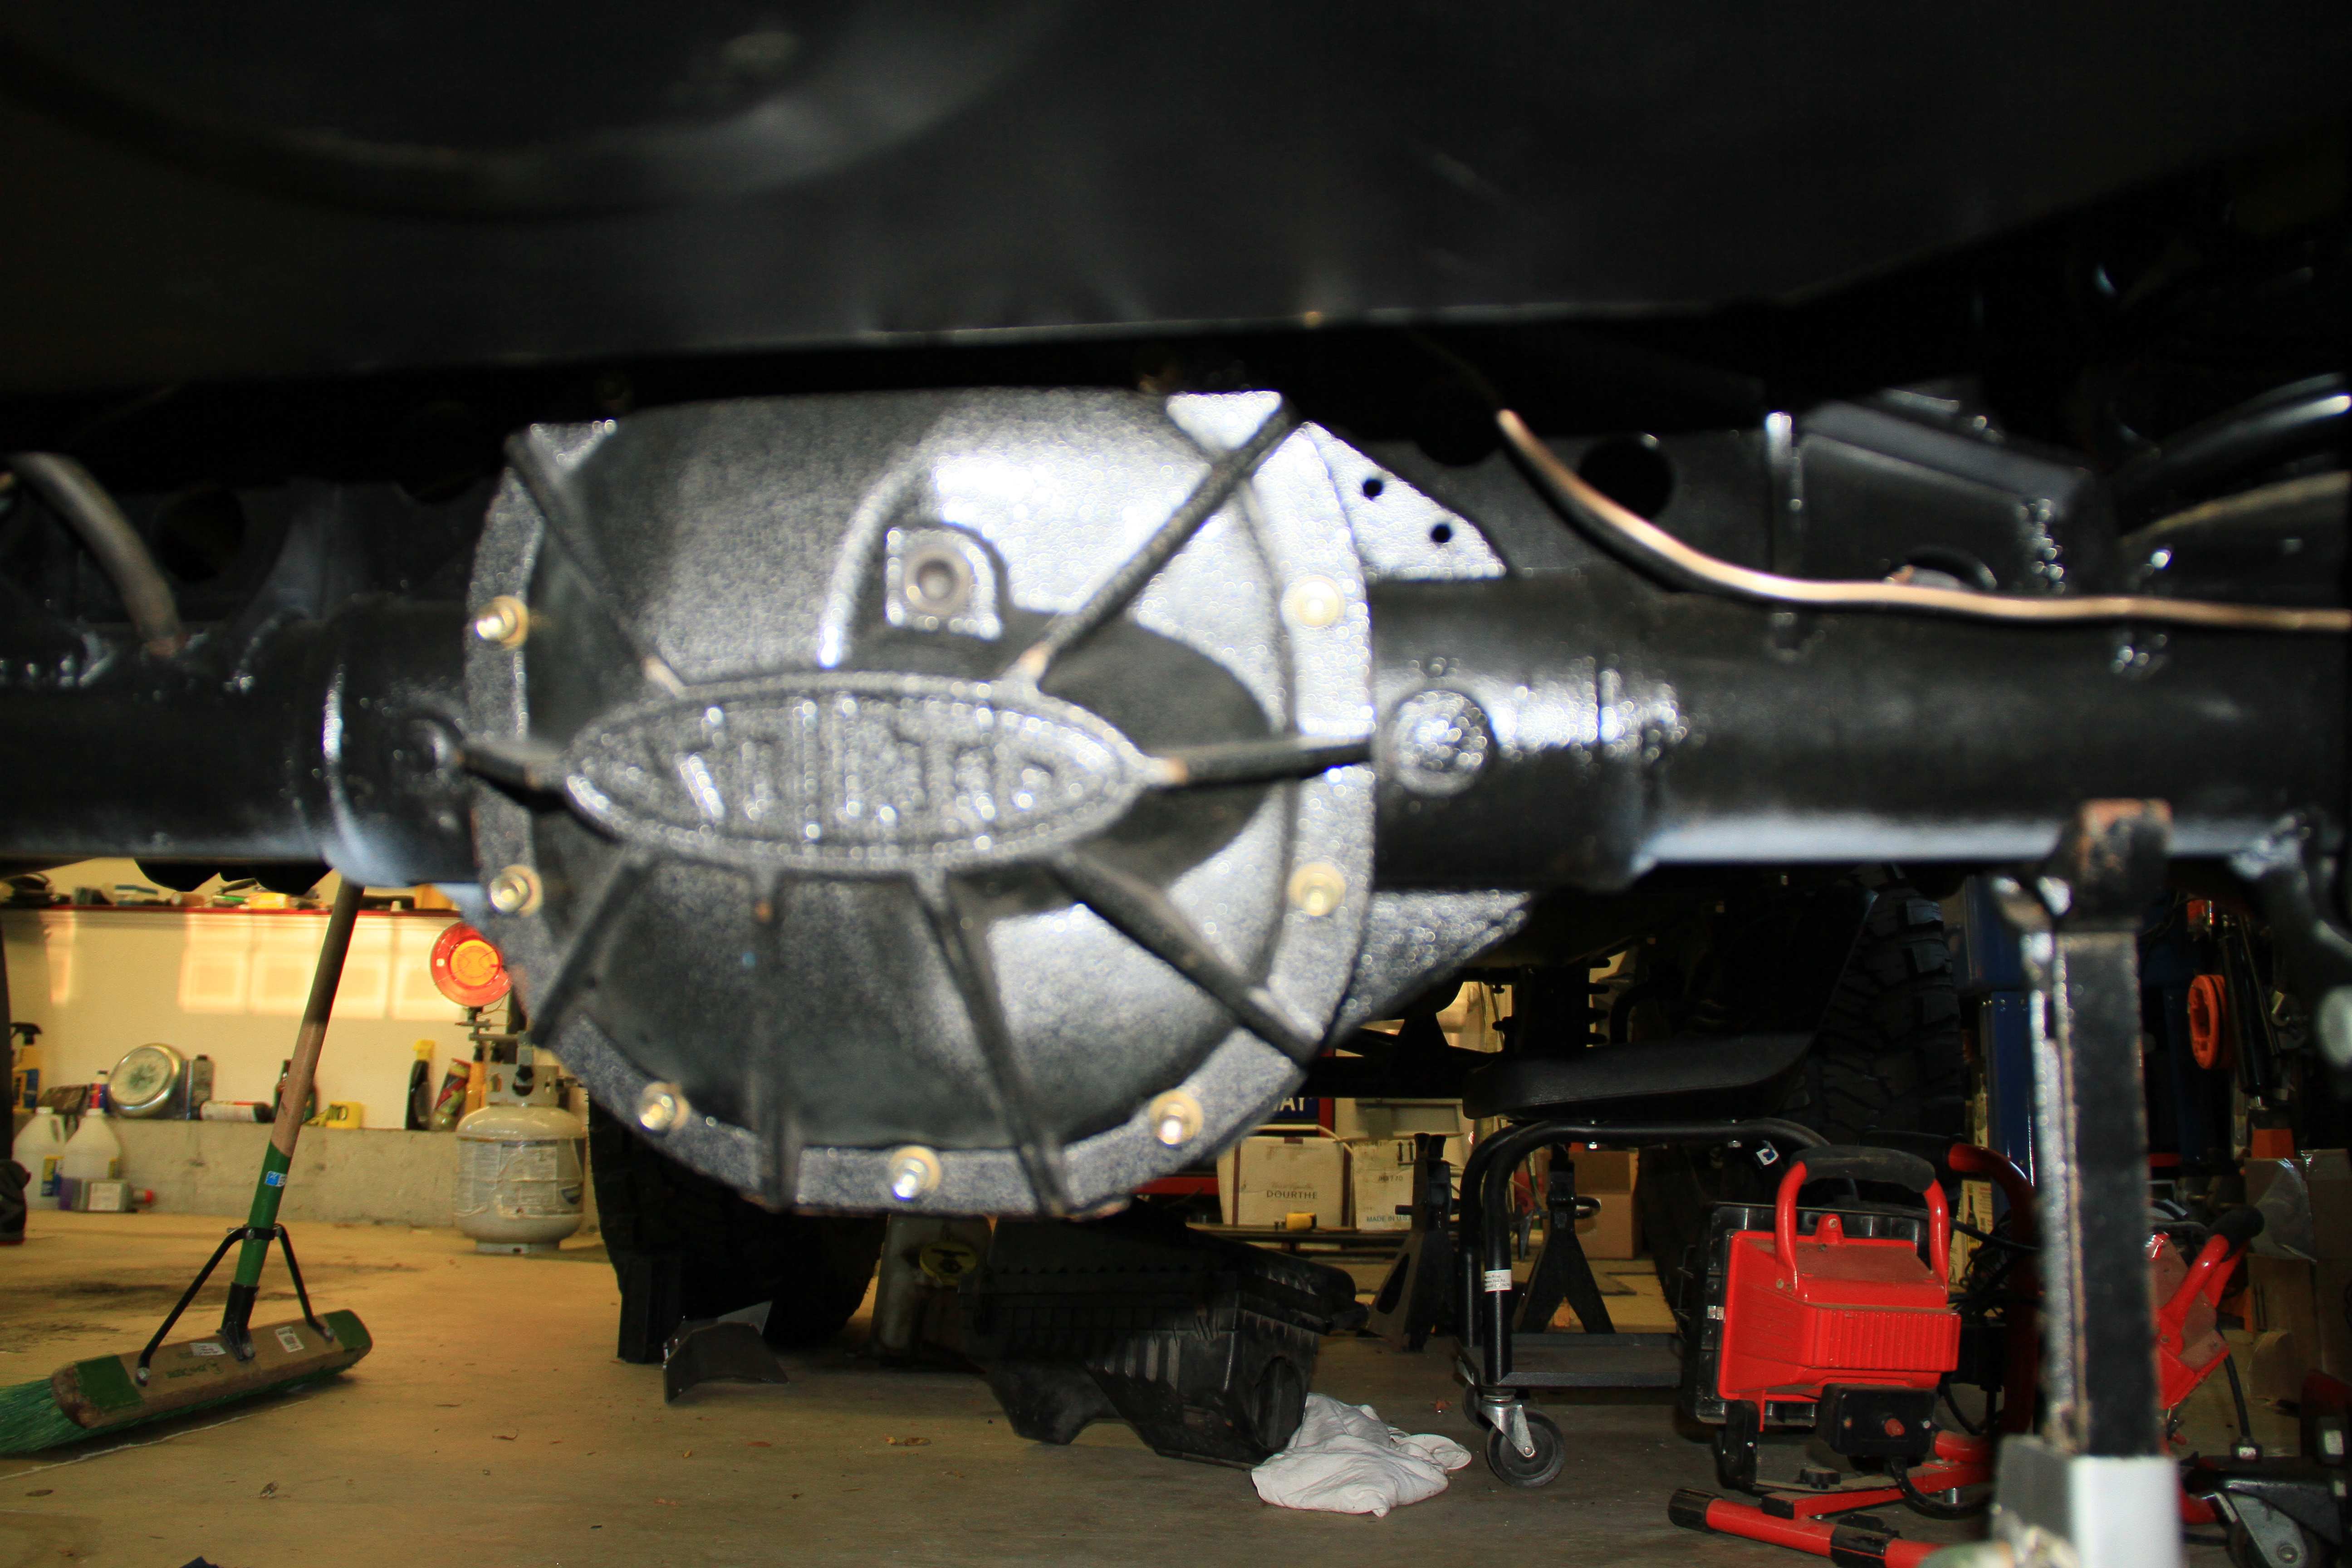
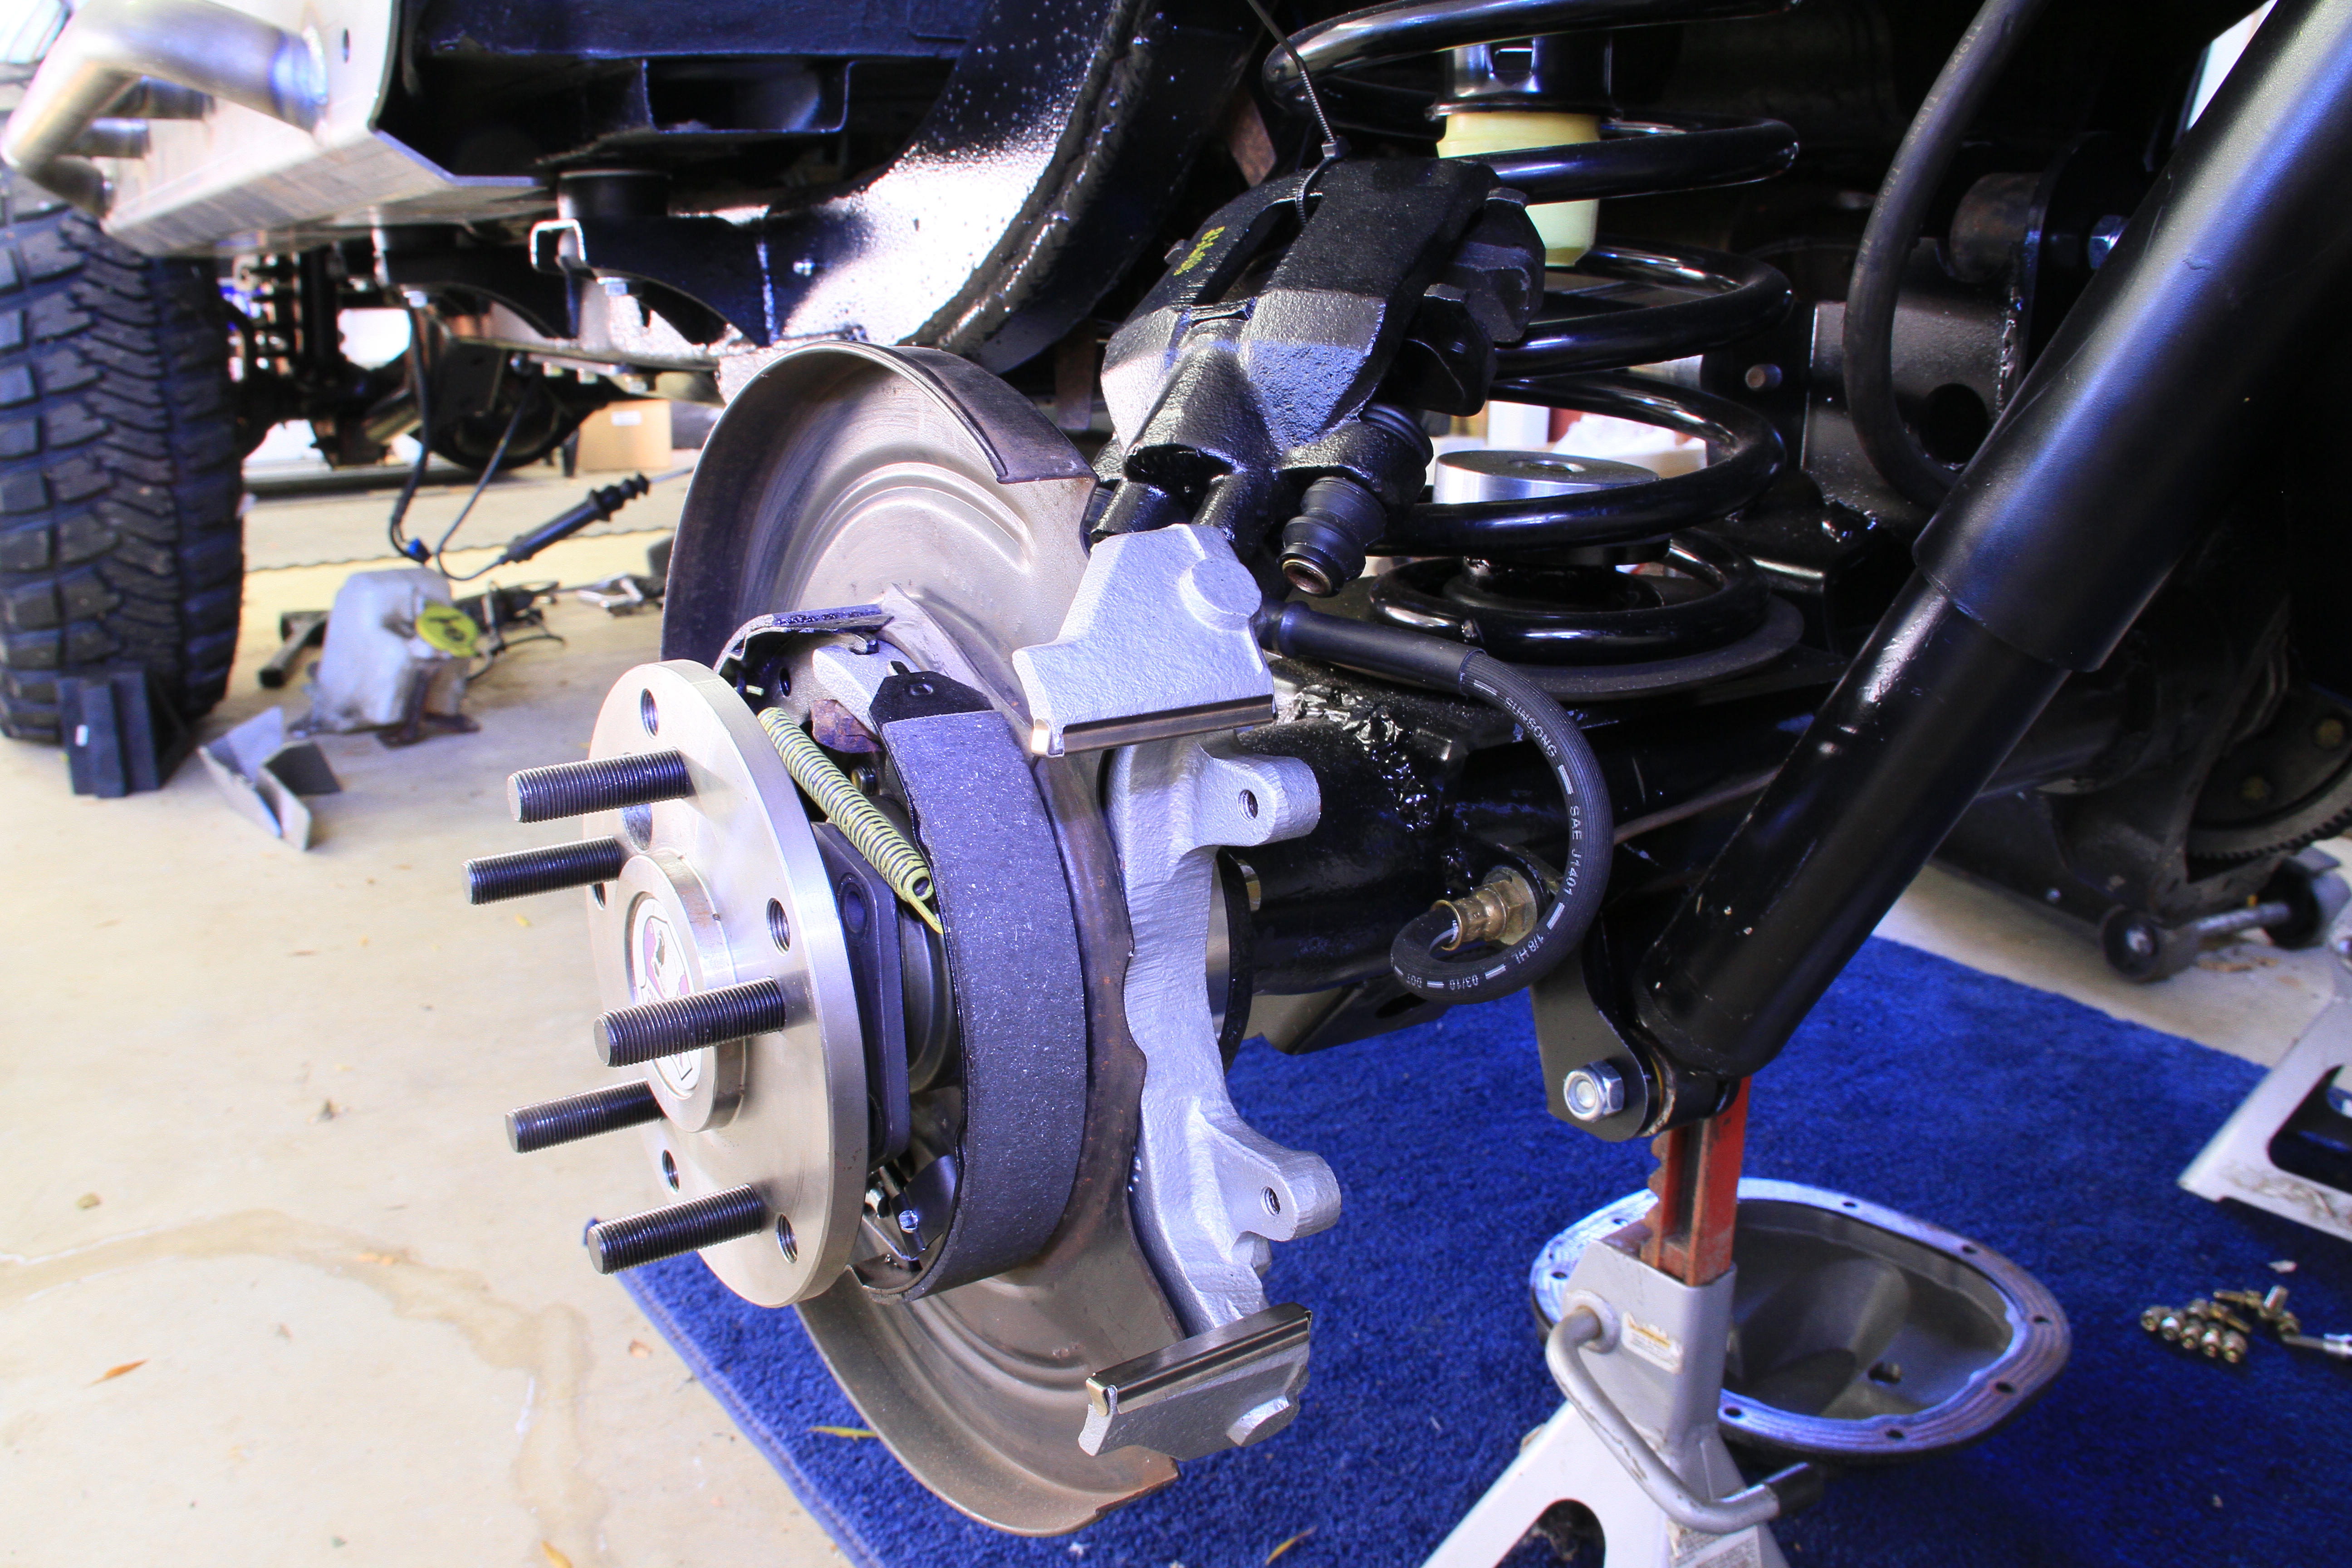
Install the axle shafts. Install the cover with either silicone gasket sealant or lube locker gasket. Install the brake components. Install tires. Torque everything to spec.
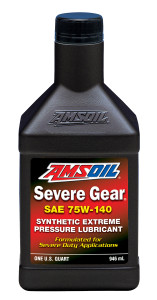
I then filled up the differential with 5.7 Pints (2.85 Quarts) of AMSOIL Severe Gear® 75W-140 and 4 oz. of AMSOIL Slip Lock.
I then lowered the Jeep back down on to the ground.
There you have it. I hope this helps some people and as always if you have any questions feel free to contact me.
You must be logged in to post a comment.