I recently installed a slip yoke eliminator on my NP231 transfer case out of my Jeep Wrangler TJ. I took a fair amount of pictures, capturing just about one for every step. I would like to point out it was not that hard of an install with the proper tools and it was of course much easier considering the transmission and transfer case are out of my jeep. As with all my write ups this is just a guide and I am not perfect if I missed something, please let me know so I can fix the error. Most pictures are clickable for larger versions.
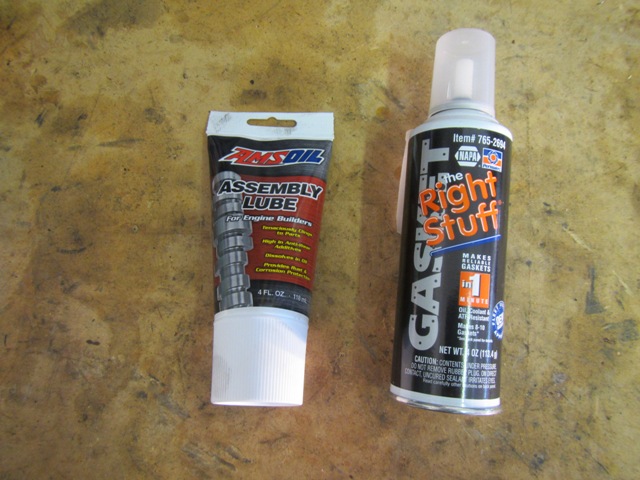
So I got my two main products needed for the job aside from a pile of tools.
AMSOIL Assembly Lube and The Right Stuff gasket maker.
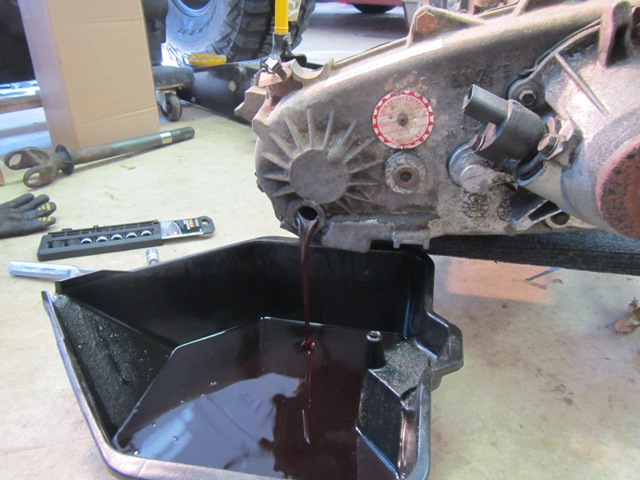
First thing was to drain the ATF
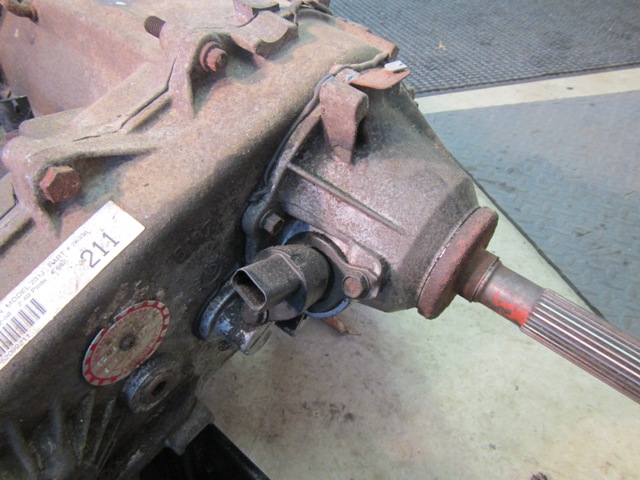
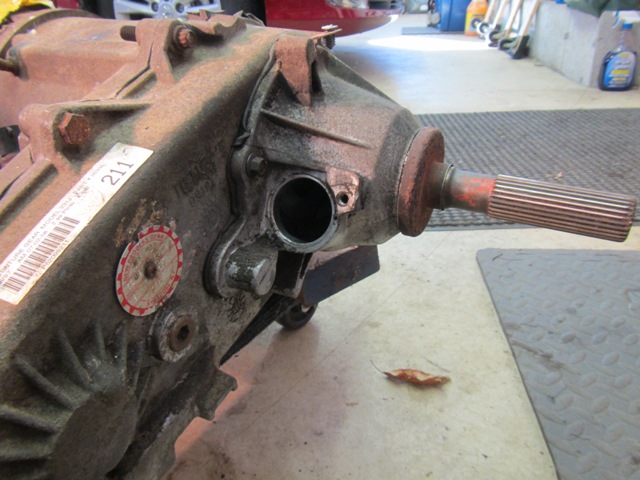
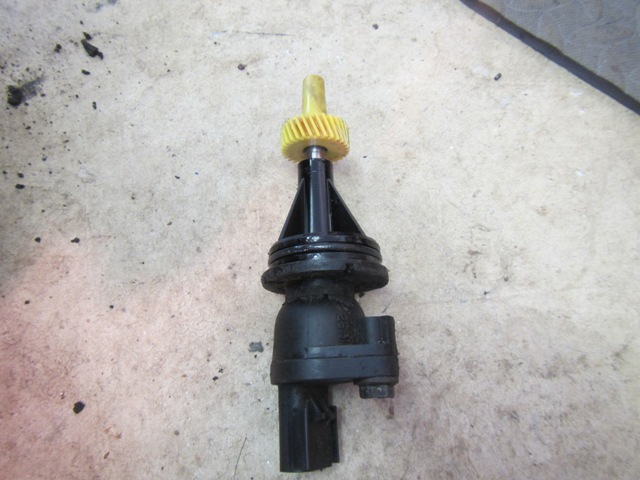
 Then was to remove the speedo drive
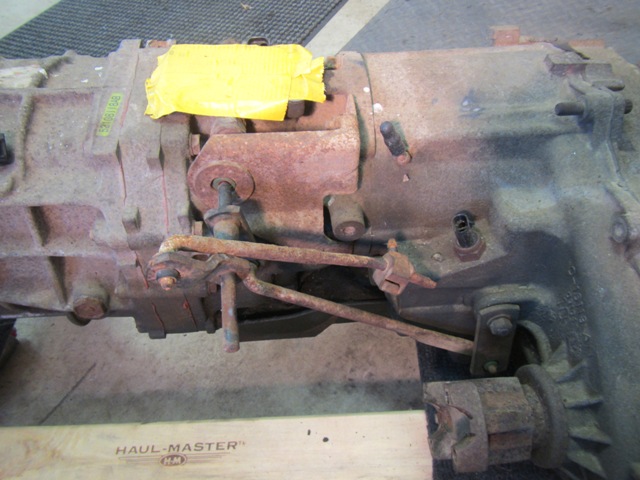
 Next was the shift linkage (after engaging the transfer case into 4wd)
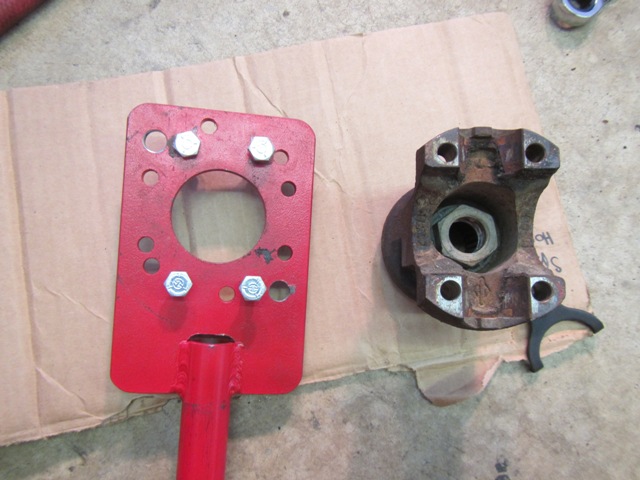
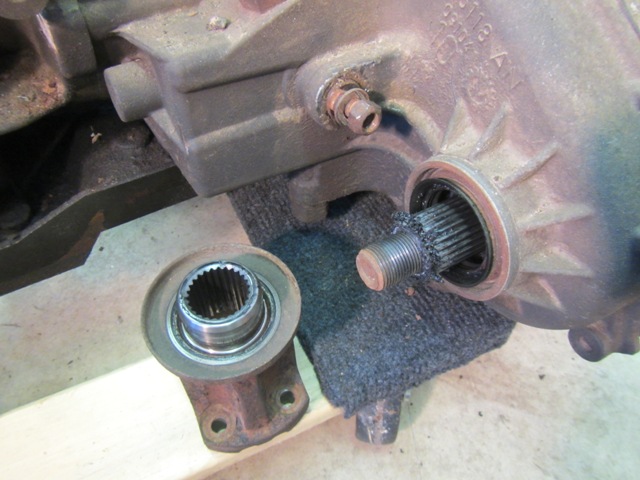
The front yoke was removed next with a 1 1/8 socket, my impact wasn’t cutting the mustard so I grabbed a ratchet and my yoke holding tool and it came right off.
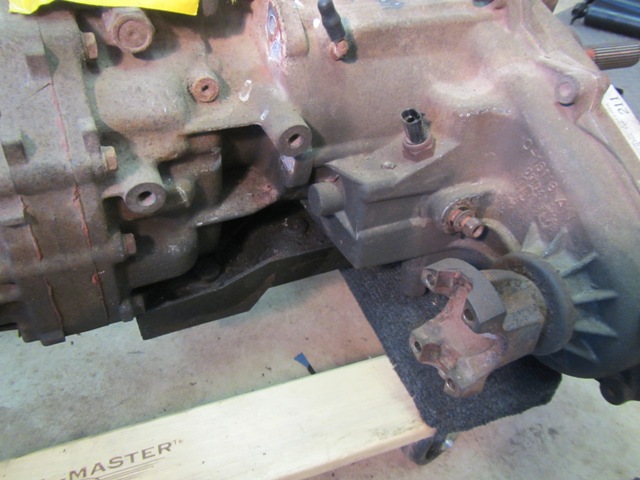
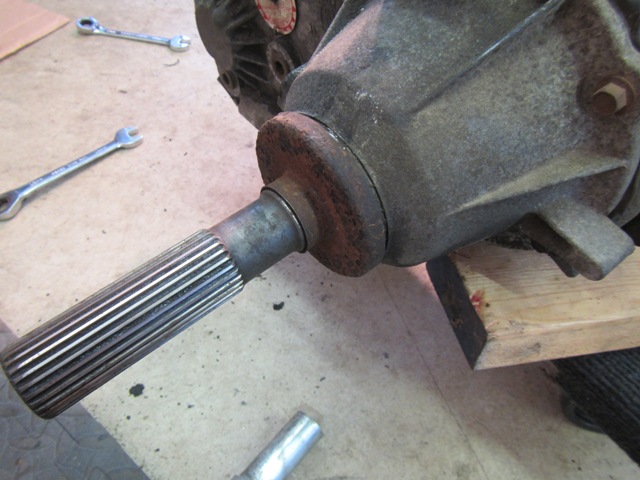
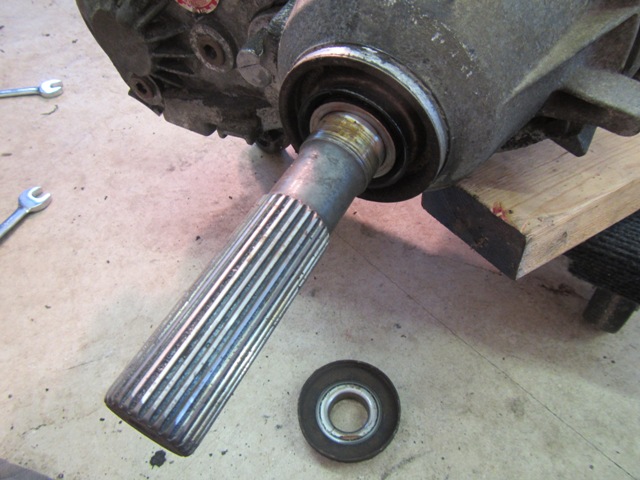
Then on to the tail shaft and the removal of the output shaft boot.
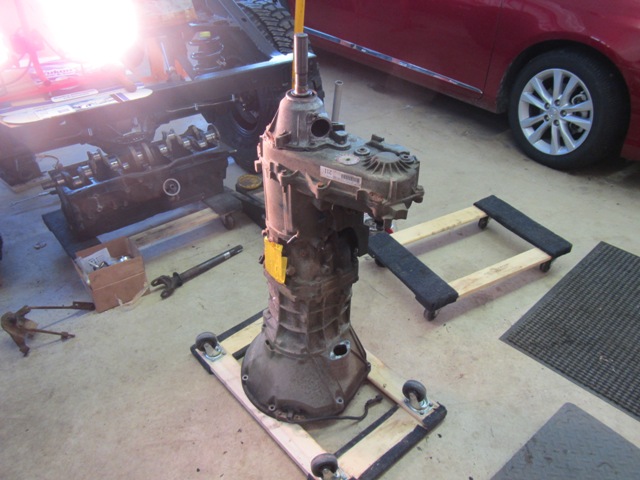
I stood the whole assembly up on end and the cart flipped over gave just enough space for the shaft in the trans of clear the floor.
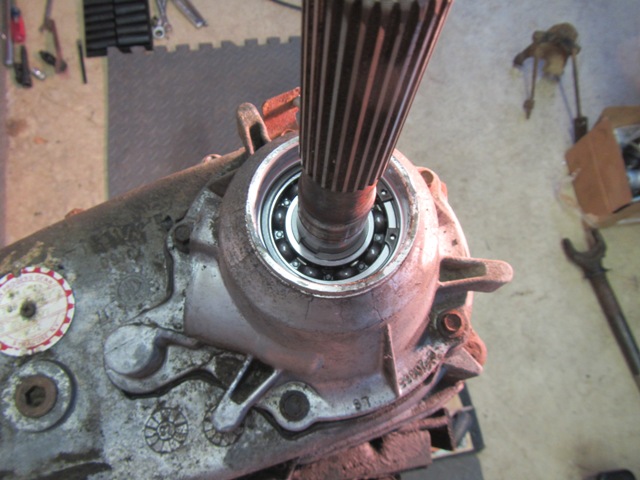
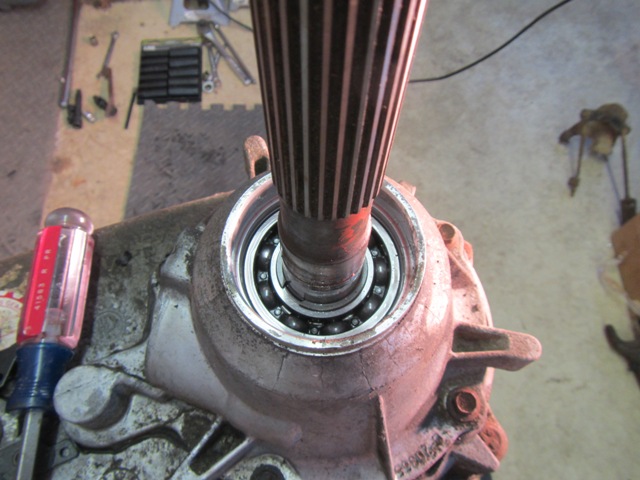
 Next the step was a ring and snap ring come off
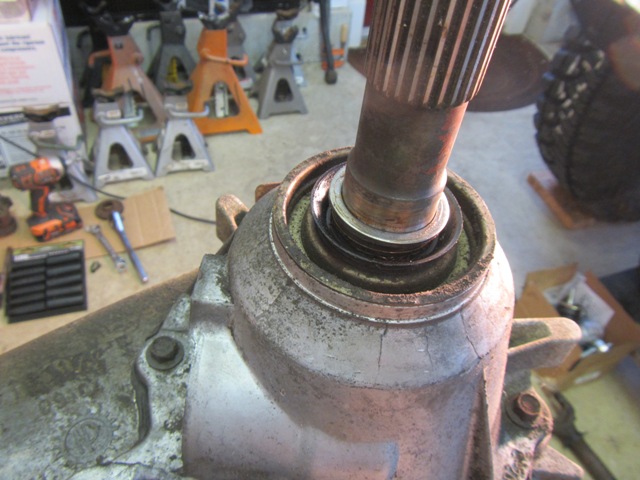

The rear seal is next to be removed (don’t worry if things get a little bent, it’s going in the trash)
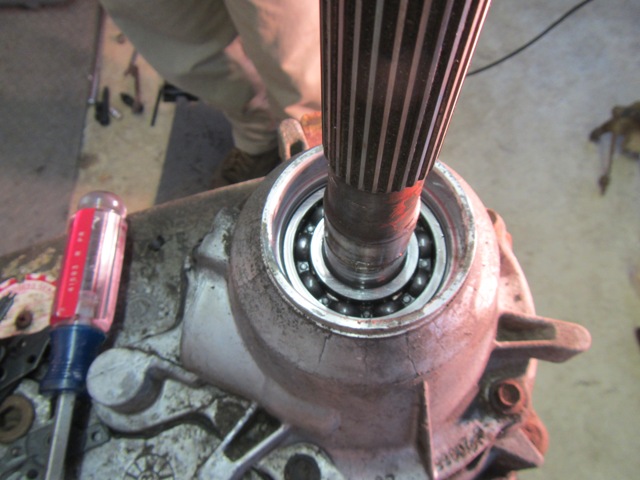
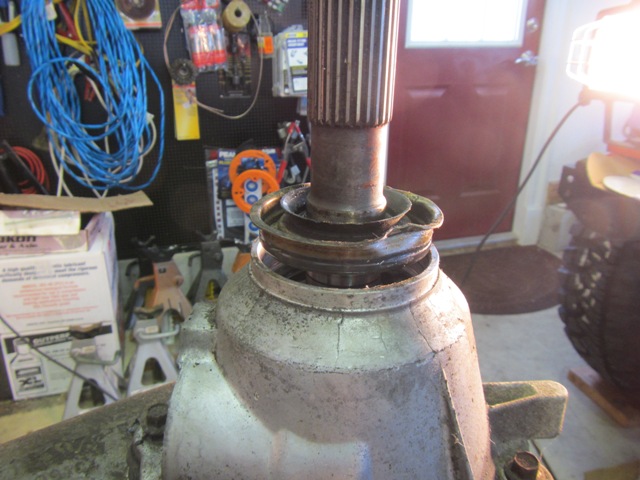 The two rear bearing retaining snap rings came next. The big one was a little bit of a pain
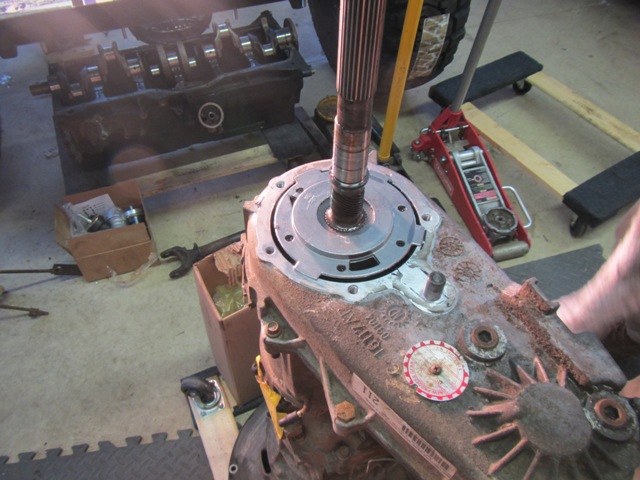
The tail shaft housing was after that with a 10mm socket and little motivation from a dead blow hammer around the edges, a little prying and it came right off
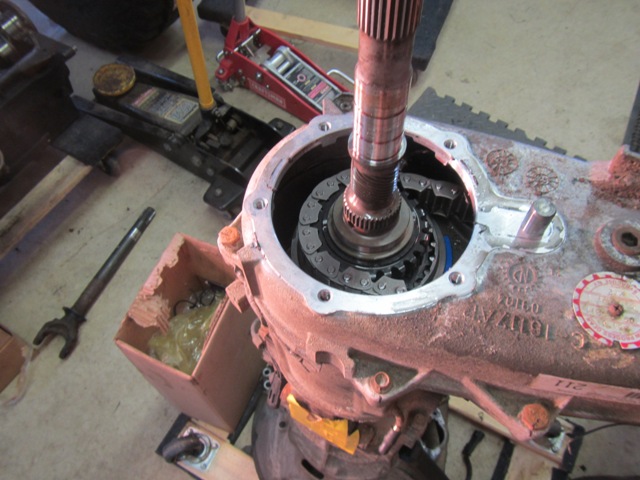
After the case was split, again with some help of the dead blow hammer, a 10mm 12 point socket and a few pry bars (Only on the cast locations), the oil pump pickup tube was now accessible and we were able to remove the pump. Check the rubber O-ring in the pump and replace if needed.
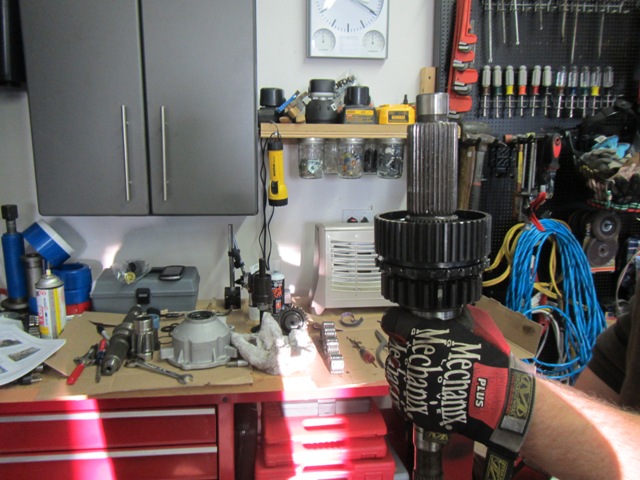
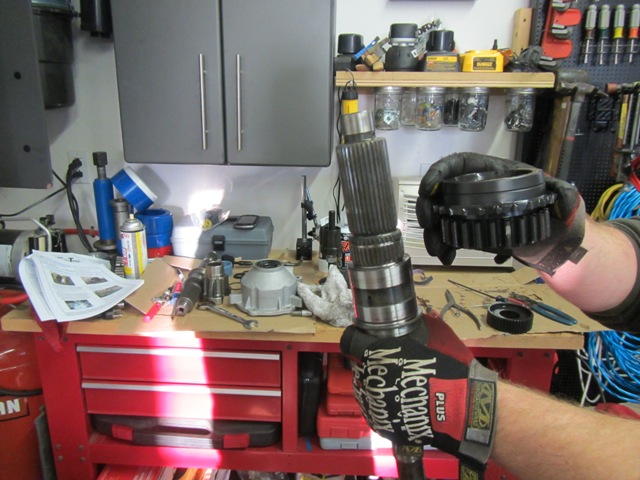
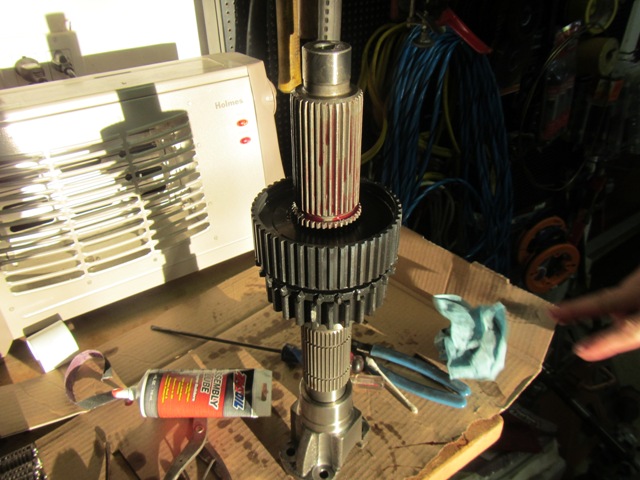
Next we removed the front and rear output shaft.
After removing the output shaft it was time to disassemble it. The top snap ring was taken off and the mode hub and drive sprocket got removed from the shaft. (Remember the orientation of these two.)

 Quick shot of the half empty case. This is the furthest you will need to go unless you find foreign material inside usually cause by a worn or stretched dirve chain, you need to be the judge on this one.

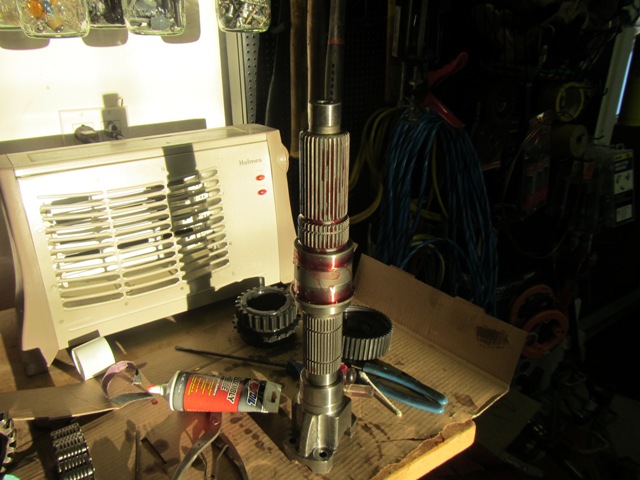
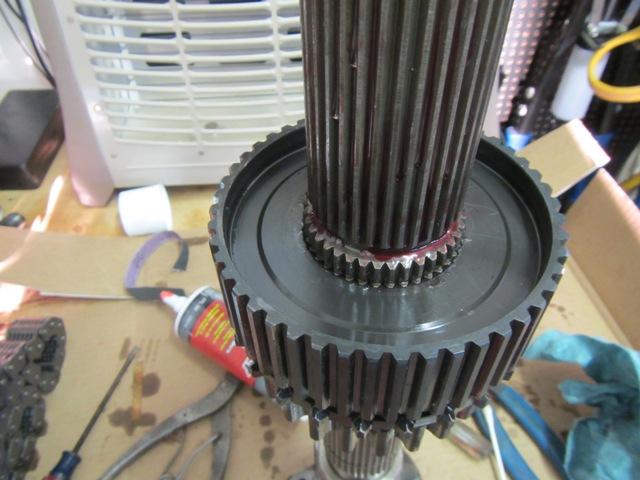
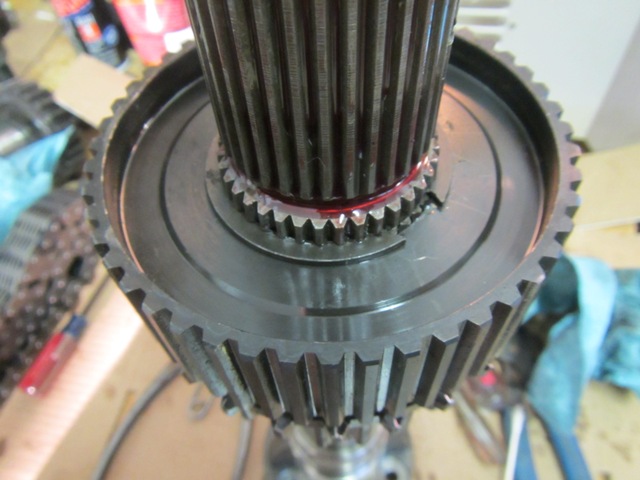
Note: The NP231 transfer cases have used two types of output shafts. The current style NP231 output shaft was put into production in 1997 and is still being used. The newer style shaft removed the caged needle bearings in the drive sprocket.
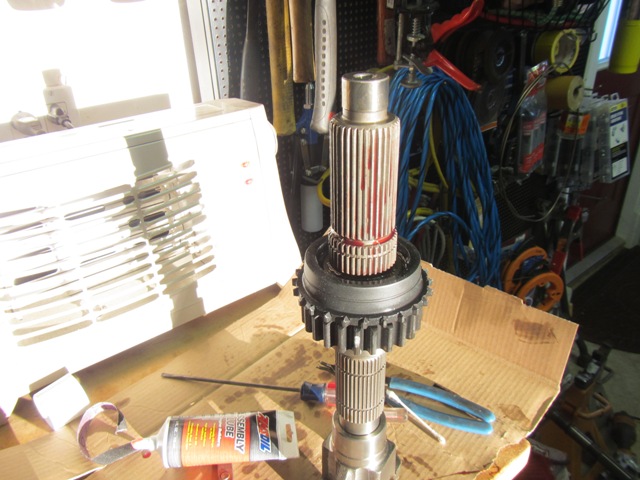
Here you see the new shaft completely cleaned and covered in AMSOIL Assembly Lube, after all other components where cleaned we replaced the mode hub and drive sprocket and placed the new snap ring on the shaft.
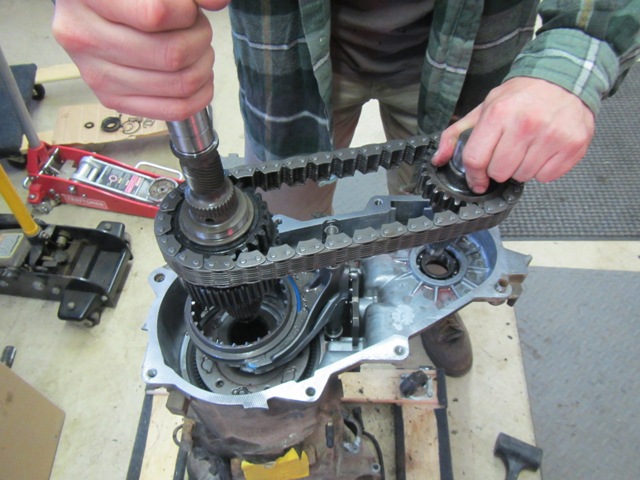
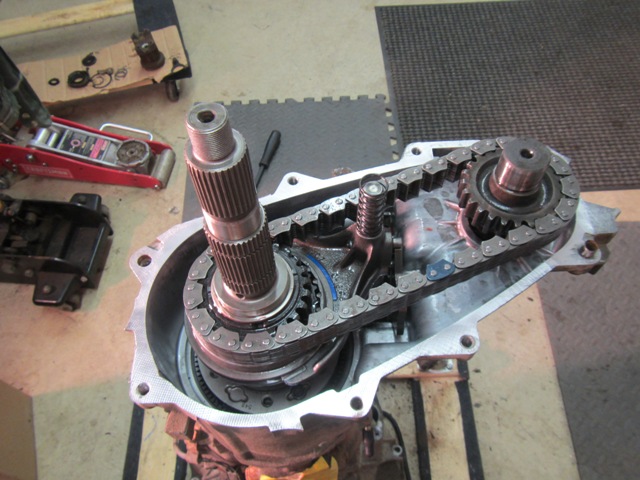
Next was back to the case to install the front and rear shafts along with the chain. (Side note, when we first installed it in the case the chain was slightly binding, this is normal, after you install the yoke it pulls everything into proper position.
 Notice the cleaned edges of the mating surface of the case. Next, The Right Stuff came out for making the gasket and sealing the cover back on to the housing along with the installation of the oil pump. A lower retaining ring was placed on then the speed-o-drive gear and another retaining ring to top it all off.

On occasion the shift rail needs to be shortened to clear the new cover, I lucked out and didn’t have to touch mine, it fit perfectly.
I placed another even coating of The Right Stuff on the rear housing and bolted it in place.
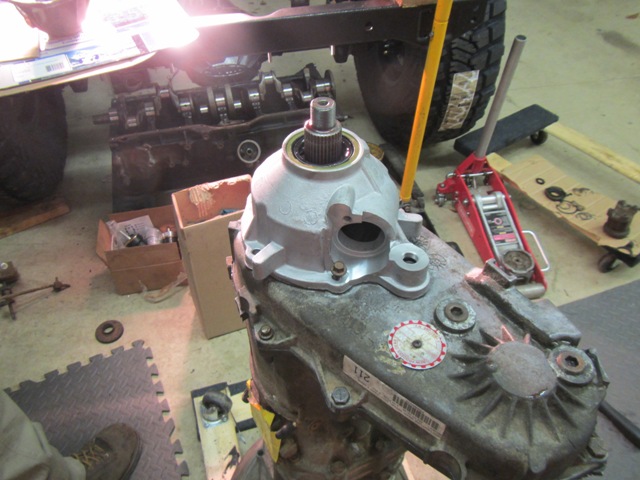
Re-installed the speedo gear
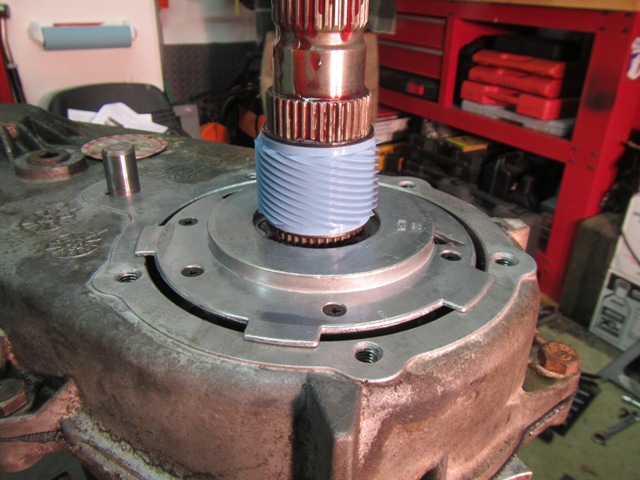
 And last but not least we installed the new seal washers both front and rear with a dab of gasket maker along with both the yokes.

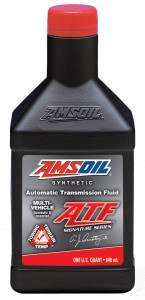
After installing the transmission and transfer case back in my Jeep I topped the NP231 off with 2.1 Pints of
AMSOIL Signature Series Multi-Vehicle Synthetic ATF
That’s about what you are looking at when installing an SYE on an NP231
You must be logged in to post a comment.