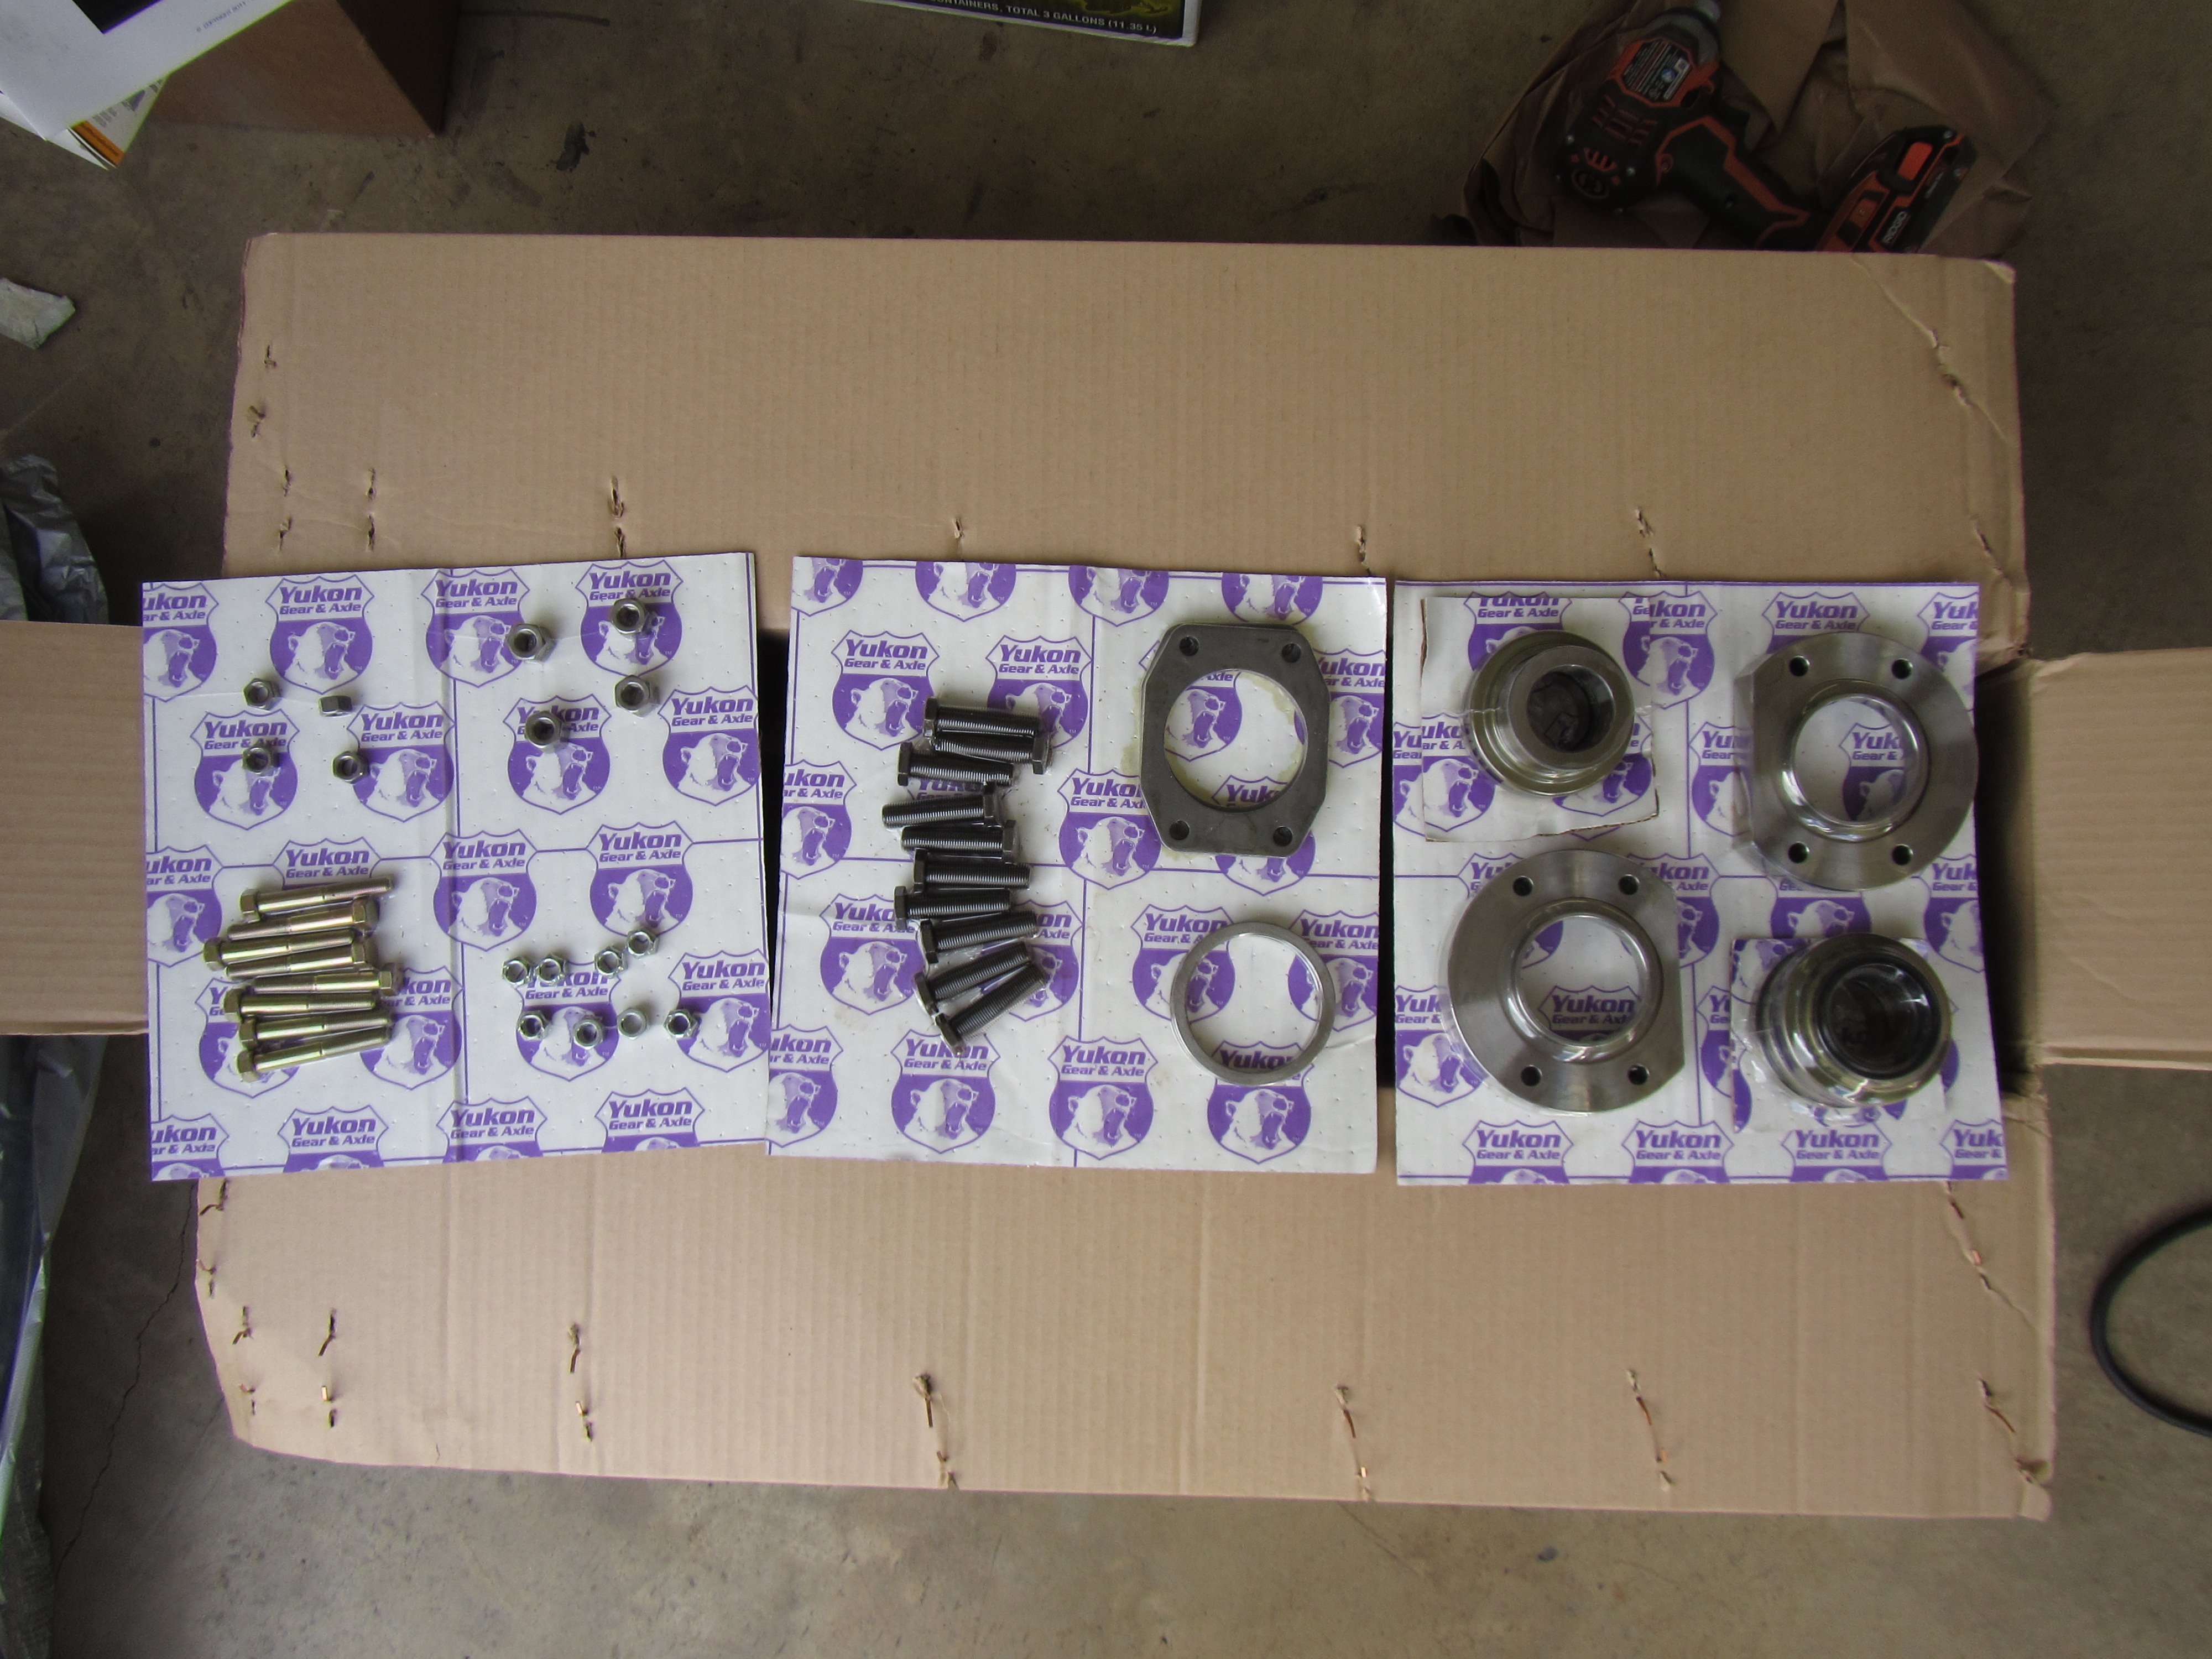
Have a Jeep with a Dana 35, want more strength then a Dana 44, want to get rid of those pesky c-clips then maybe the Ford 8.8 from a Ford Explorer with a Yukon Ultimate 88 Kit is something you might want to look into. This kit eliminates the factory c-clips and converts the housing to use two 4340 Chrome-Moly bolt in axles and at the same time setting the wheel mounting surface to roughly 61-3/8 bringing it closer to the factory spec. Don’t have a welder, not to worry it’s not needed, just a little cutting to remove the factory axle bearing seat and the result is a super strong setup that will take a serious beating.
(As a side note I already had removed my axle to do other work to it. Hence the reason it was not under my jeep when this work was done)
Required Tools
Safety Glasses
Jack and Jack Stands
Wheels Chocks
Grinder
Cut off Wheel (Hack Saw, Band Saw)
Torque Wrench
Shop Rags
Deburring Tool (Files – Flat and Round)
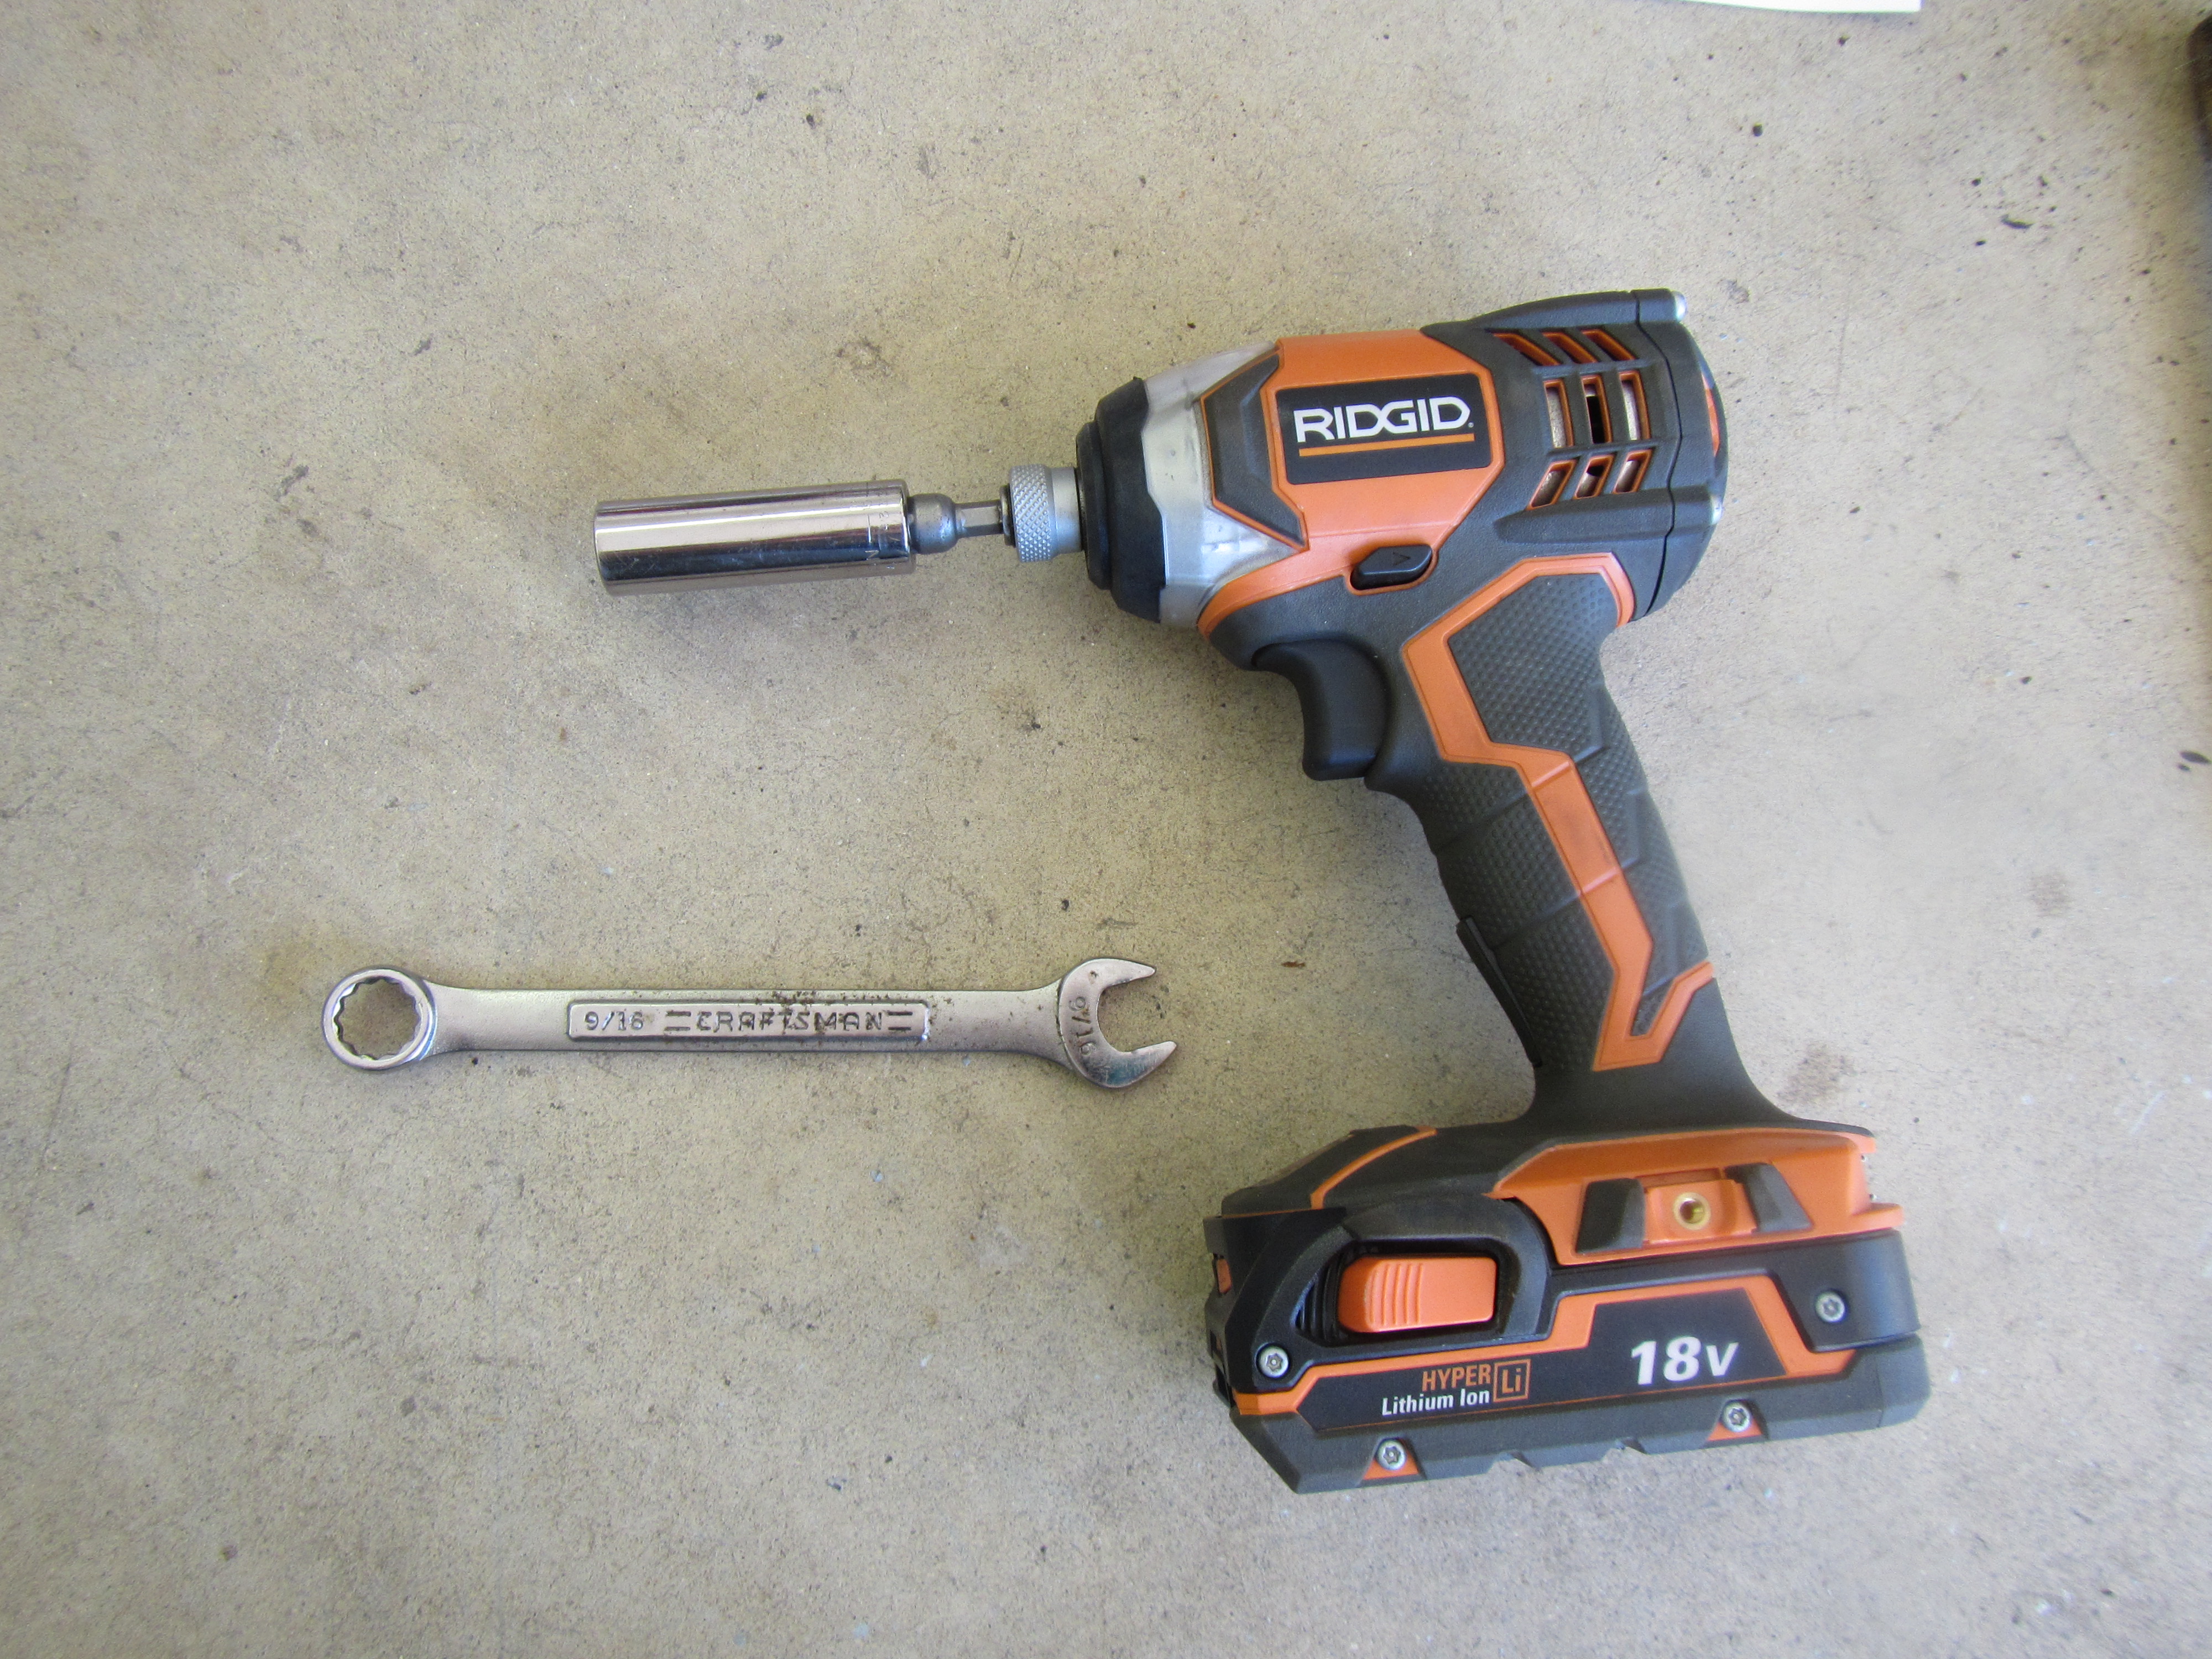
Appropriate wrenches, Scewdrivers, Socket Set (9/16)
Hydraulic Press
Telescopic
Dead Blow Hammer
Emery Cloth
Permatex “The Right Stuff”
Red Lock Tight
Wire Brush
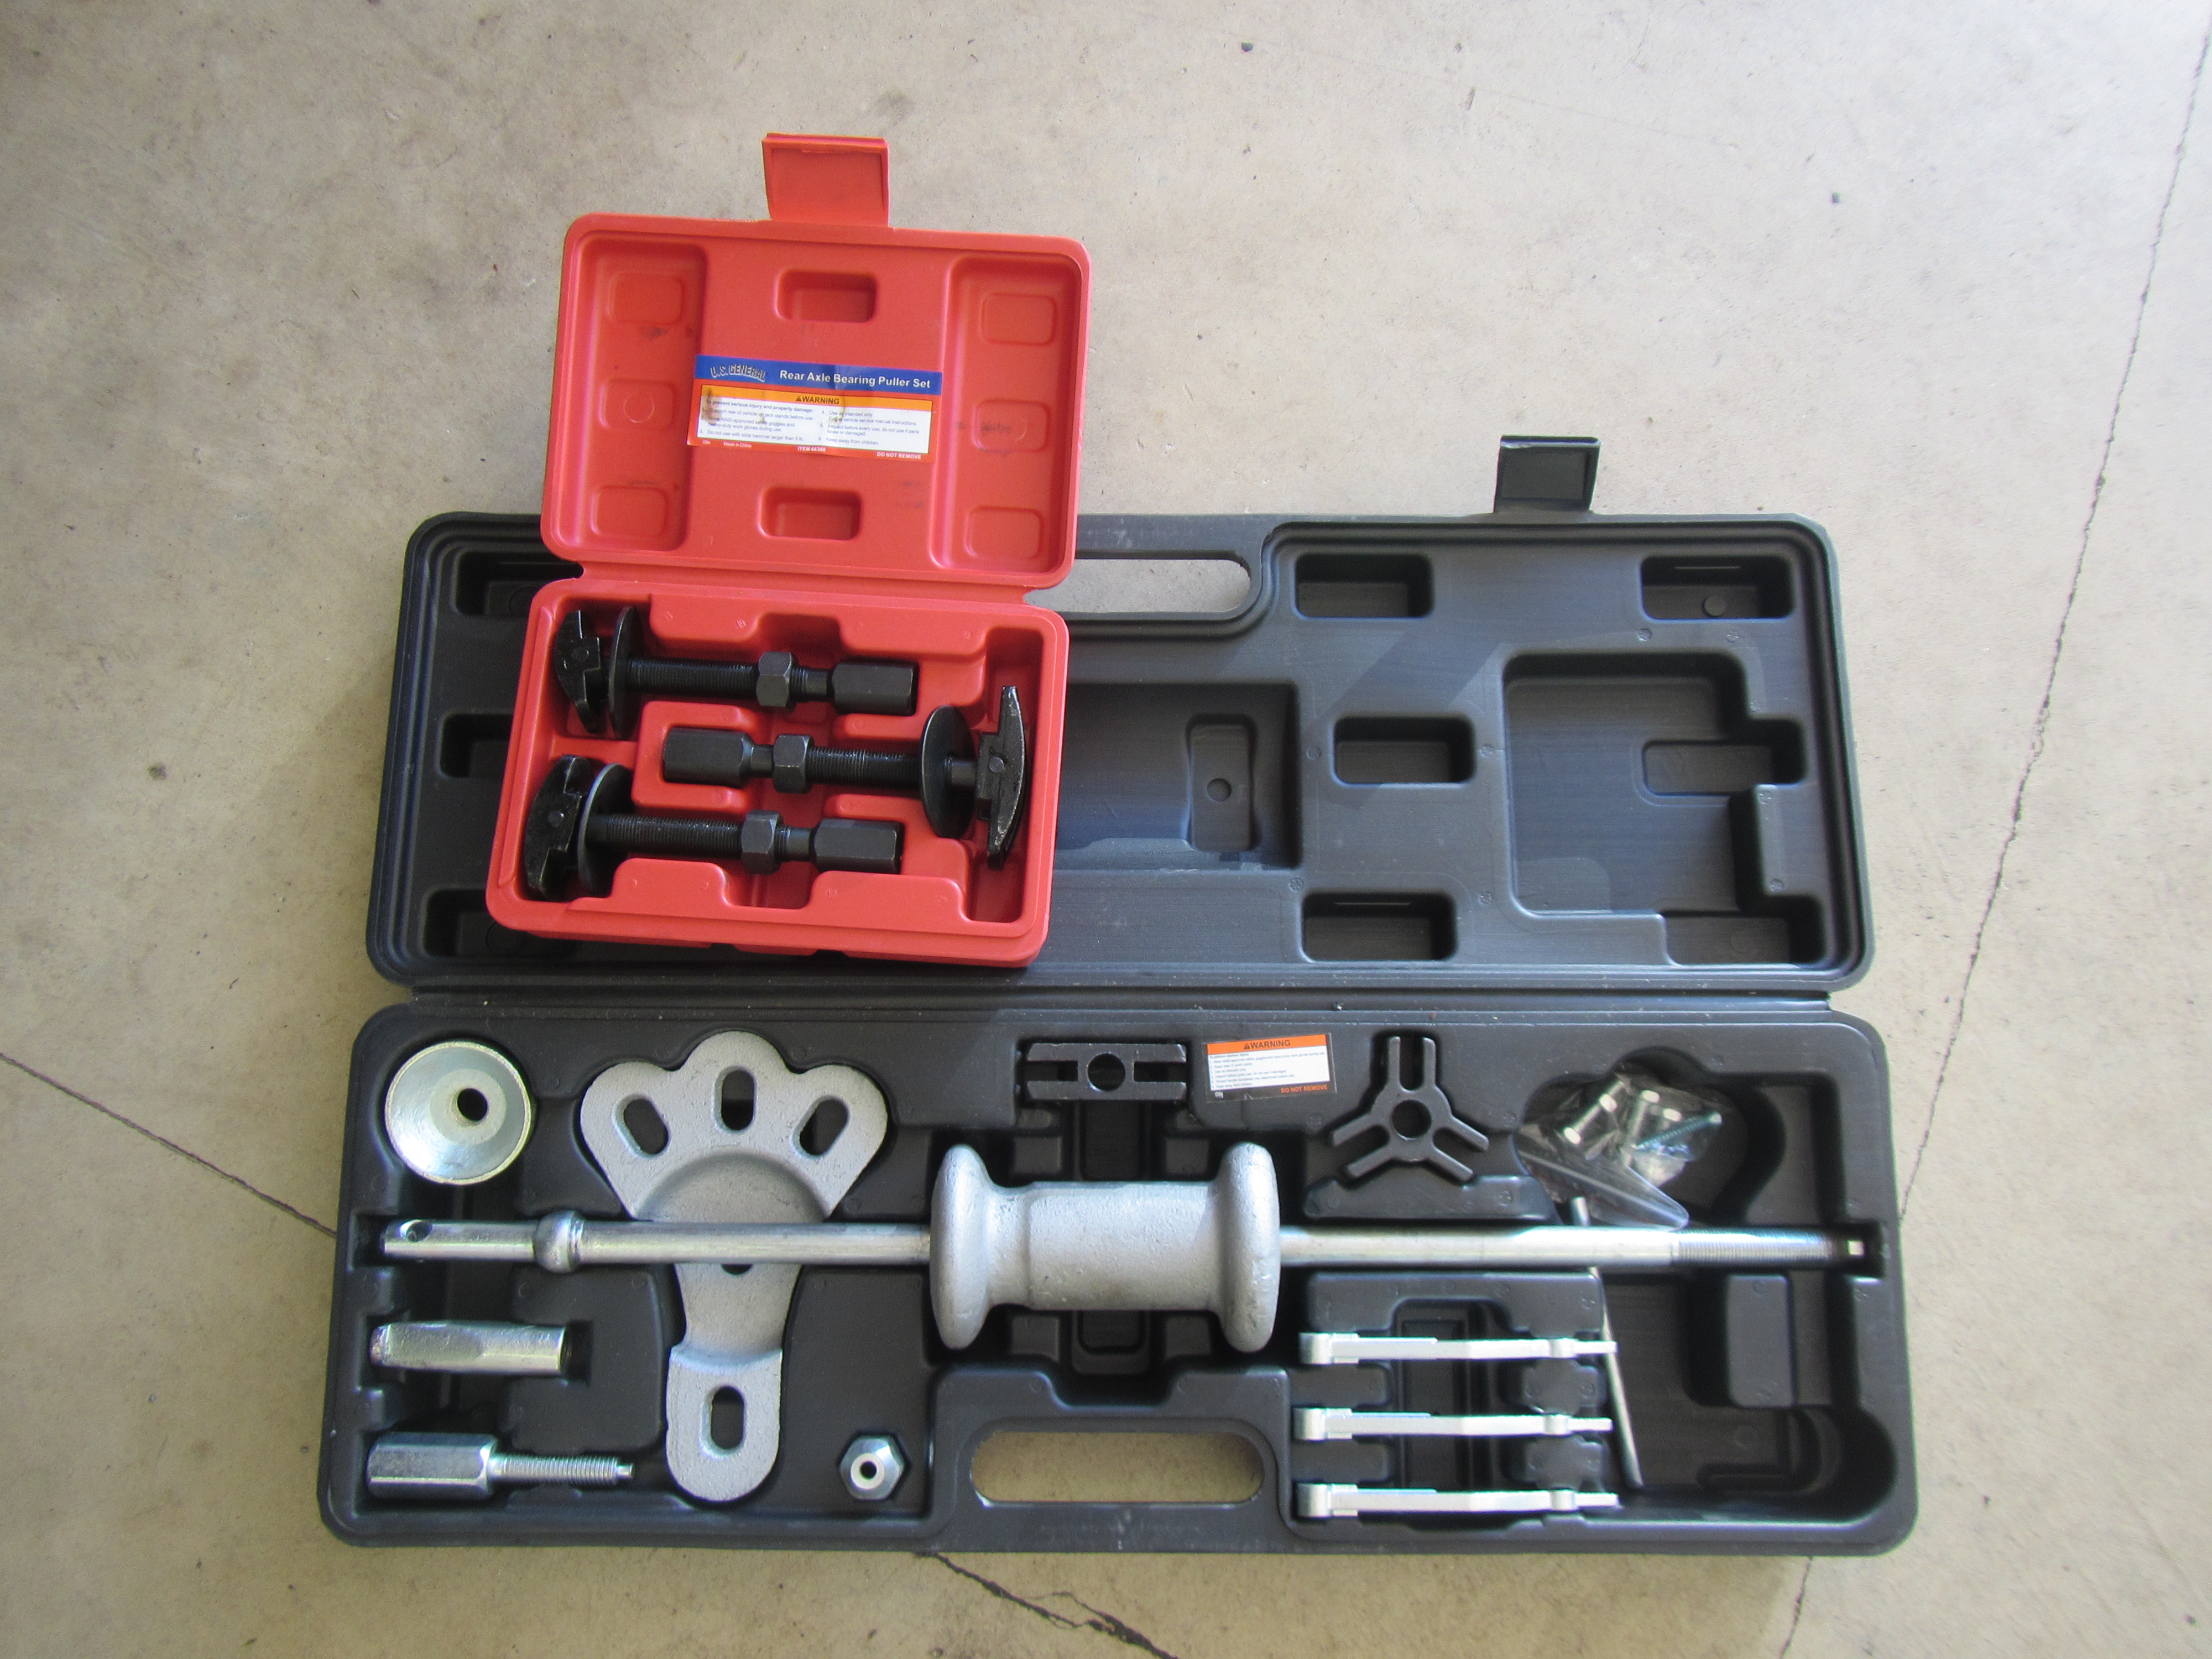
Slide Hammer
Bearing Puller
Axle Grease
Gear Oil
Oil Catch Pan
Installation
As with any project check to make sure you have all the pieces that should be in the box.


Next is to gather your tools.

If working from the ground, chock the front wheels to stop the jeep from rolling.
Jack up the axle and place the jack stands securely under the axle.
Remove rear wheels
Drain differential fluid from housing.
Remove Differential cover

Remove cross pin (be very careful when removing the cross pin bolt, because this can break, having a back up might not be a bad idea)
Remove calipers
Remove rotors
Push in axles and remove c-clips
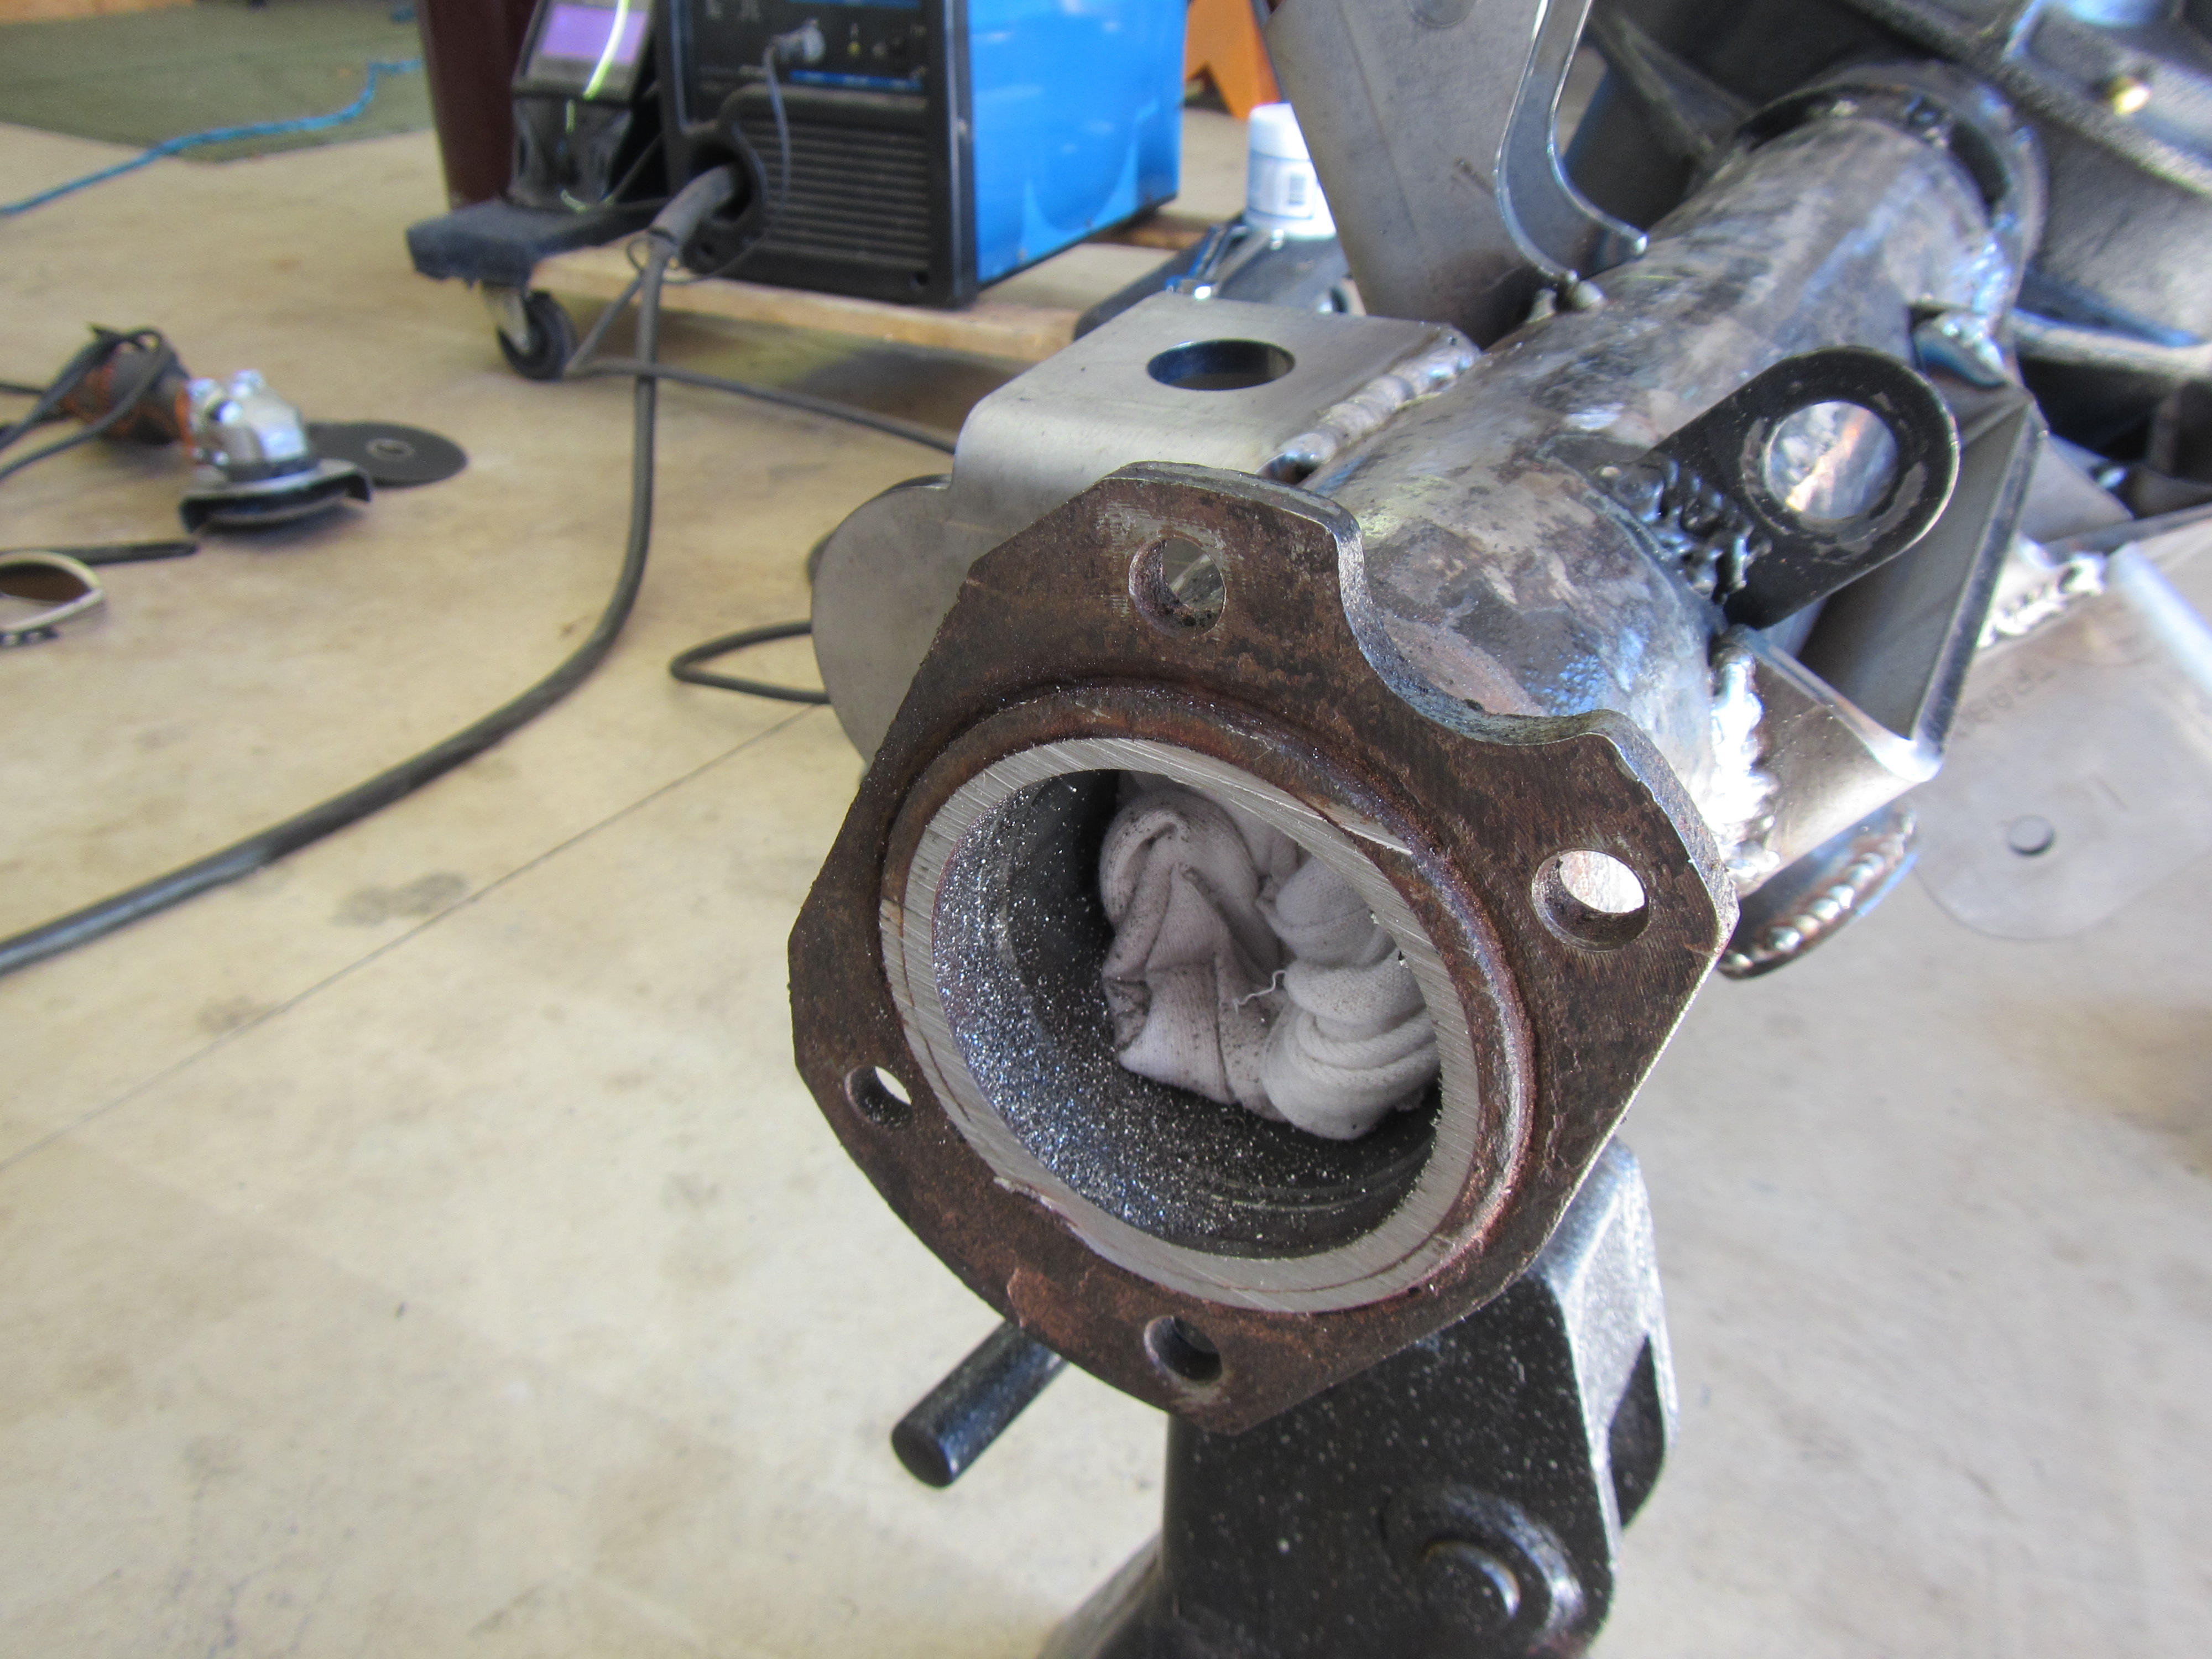
Remove the axles and place a rag into the ends of the axle tubes to prevent junk from entering.
Remove the caliper bracket and dust shield assemblies
Remove outer housing seals and wheel bearings
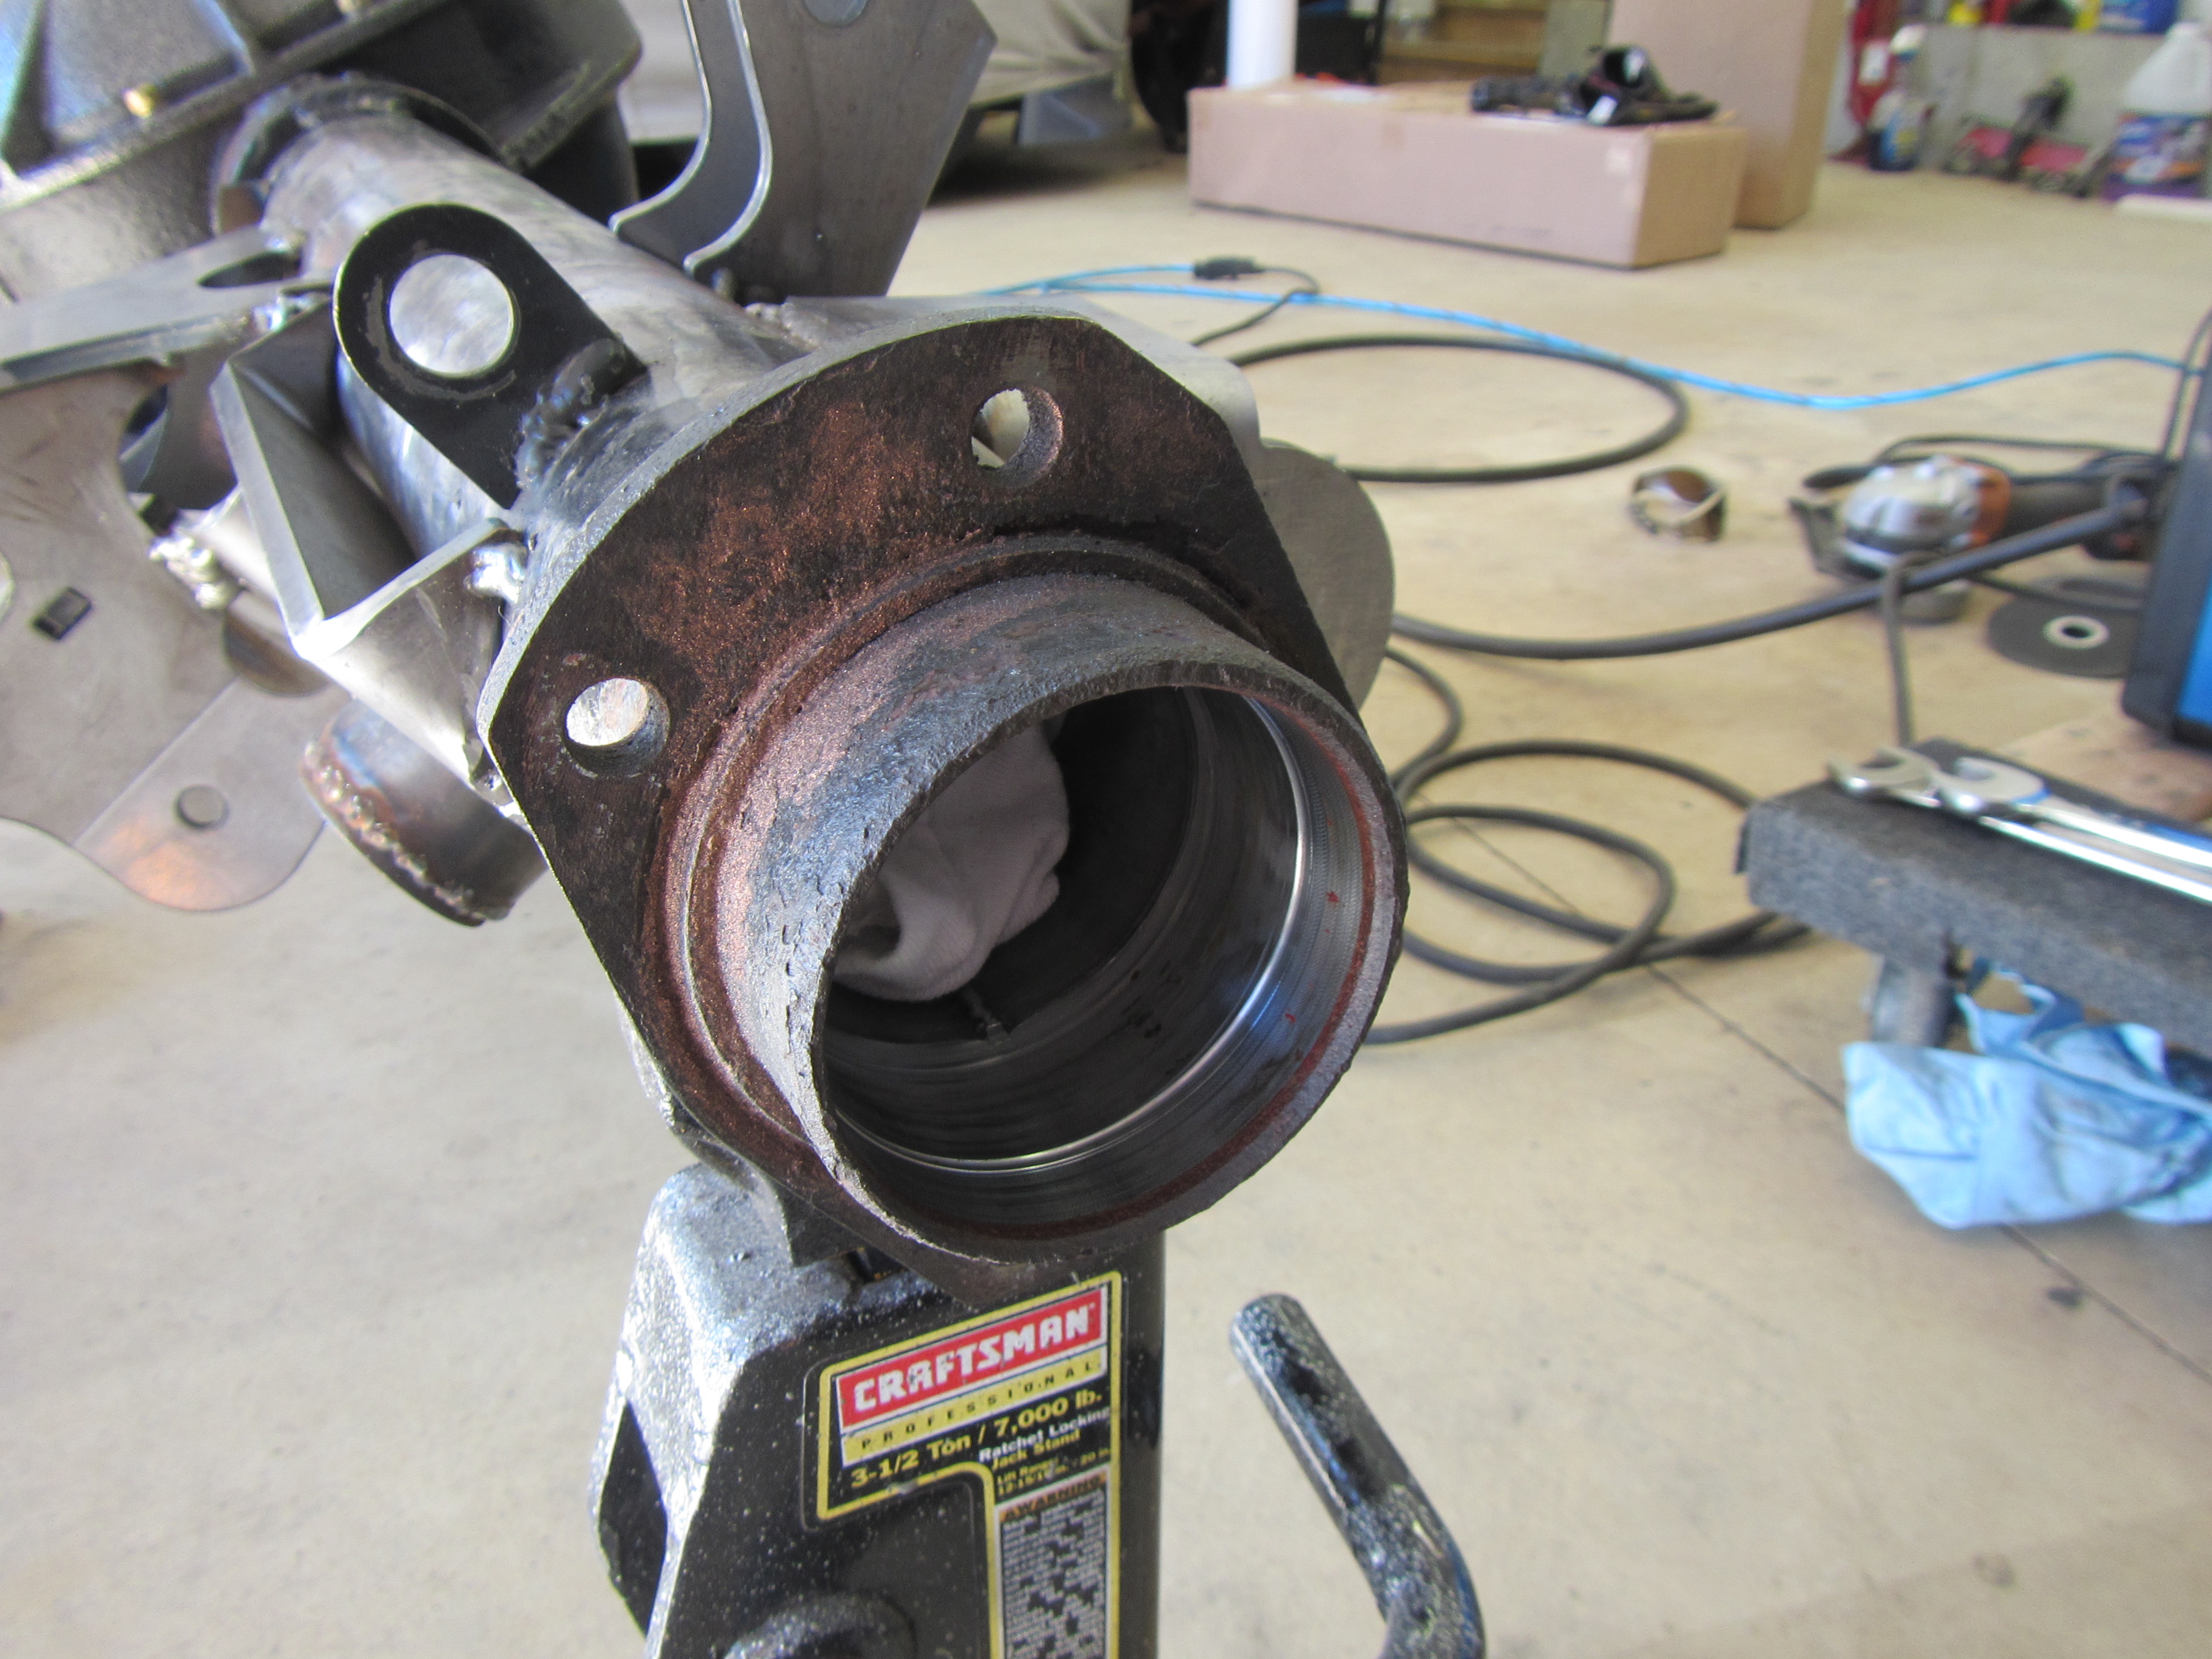
Clean and inspect the housing ends. Note that there is a small shoulder area as well as a tube that houses the bearing and seal.
Cut the ends of the house flush to the shoulder.
If necessary use a grinder to finish the cut flush with the shoulder.
De-Burr the inside and outside of the cut.
Remove the shop rags from the housing and clean out any debris.
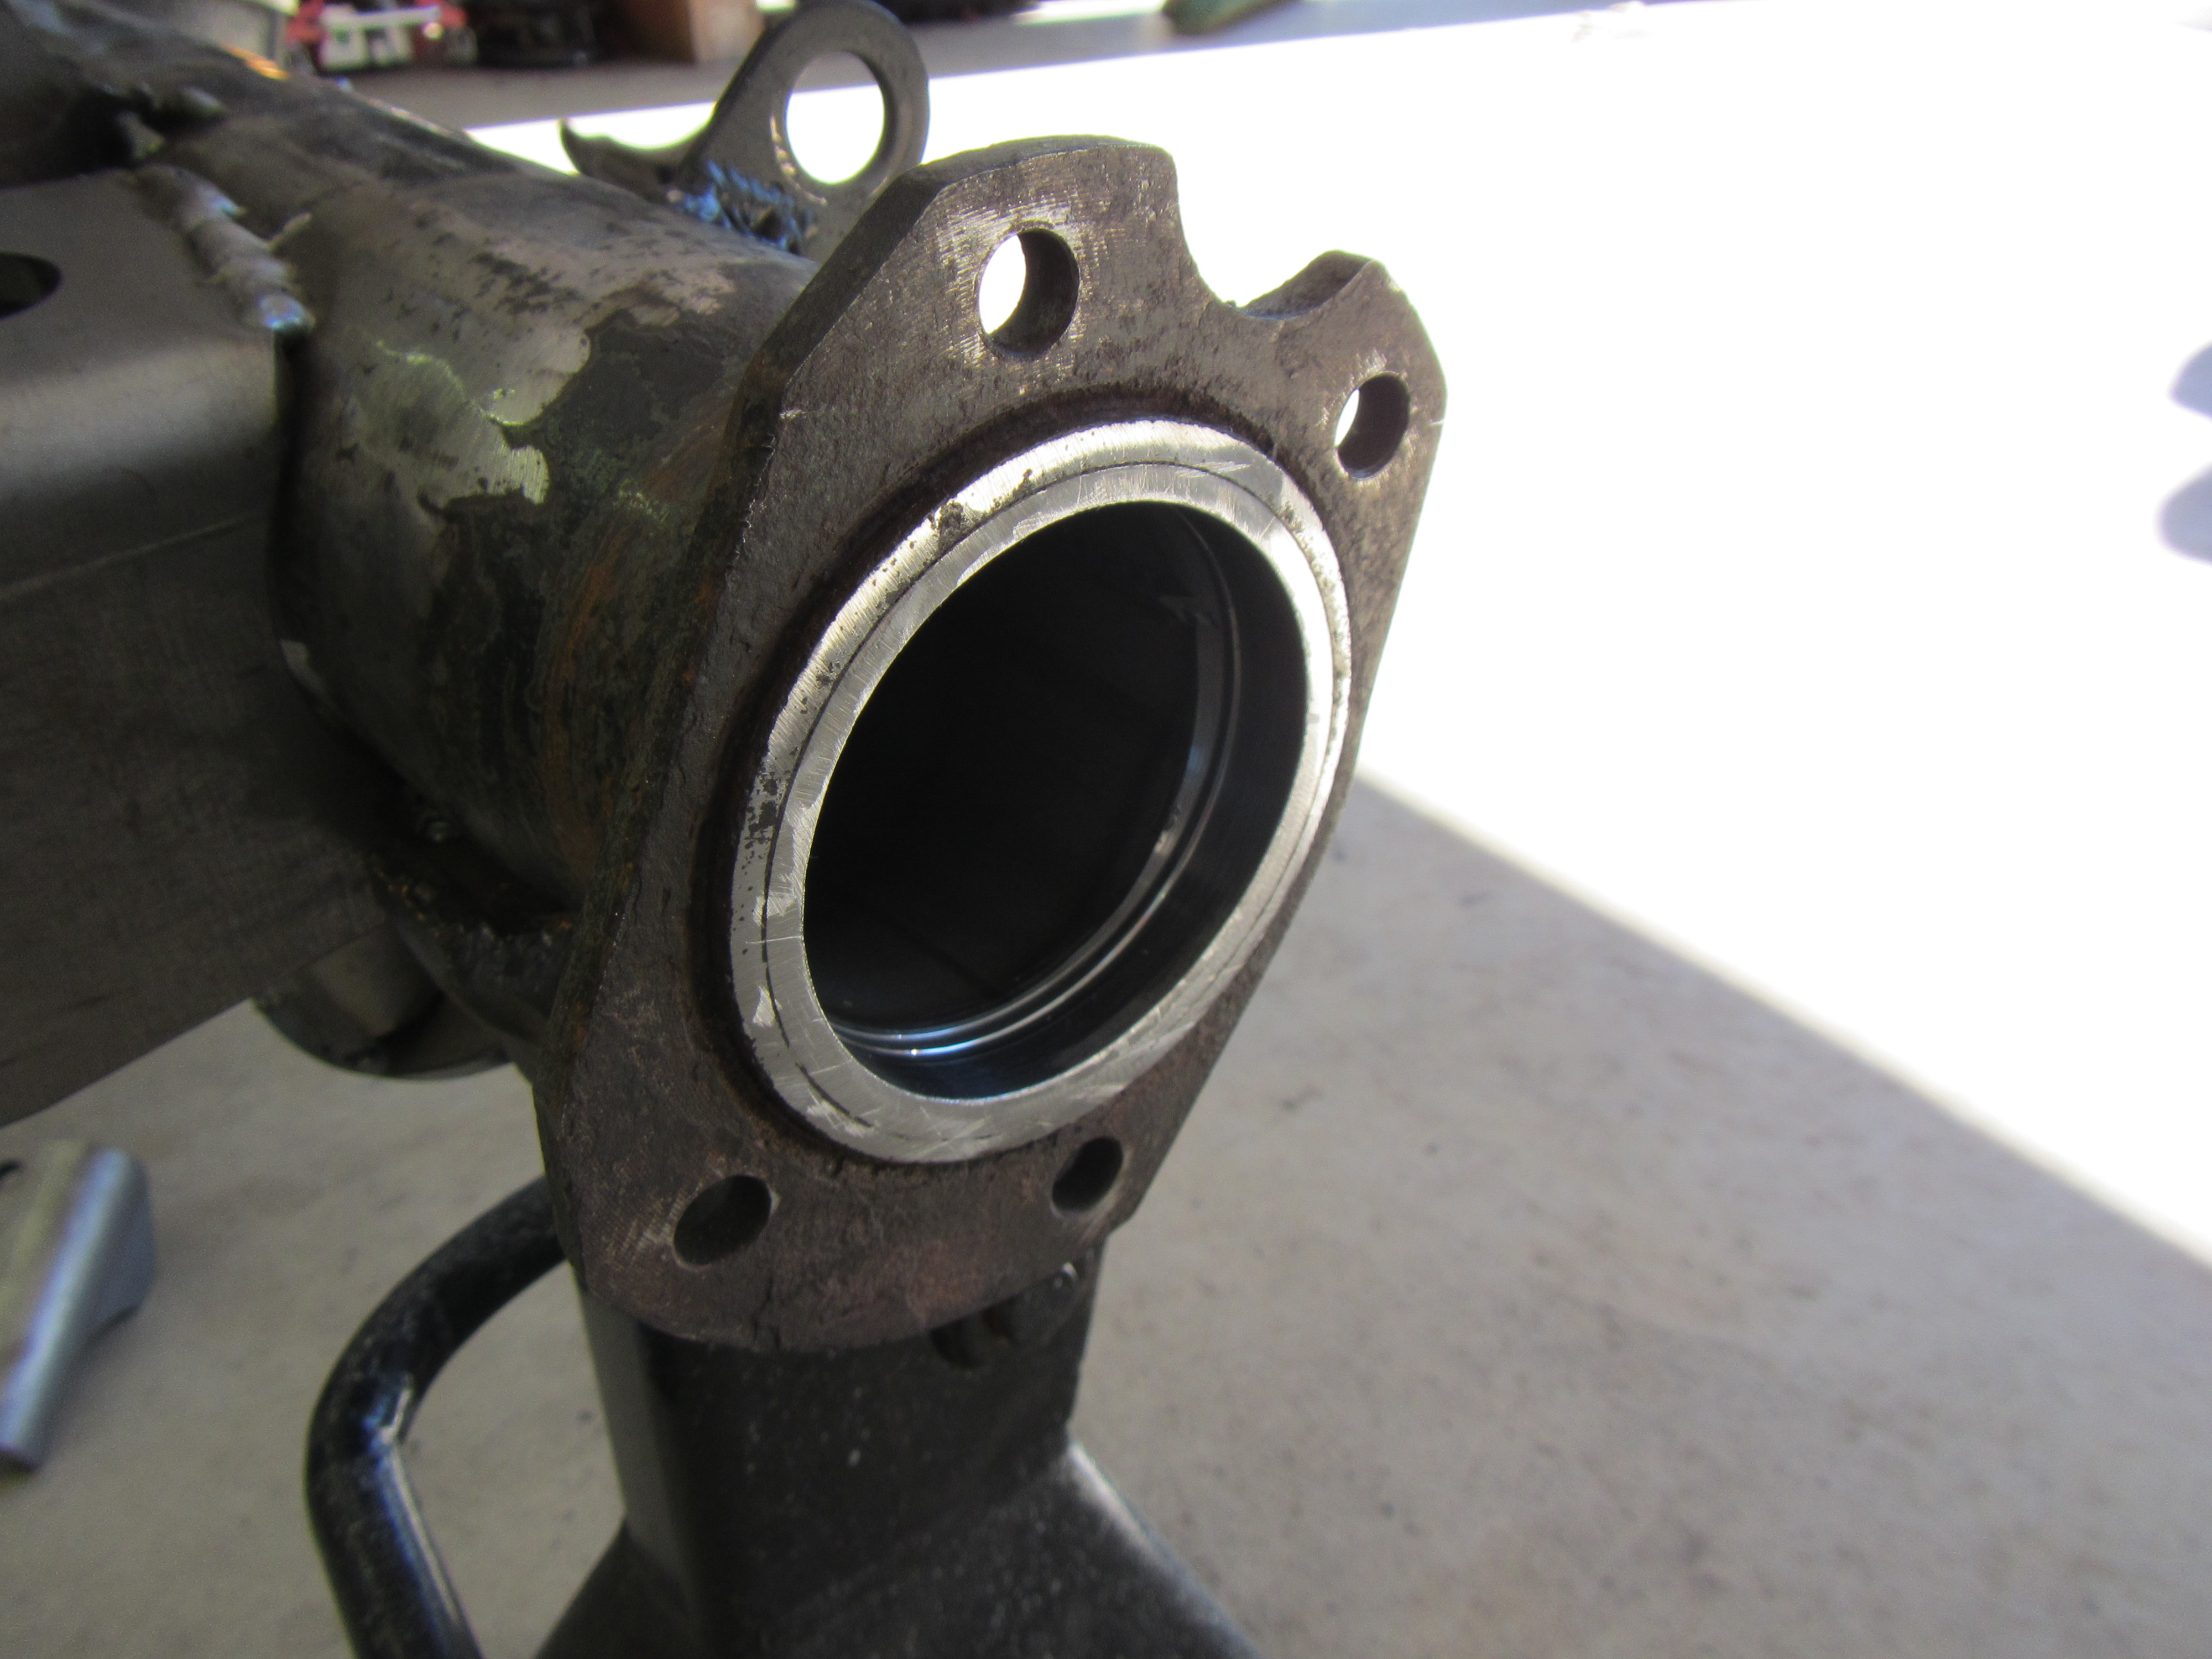
Silicone the recess on the back side of the bearing seats.
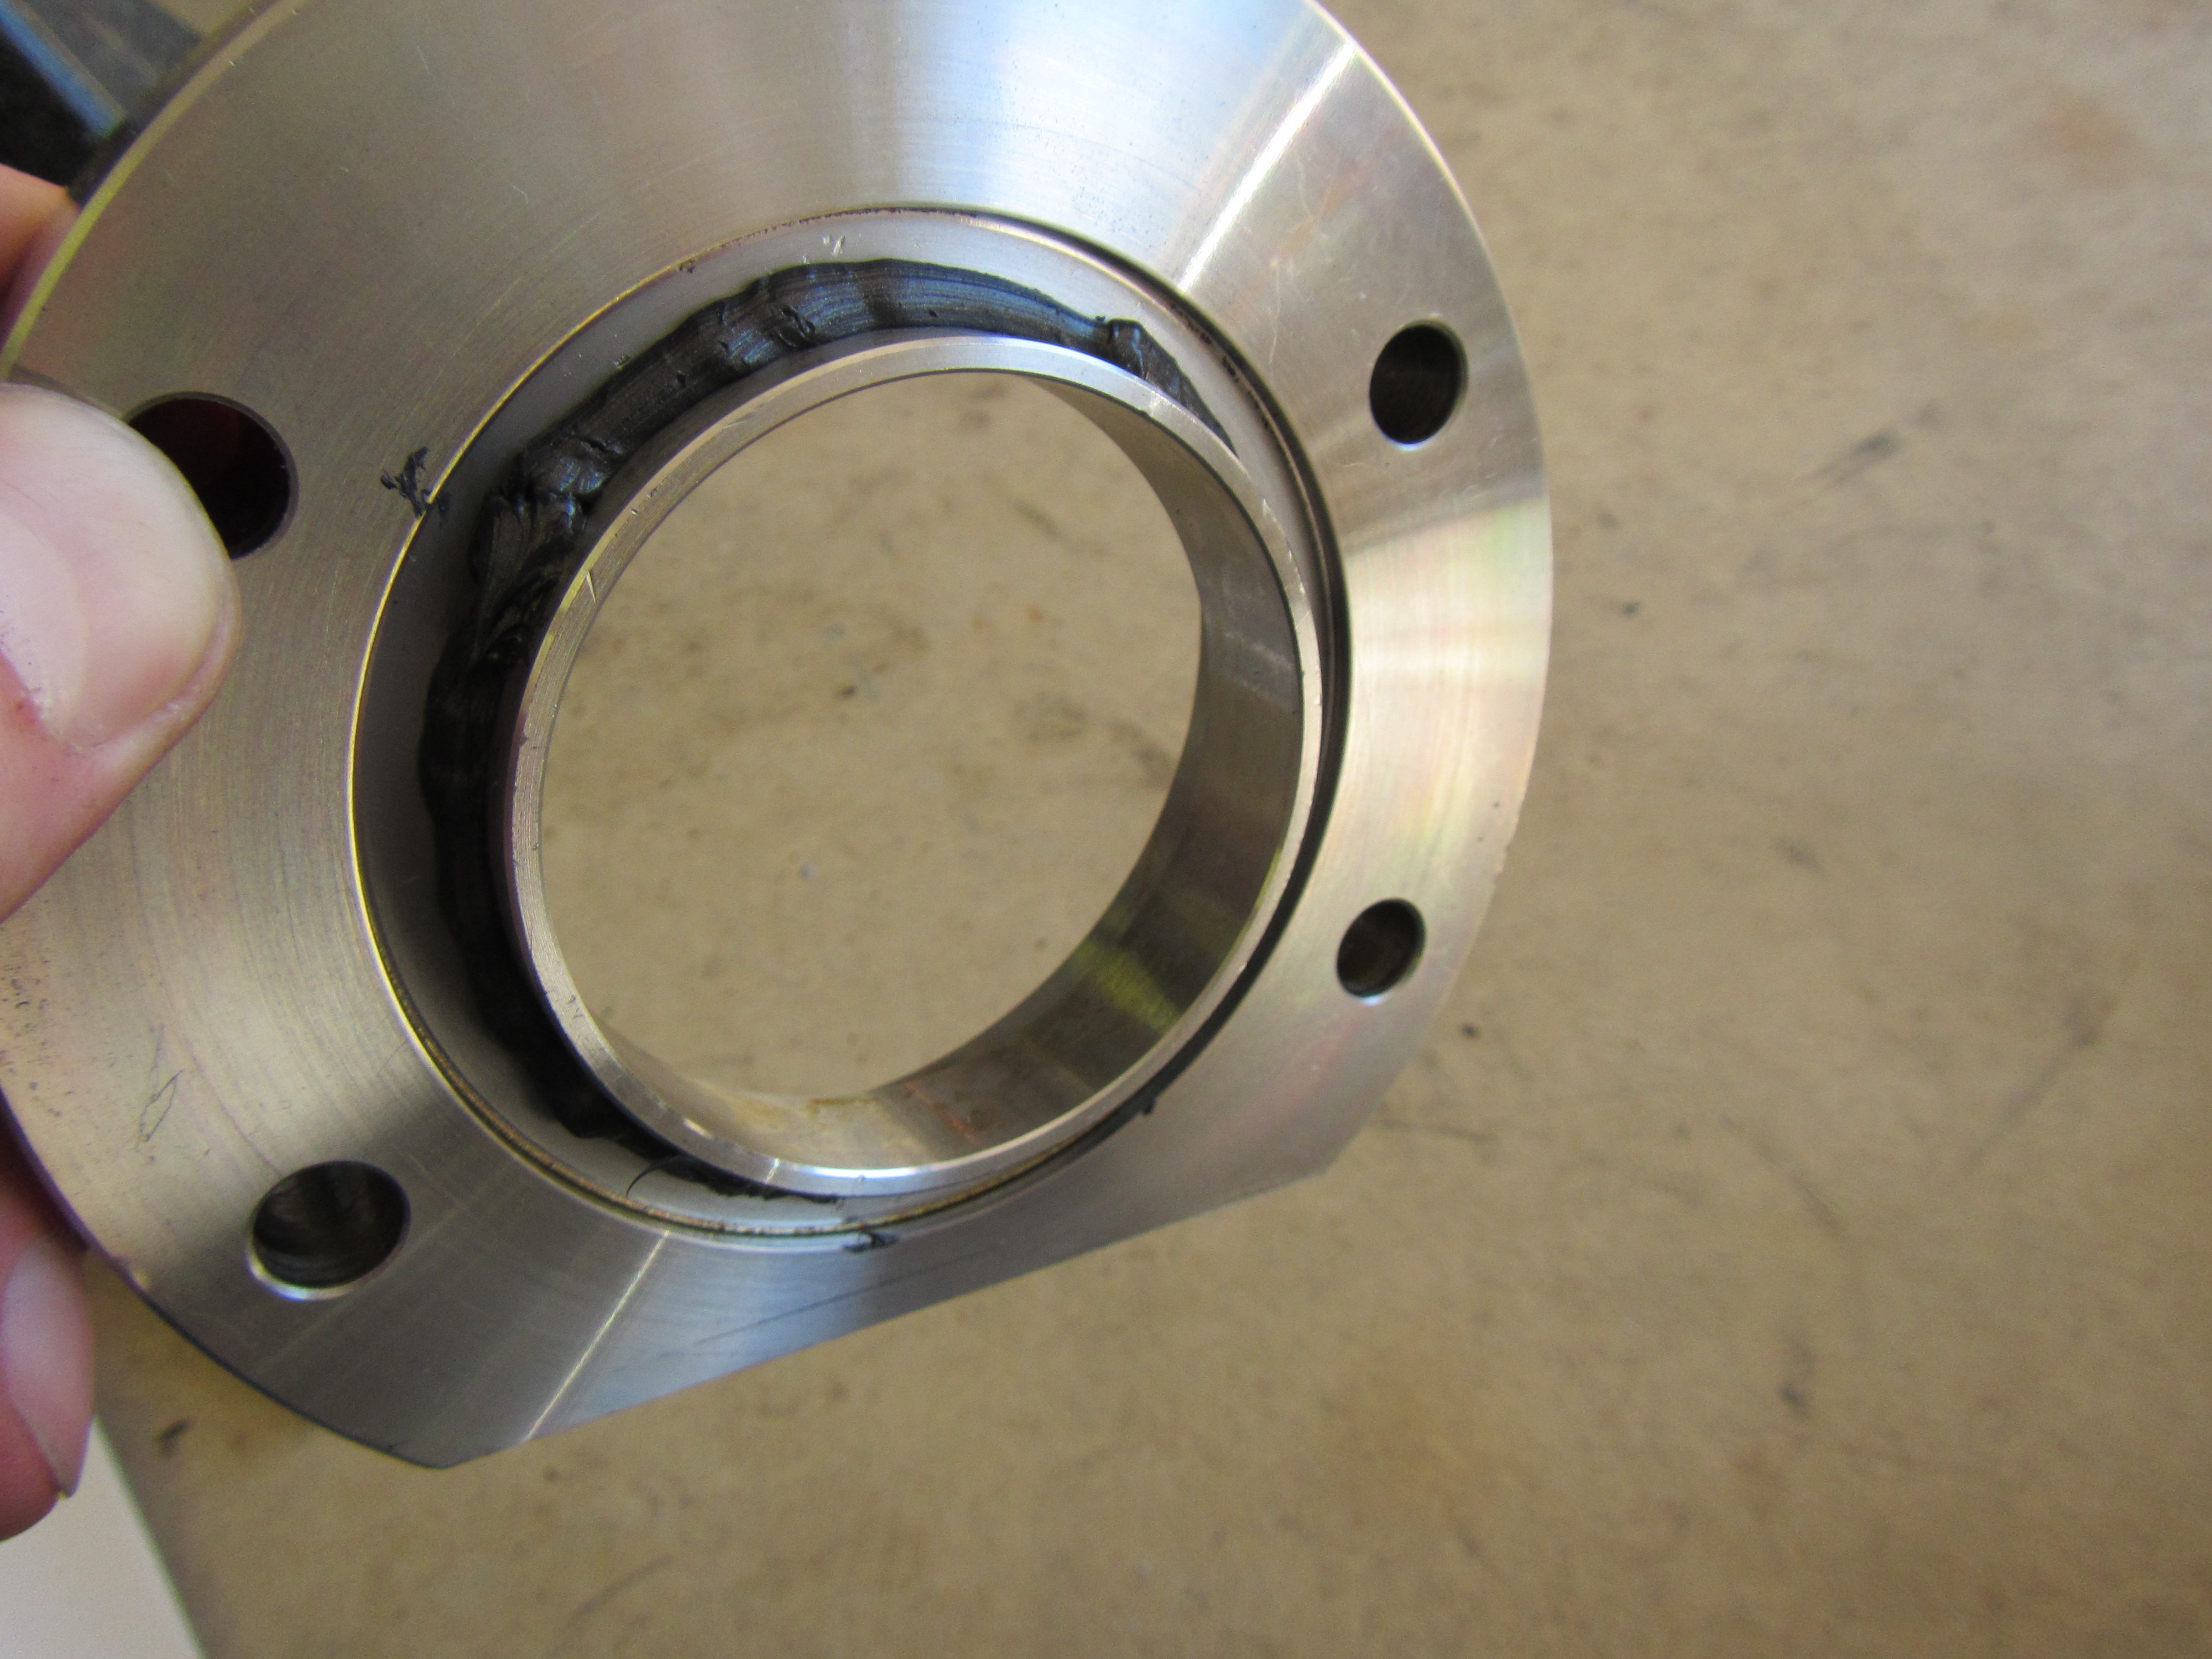
Press the bearing seats onto the housing with the flat side up.
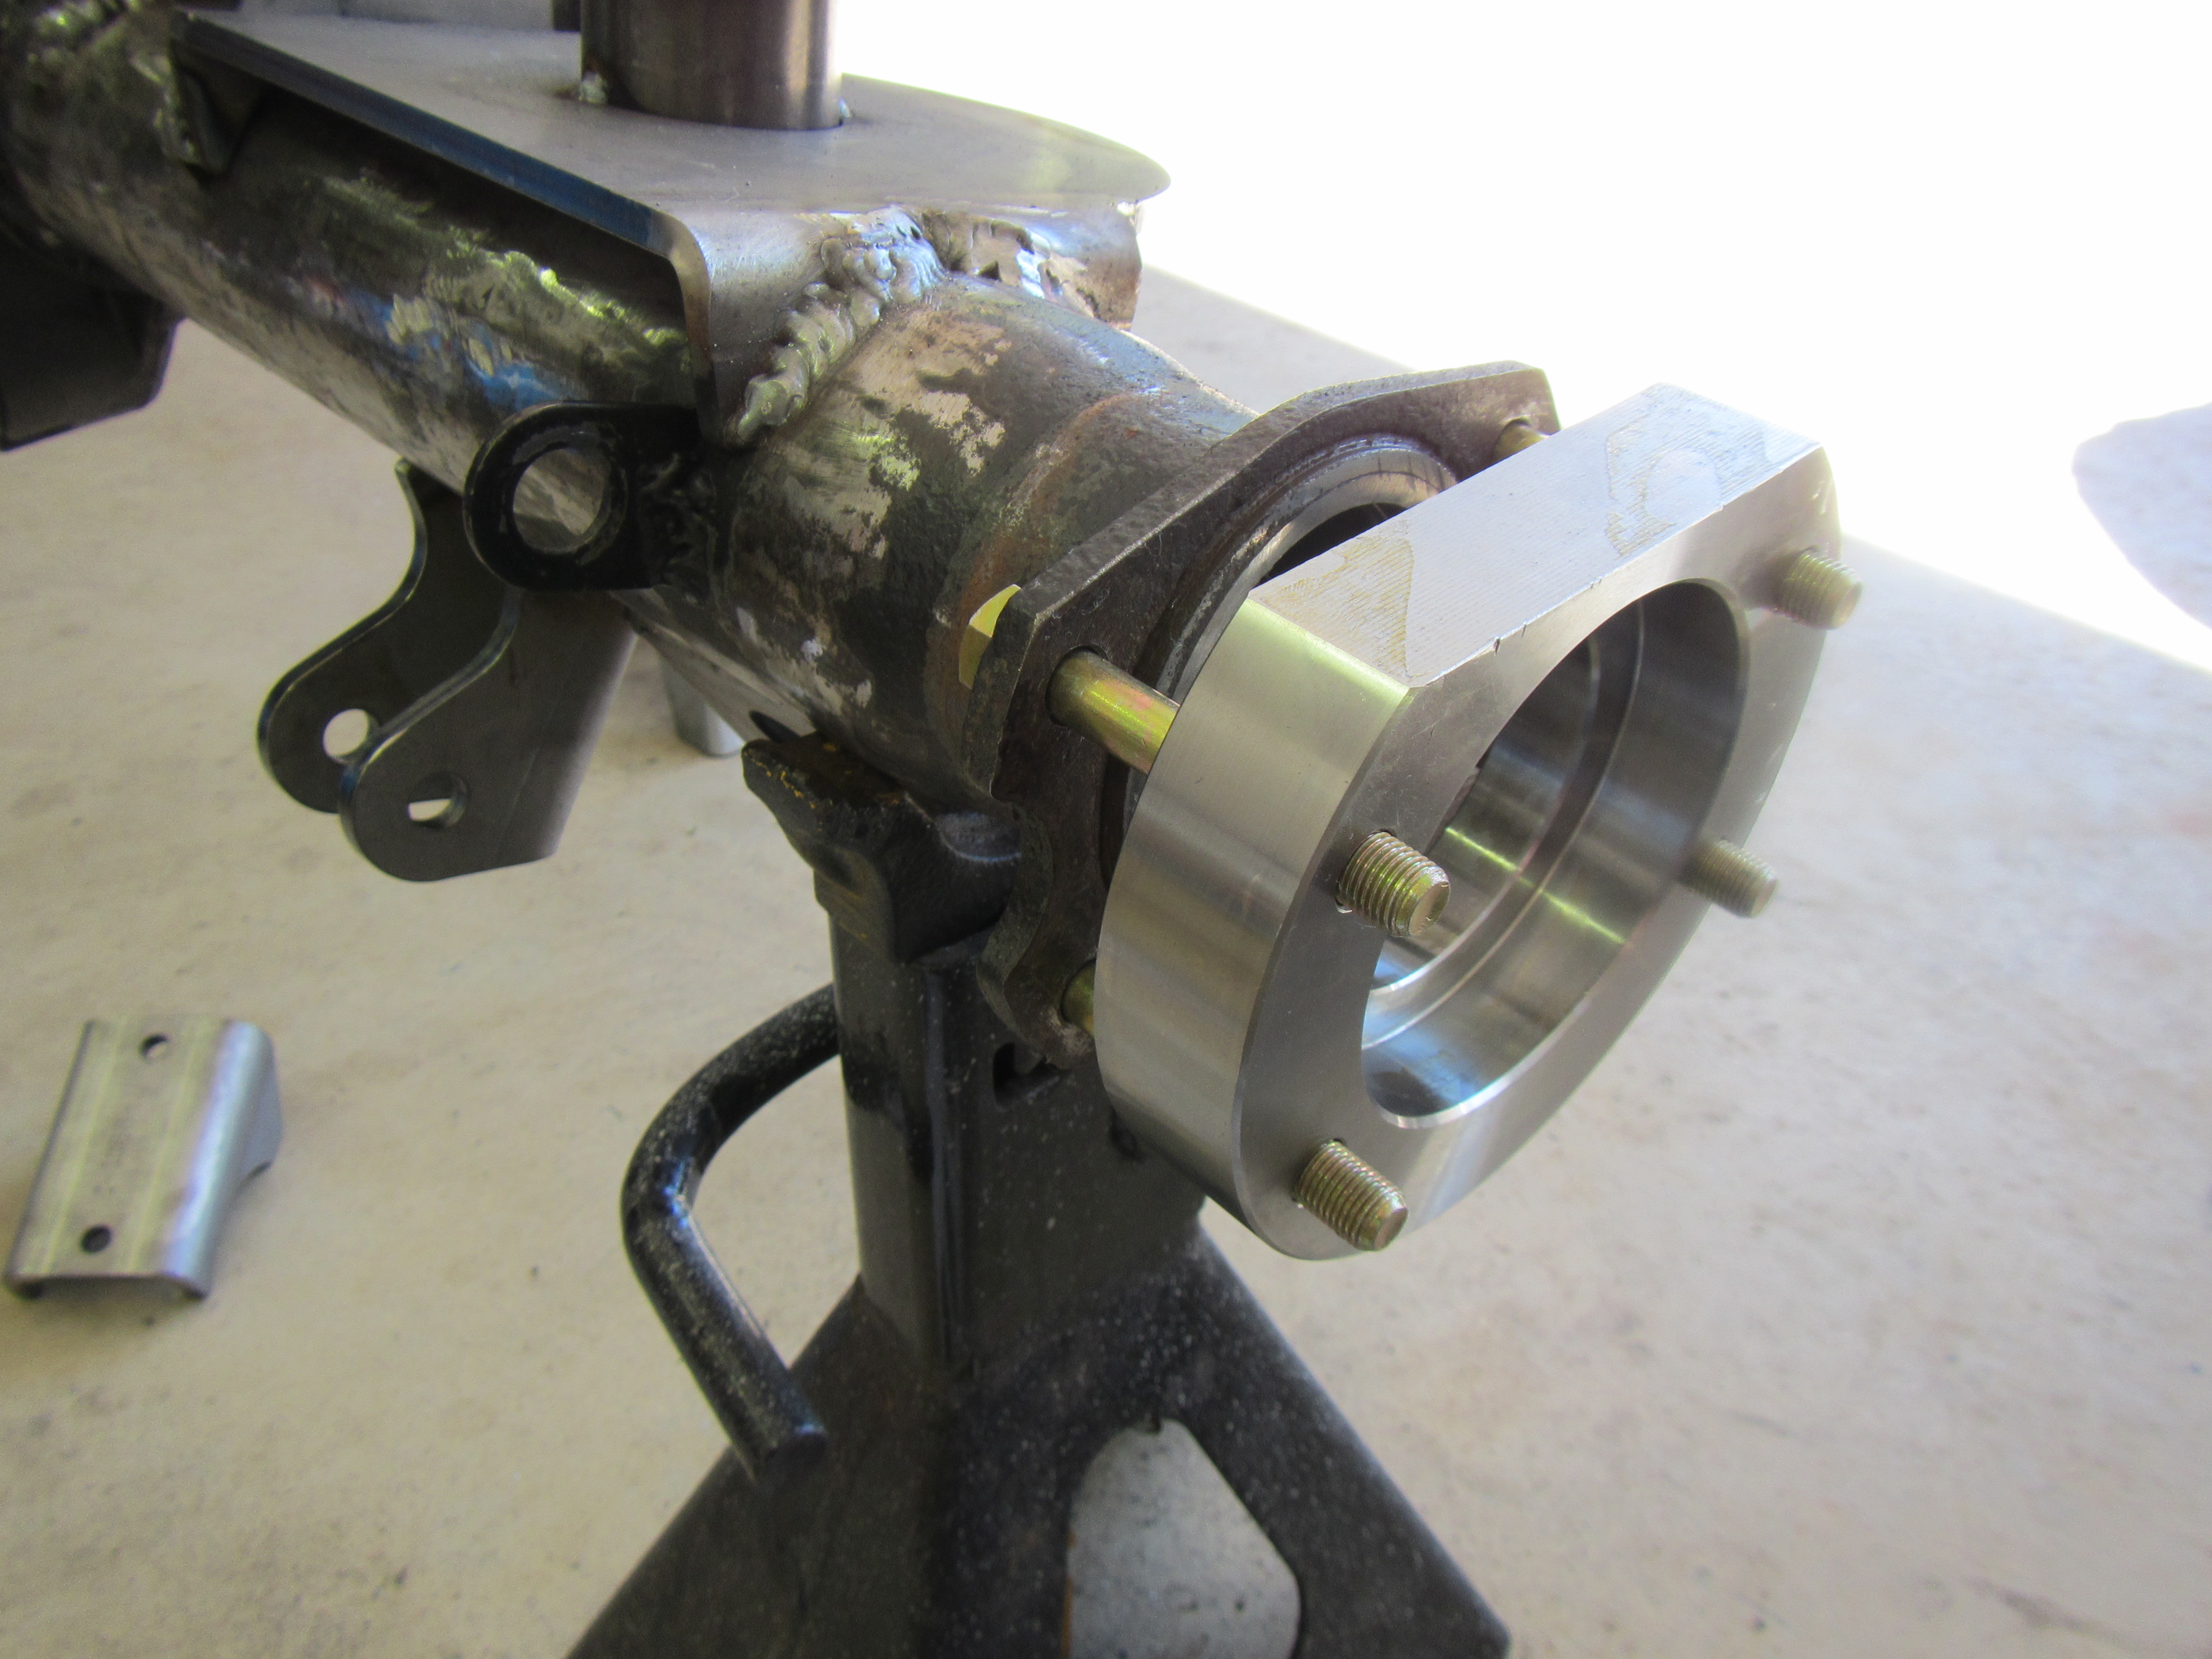
Use the supplied 3/8″ bolts and slide them in through the back.
Slide the 4 large 7/16″ spacer nuts over the bolts and thread on the 4 – 3/8″ – 24 non-locking nut
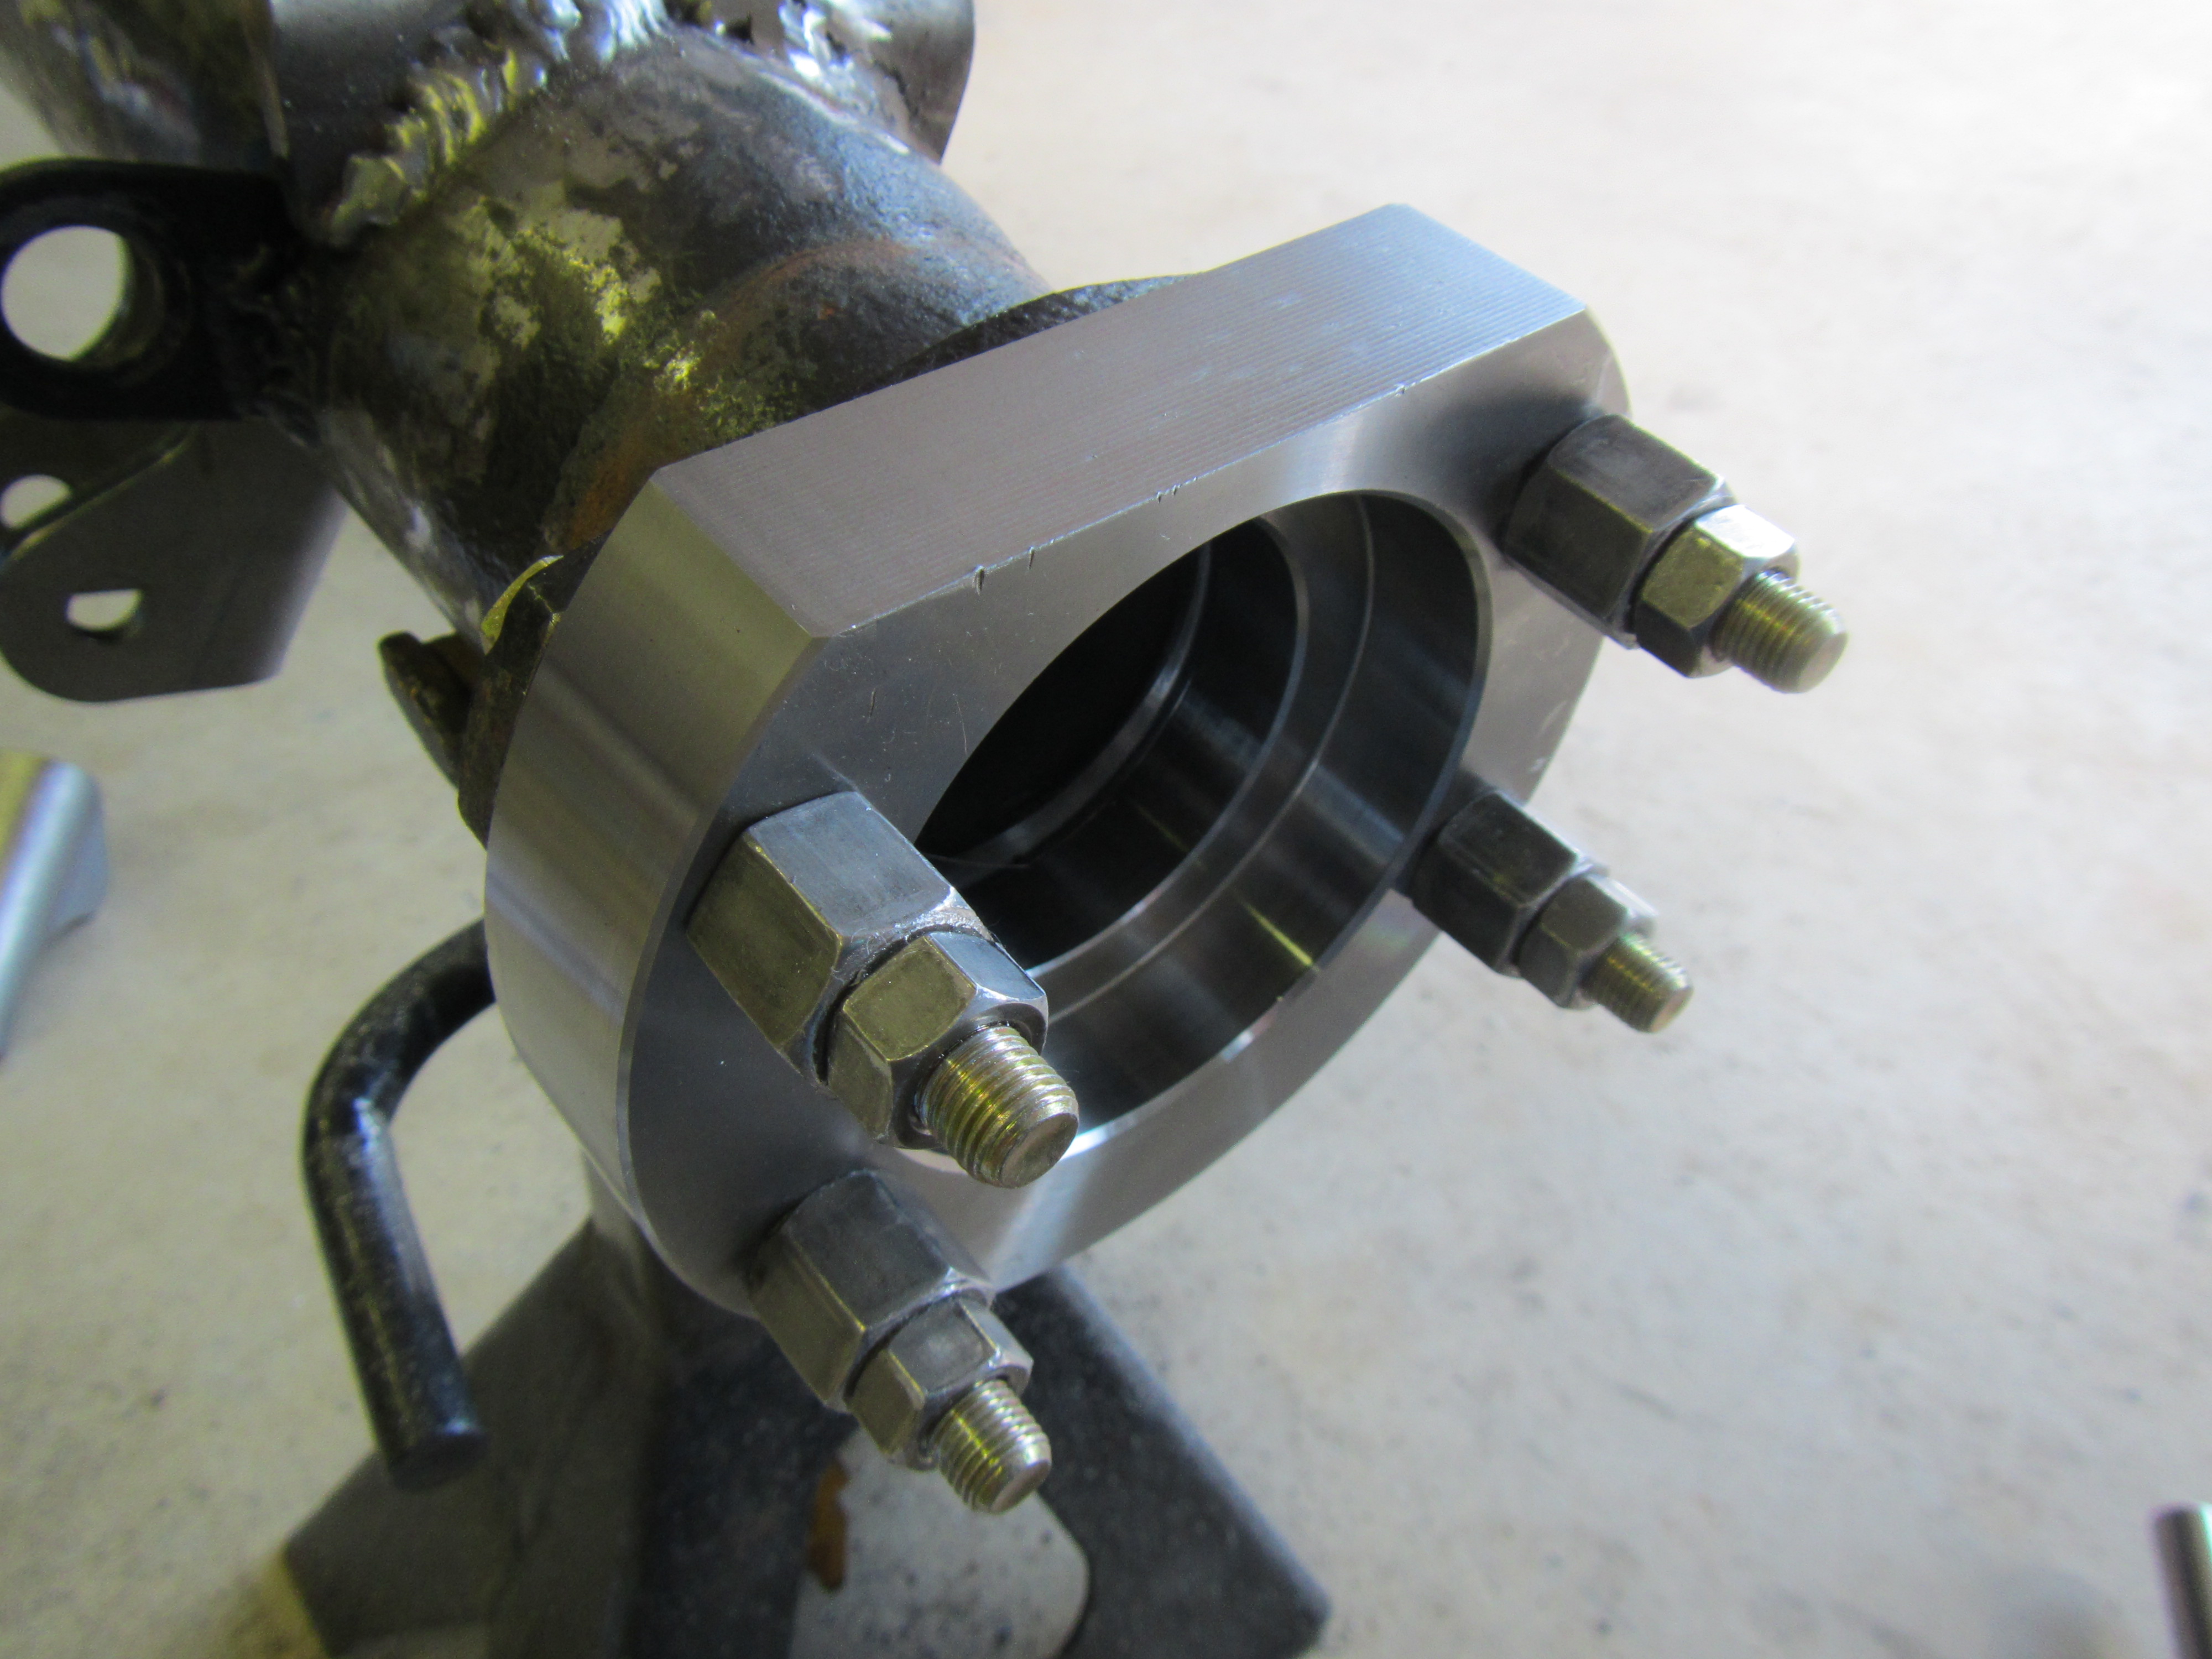
Tighten the nuts in a cross pattern to seat the bearing seats to the housing.

Remove all 8 set up nuts and set them aside.
Slide the caliper bracket and dust shield assemblies over the 4 bolts.
The axles are double drilled for 5×4 1/2″ & 5×5 1/2″ bolt pattern that matches your application.

Before installing the wheel studs, thoroughly clean the threads in the axle flange and on studs to remove oil and grease. Apply a drop of high strength thread locking compound to the threads near the head of the studs.
Thread the 5 – 1/2″ studs into the flange of each axle and tighten to 90 ft. lbs
Slide the retainer plate, spacer, bearing seal, bearing, and bearing retainer, onto the axle in the order shown below.
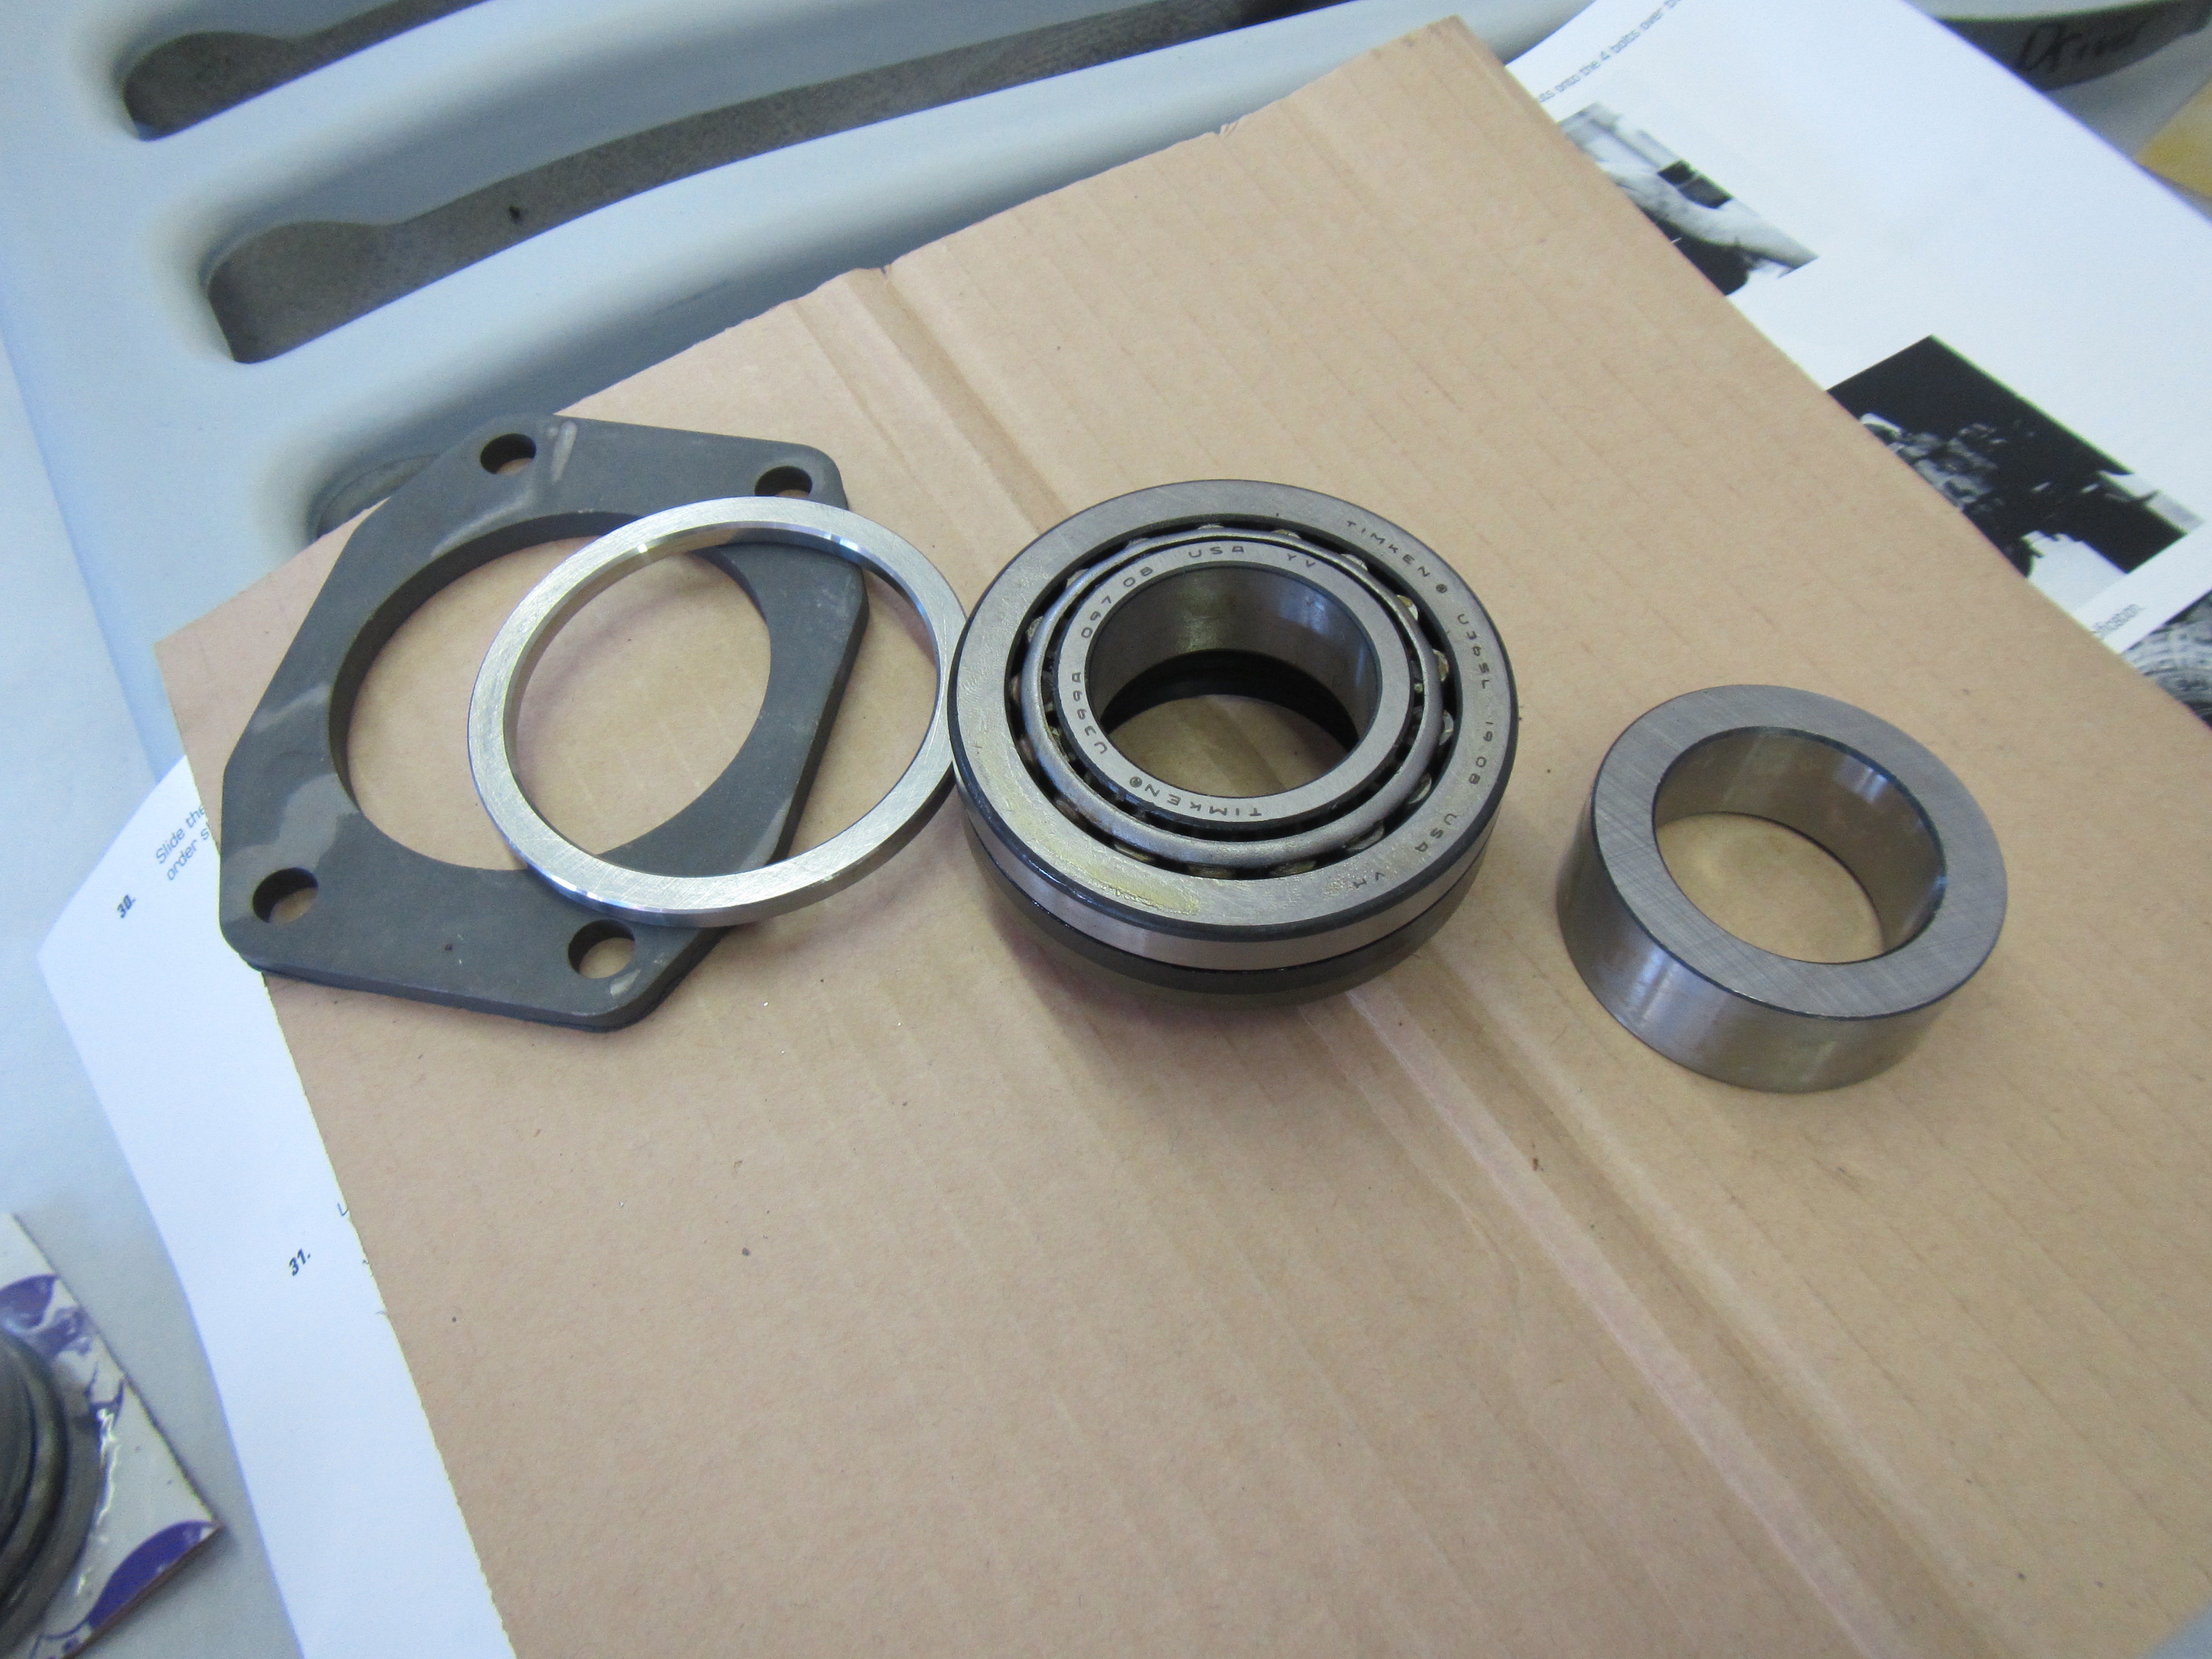
Using a hydraulic press, press the bearings onto the axles.


Apply a thing coat of silicone to the seal areas.
Slide the axle shaft assemblies into the rear axle. The long shaft is for the driver’s side, short shaft is for the passenger’s side.

Using the access hole on the axle flange, thread the 3/8″ grade c lock nuts onto the 4 bolts over the retainer plates.
Torque nuts to 40 ft. lbs.
Slide on the brake rotors.

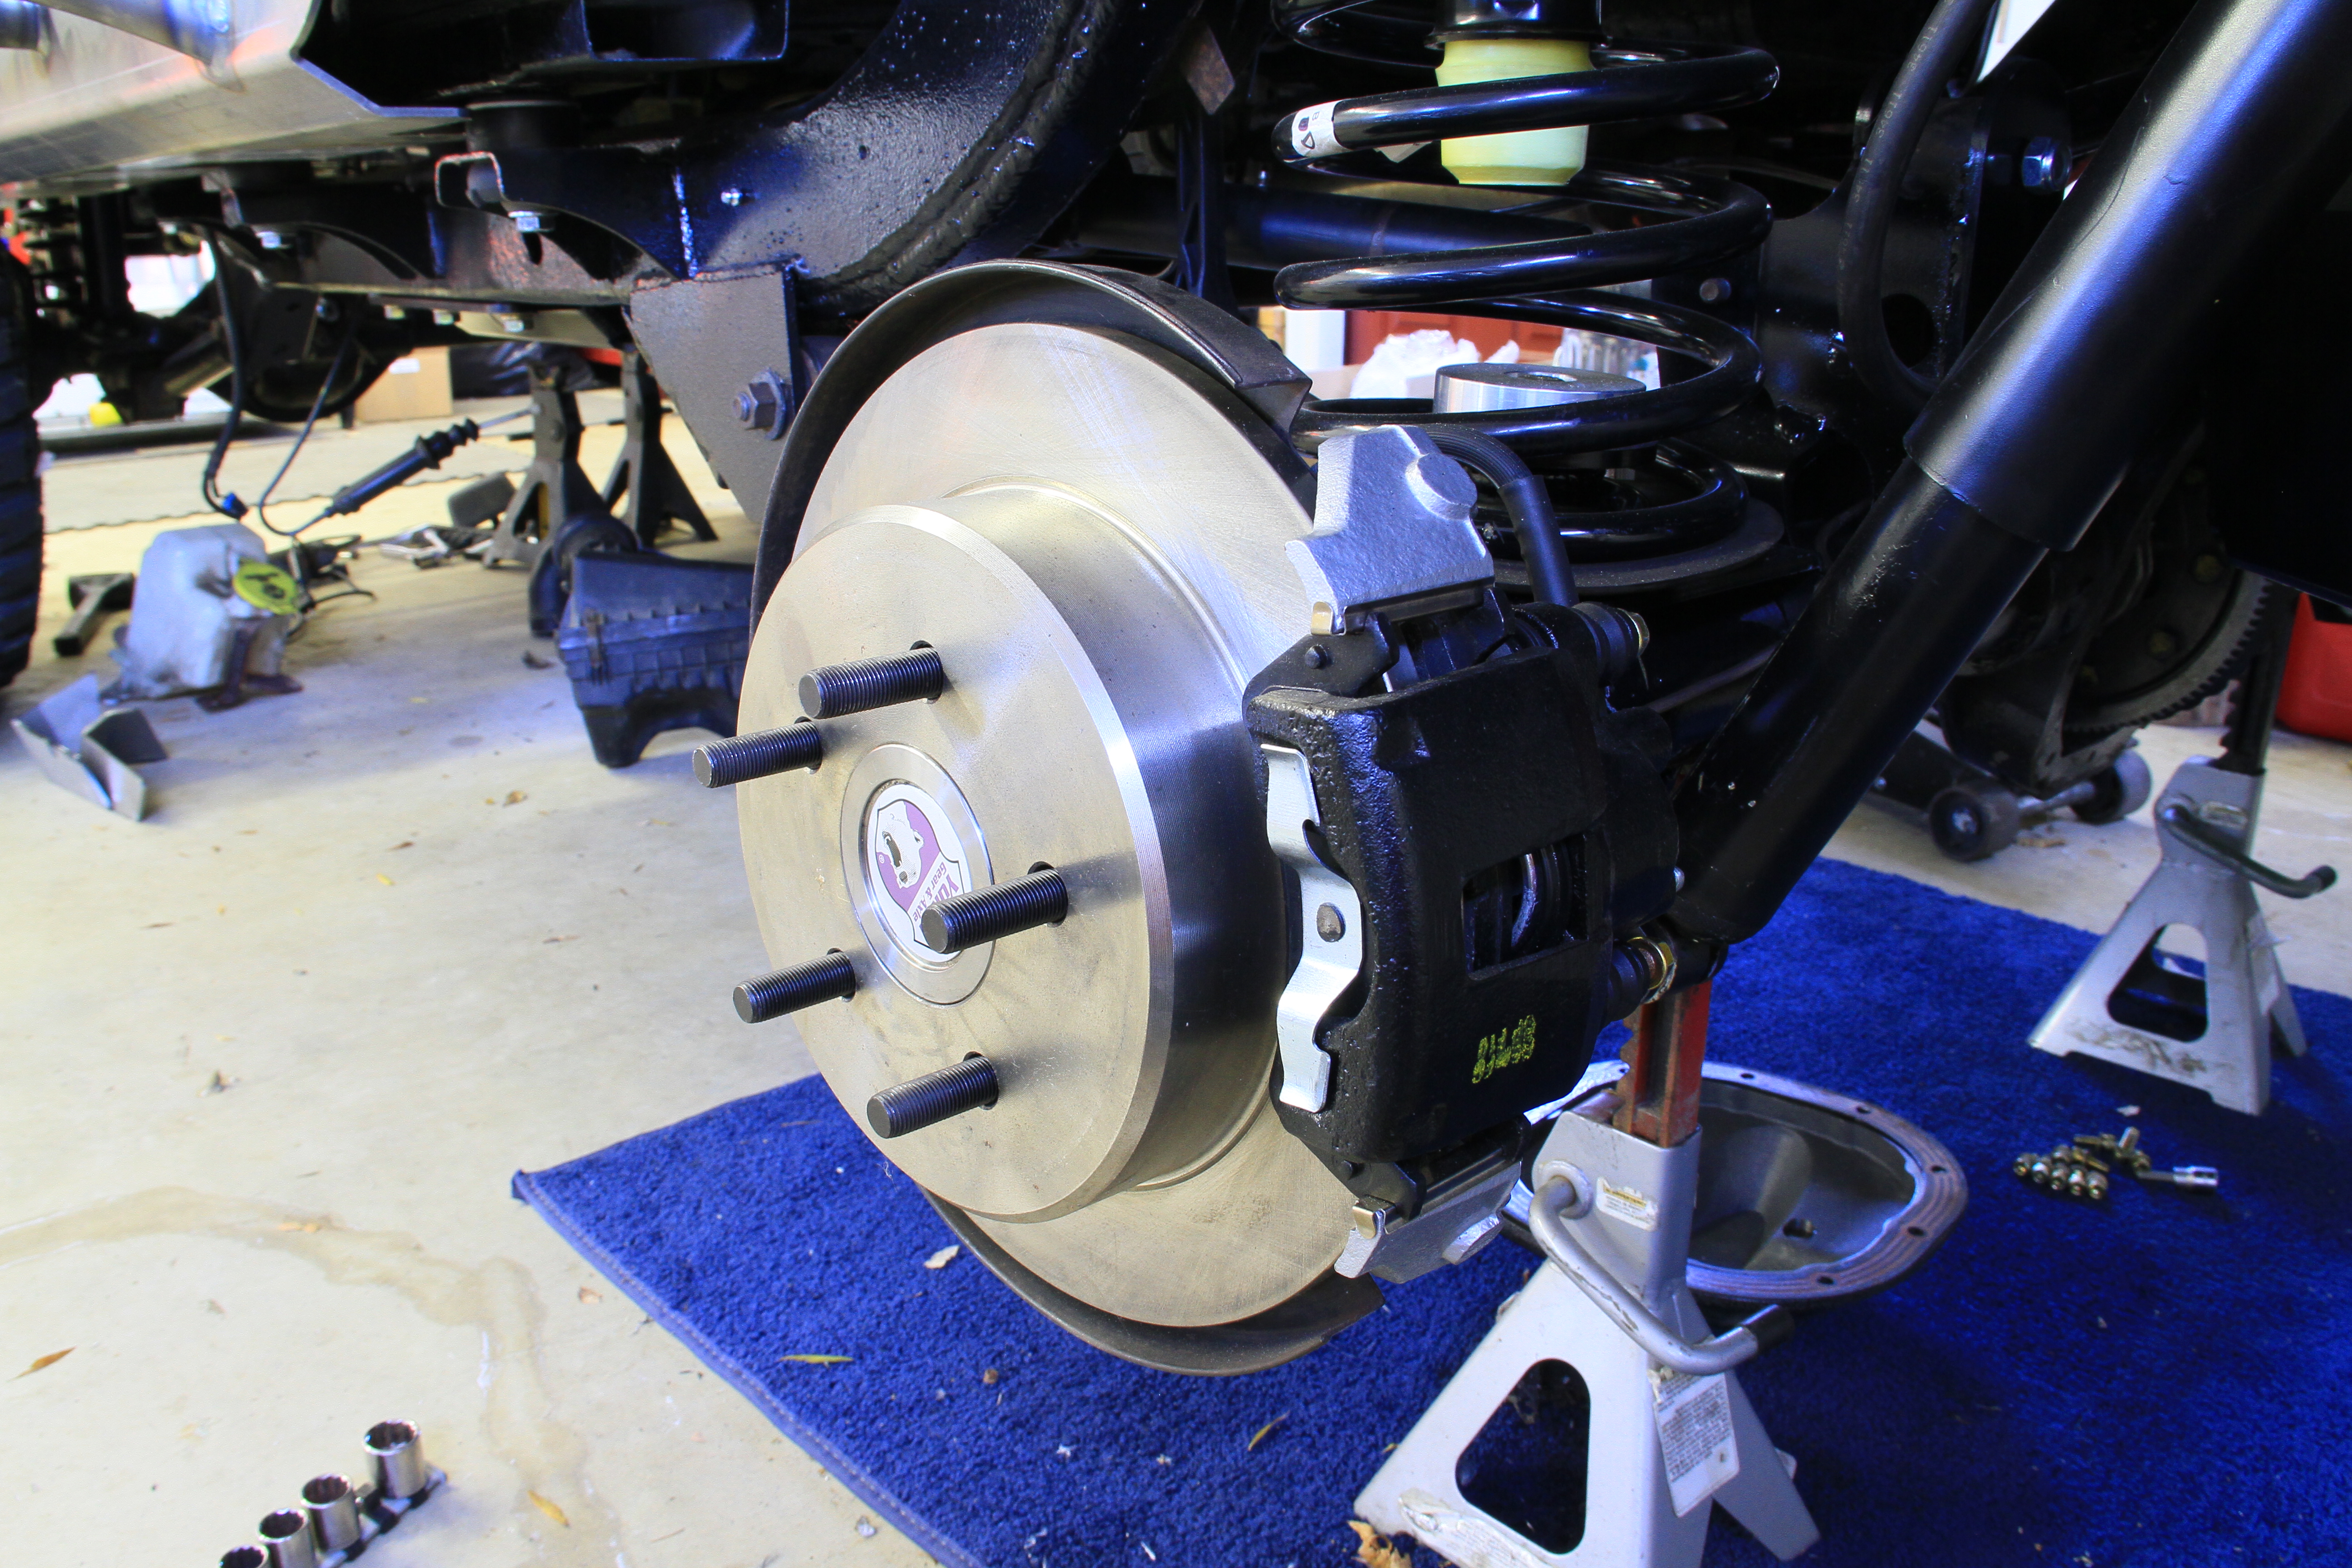
Mount wheels and tires and torque to factory specification.
Re-install cross pin.
Re-install diff cover.
Fill differential with gear oil.
You must be logged in to post a comment.